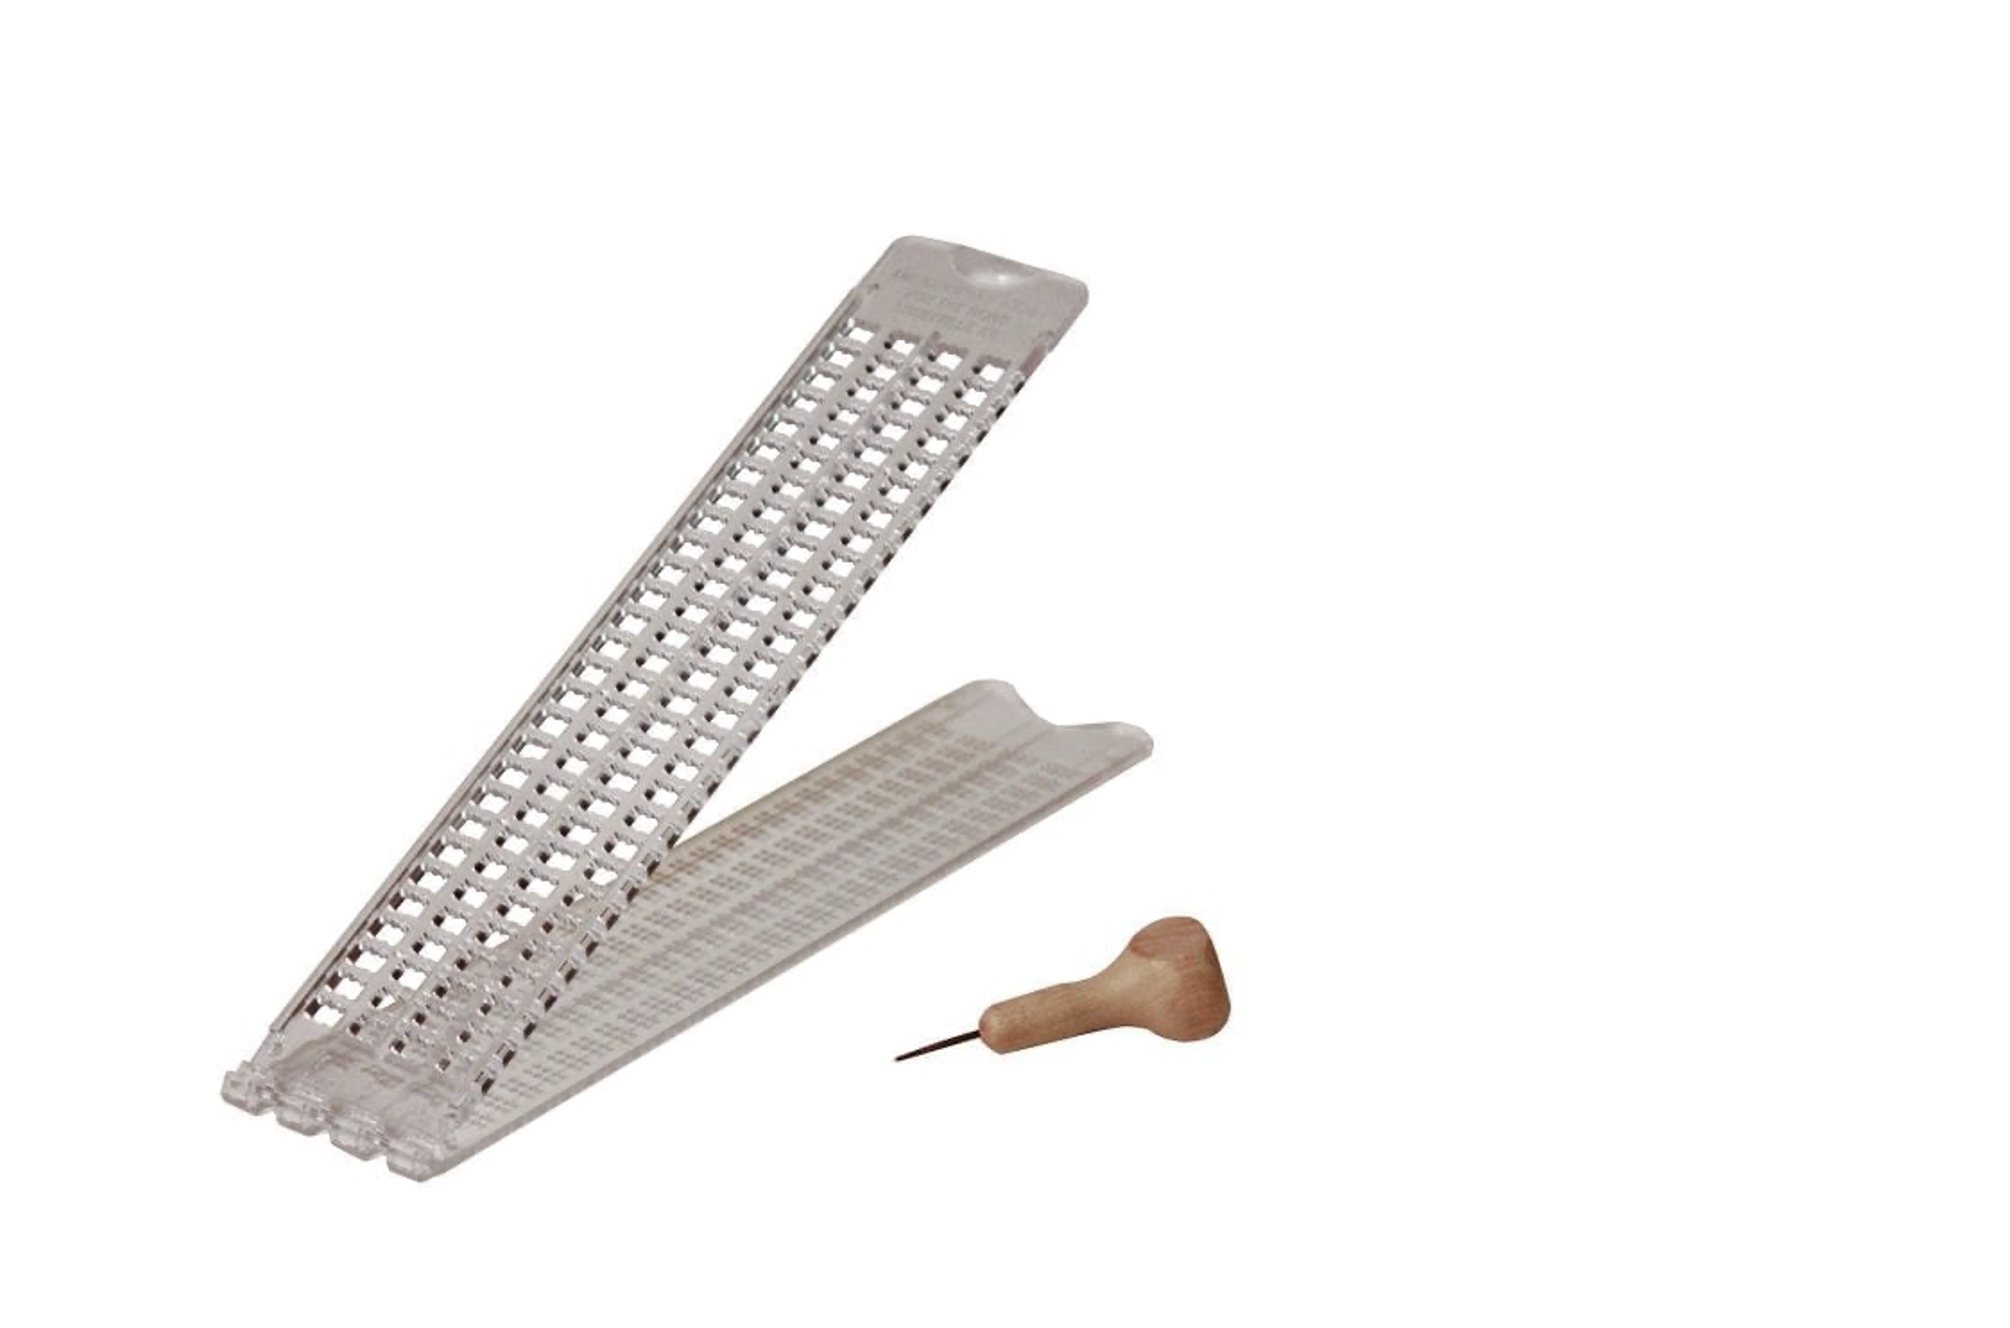
The above photo is from American Printing House for the Blind (APH).
Materials to have on hand:
- Braille Slate (Many students prefer one where they can check their work without removing the paper.)
- Stylus (Students need to try a variety of stylus types so they will know which works best for them.)
- Notebook paper or typing paper
General Info:
- Students need to know the dots used to make a braille character.
- They need to understand the reason behind the right to left progression.
- Supposedly, the best grip involves placing the stylus under the upper part of the index finger, the thumb laps around the base, and the third finger is placed on the neck of the stylus near the tip.
- Beginning slate and stylus users should start out using bifold notebook or typing paper. Regular braille paper is too difficult to use for a beginner. Try it yourself, you’ll see the difference. When proficient with bifold, go to trifold, etc. until you near the thickness of braille paper.
- My students really enjoy “racing” me on the slate and stylus, either writing the alphabet or a sentence. When you write on the slate and stylus without looking, you have to face the same problems your students encounter when using this device.
- Time the students when they are writing the alphabet so that you have some manner of measuring and documenting progress.
- This is a great way to document mastery of the braille code. If they can write it one dot at a time, one character at a time, then they know it.
Advantages to Using a Slate and Stylus:
- very portable, lightweight
- no batteries required
- no charging time
- not hampered by weather conditions
- inexpensive
- can be used anywhere, anytime
- fun to use
Resources
- Free Slate and Stylus Program from National Federation of the Blind
- APH (American Printing House for the Blind) offers a range of slates and stylus
This article was originally published by Texas School for the Blind and Visually Impaired and is reprinted here with permission.
