Chromebook Basics for Students with Low Vision
Chromebook Basics for Students with Low Vision provides a comprehensive introduction to getting started with Chromebooks with students who have a visual impairment, including accessibility features and settings and tips for students with low vision.
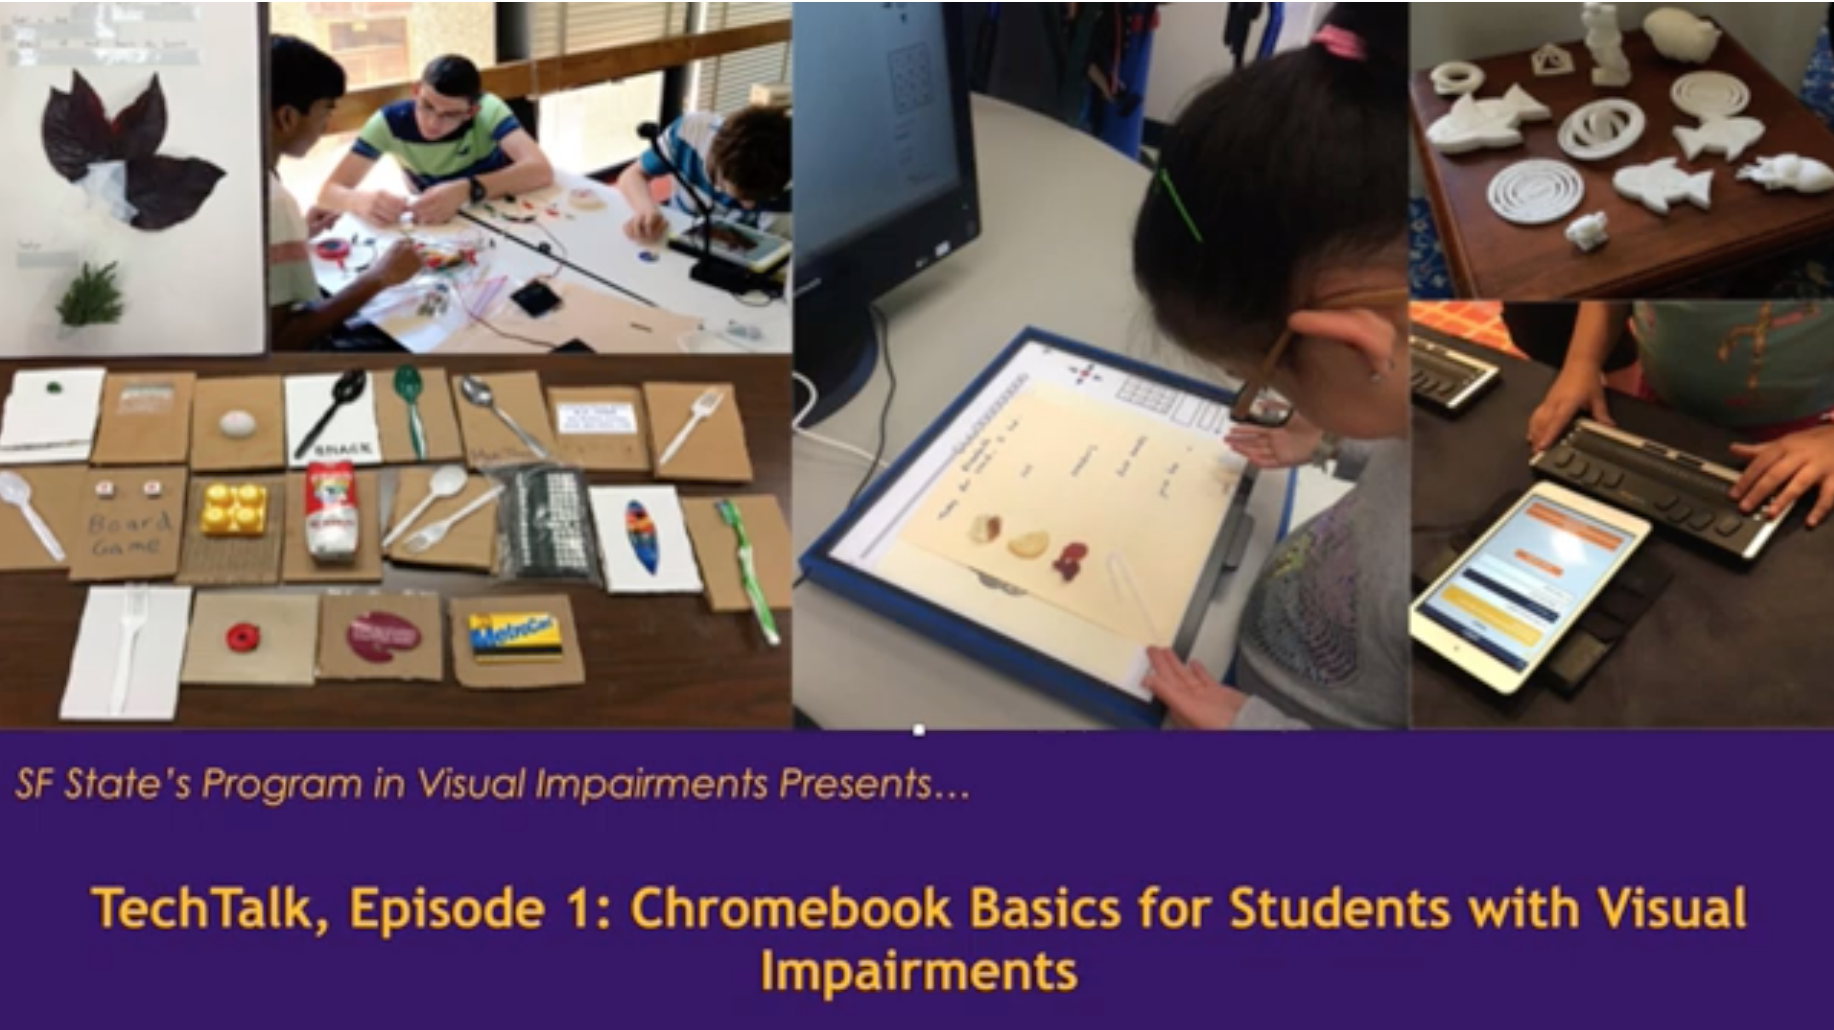
Jessica McDowell, TVI/COMS, of Marin County Office of Education (California) presents a 50-minute video: TechTalk #1: Chromebook Basics for Students with Visual Impairments. Jessica discusses how to set up Chromebook accessibility for students with low vision. This is the first in a series of Tech Talks from the VI Program at San Francisco State University (SFSU).
What Are Chromebooks?
A very common device in classrooms for going online and completing curricular activities. Most classrooms use 9 or 11 inch Chromebooks.
What aren’t they?
They are not a computer like a PC or Mac. They don’t have a hard drive to store files or load applications. They must be connected to the internet. You log on with a Google account (schools set up google for education linked logins). Apps, extensions and add-ons can be added which function like programs and tools.
The Chromebooks in class are so small! Can my student with low vision use one?
Maybe or maybe not that efficiently! Although there are options for accessibility like magnification, the small screen size, low resolution, and need for close viewing distance can make small Chromebooks difficult to use.
My student with low vision has an iPad, can’t they just use that?
Good question. Quick answer, are they young? Consider a large screen Chromebook for reasons described below. Are they older? Assess tasks, environment and student’s skills to determine best tech. Any online device can access the Google platform.
Our students need fluency on different devices. For early elementary school, use same device (just get one with big screen); teacher is teaching content but also how to use the tool. They will have guided lessons on logging in, getting oriented, learning keyboard, clicking buttons, writing, etc. Teacher can easily assist student with VI since device is the same. Kids will look to each other as they figure it out. A teacher will not have time to problem solve with student who is trying to do the same activities on an iPad if student runs into difficulties. As kids get older, hardware tends to be less of an issue since students work with their tech more independently. An older student might benefit from using a PC or Mac because of increased accessibility and power of a PC or Mac.
Uh-oh, what if they have to take tests on Chromebook?
It is likely that classrooms with Chromebook carts do the state testing on Chromebooks. In California, our test is the CAASPP (California Assessment of Student Performance and Progress). Also, there are ongoing assessments that are commonly given on Chromebooks. If your student has large Chromebook that is set up with appropriate visual settings, student can just test with the class. Student’s Chromebook should be managed by the school/district tech team – they will keep it updated with secure browsers, etc.
What about my braille student?
Your student’s assistive technology will be based on thorough assessment with many considerations. Although Chromebooks use ChromeVox screen reader and there are compatible braille displays, for non-visual access to a computer the braille student will likely be learning JAWS or NVDA on a PC. You need to stay aware of required hardware/software combo for state testing for a braille student. Likely Windows software (PC), a braille display and JAWS are needed and students who are blind need to learn to use these tools even if they are able to access a Chromebook.
How do I get the district to buy my student a Chromebook?
Assessment leads to recommendations leads to goals! Make it a team discussion and decision. Large Chromebooks are cheap compared to other tech and they can be an easy solution to an accessibility problem.

Download Chromebooks: FAQs for TVIs PDF Word
Video Presentation by Jessica
Resources
Great resources to bookmark…
- Laura Palmaro – Chrome Accessibility Team Videos
- Bookshare’s YouTube channel, web reader Read Now on Chromebook
Additional Resources:
Chromebooks: Settings and Tips for Students with Low Vision
How do we set it up?
http://bit.ly/ChromebookAccessibility
Turn on Chromebook accessibility features
Step 1: Find accessibility features
- Click your account photo or press Alt Shift s.
- Click Settings gear icon
 .
. - At the bottom, click Advanced.
- In the “Accessibility” section, click Manage accessibility features.
Step 2: Turn on a feature
Choose the accessibility features for vision you’d like to use:
- Display: High contrast mode, screen magnifier, screen resolution, text size
- Mouse and touchpad: large cursor (and change its size), cursor highlighting
There’s also some font size and type options in general Appearance section
Can we zoom in and out?
Zooming in – many options and you can teach your students all three ways…
-
Web page zoom: CTRL-plus/minus/0
- Screen resolution zoom: CTRL-SHIFT-plus/minus/0
- Magnifier accessibility tool: Toggle on and off with CTRL-search key-M, then…
- control-alt-2 fingers slide up and down track pad OR
- control-alt screen brightness up and down
Note: Sometimes when using these ways to magnify, you might get stuck on a page – try zooming back out to see if there are buttons (like Next or Save) that you couldn’t find when scrolling around.
What about keyboard shortcuts?
http://bit.ly/ChromebookShortcuts
Yes! Teach them to your students as you go! Some useful ones besides word processing commands include getting around webpages quickly, especially when view is zoomed, scrolling is necessary. Here are some of my favorites…
Page & Web Browser Shortcuts
- Scroll up and down page: Up and Down arrows
- Page down (next continuous portion): Alt and Down arrow
- Page up down (next continuous portion): Alt and Up arrow
- Go to top of page: Ctrl and Alt and Up arrow
- Go to bottom of page: Ctrl and Alt and Down arrow
- Go to the next tab in the window: Ctrl and Tab
- Go to previous page in your browsing history (go back!): Alt and Left arrow
- Go to the next page in your browsing history: Alt and Right arrow
Accessibility Shortcuts
- Turn ChromeVox (spoken feedback) on or off: Ctrl and Alt and z
- Turn on high contrast mode: Search and Ctrl and h
