Note: Anna Ackley is the Assistant Coordinator of the Program on Visual Impairment at Kutztown University of Pennsylvania. She made these bulletin boards to raise awareness for the program within the education building, as well as, give future TVIs (Teachers of the Visually Impaired) some creative ideas for when they enter the field.
POP IT Bulletin Board
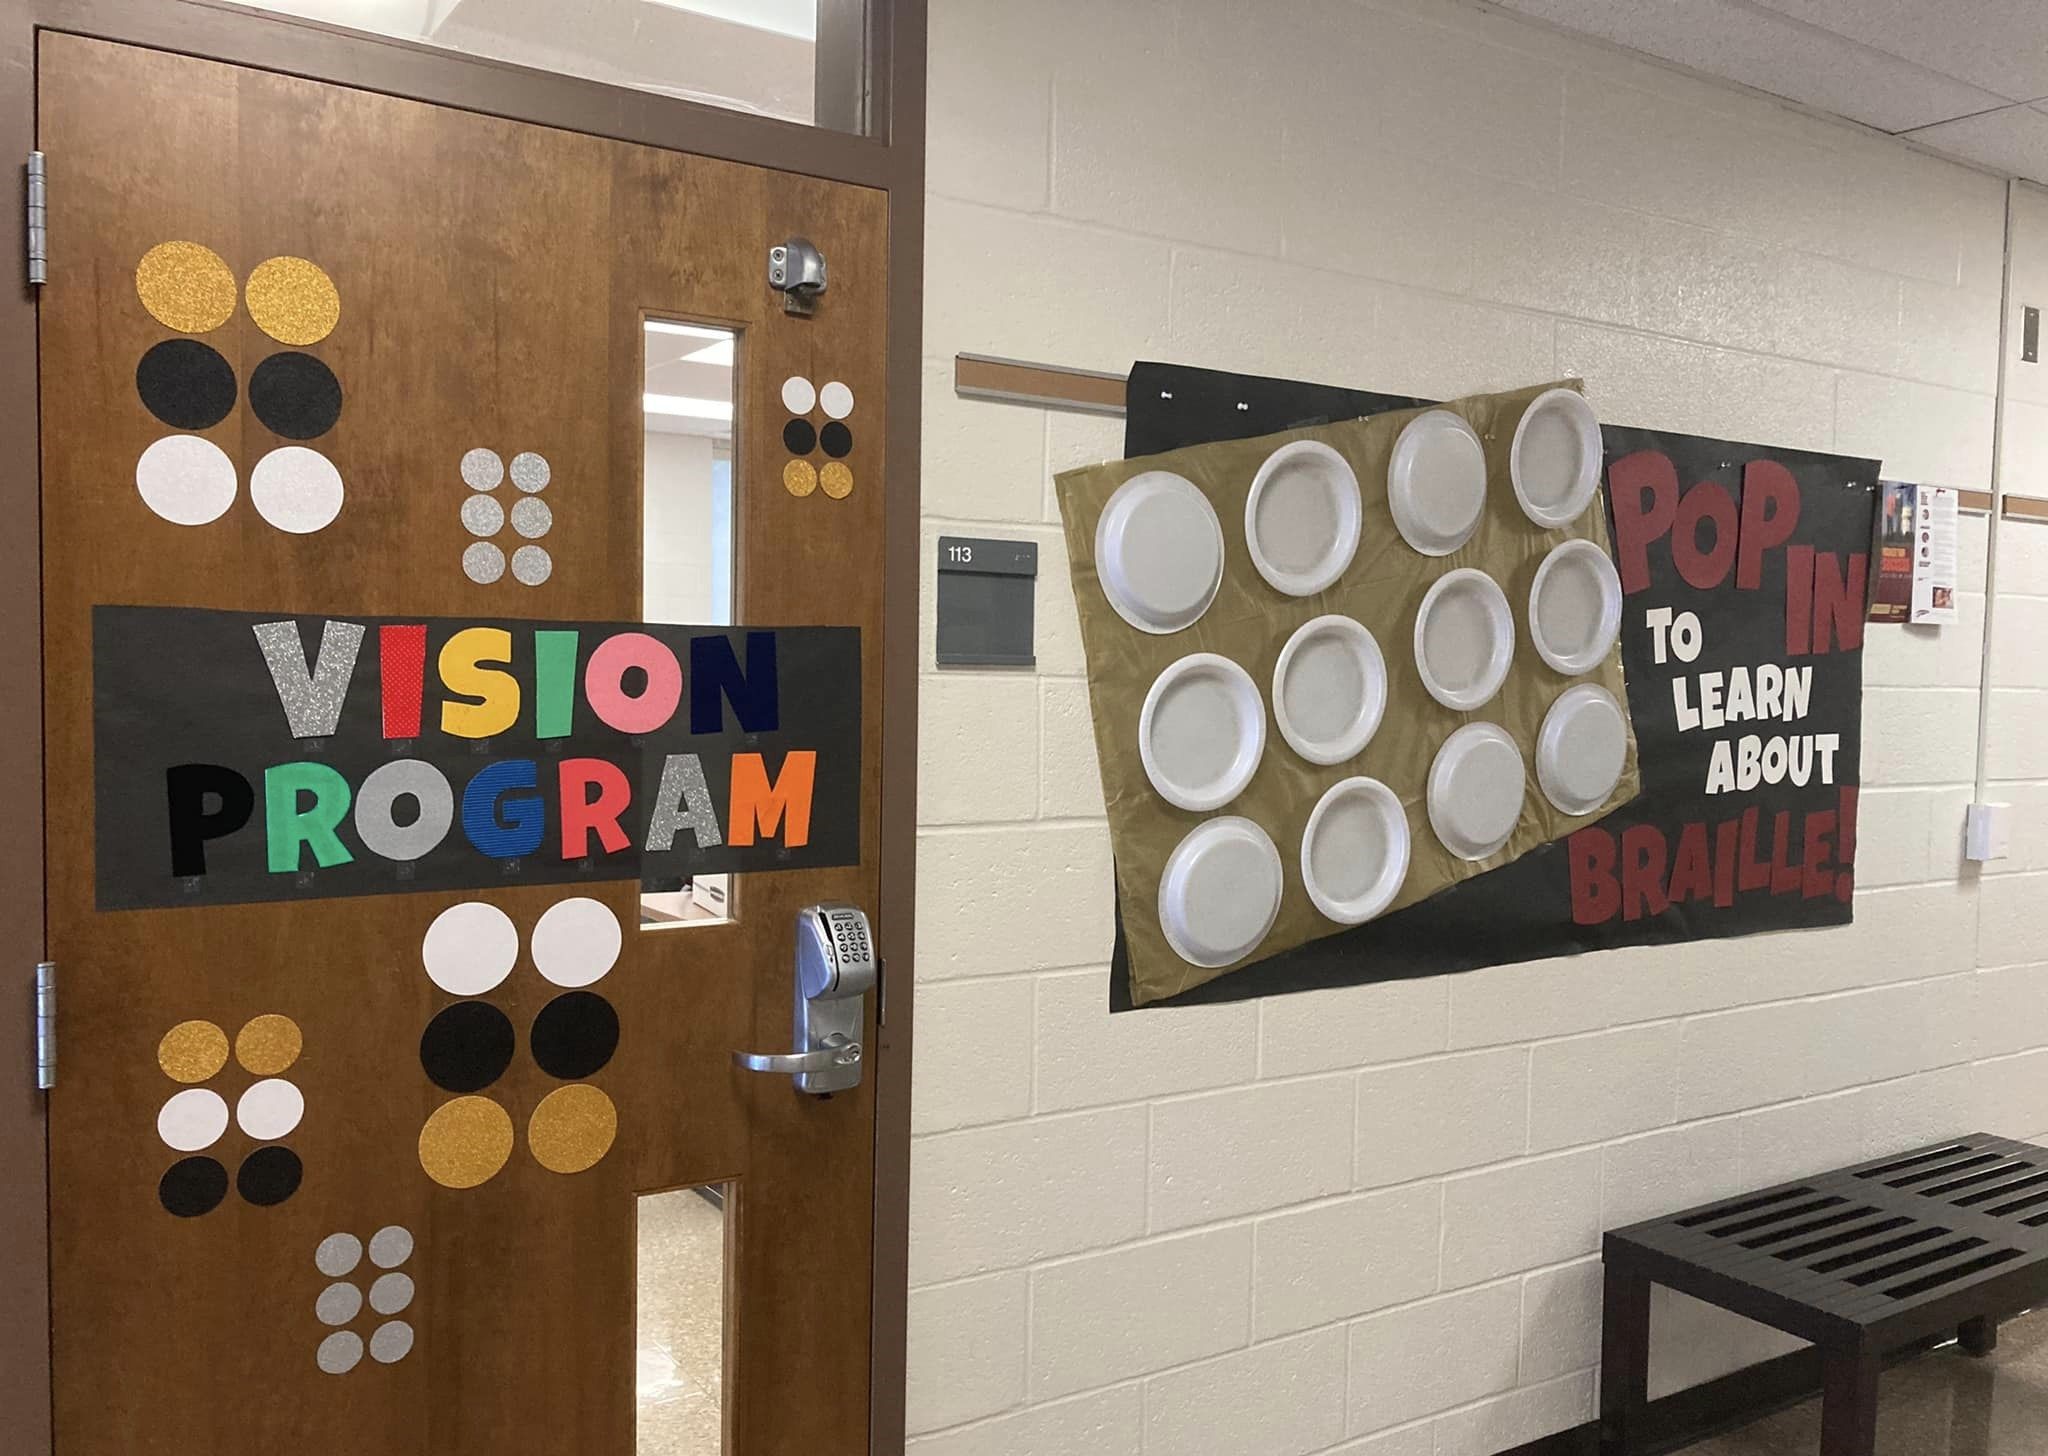
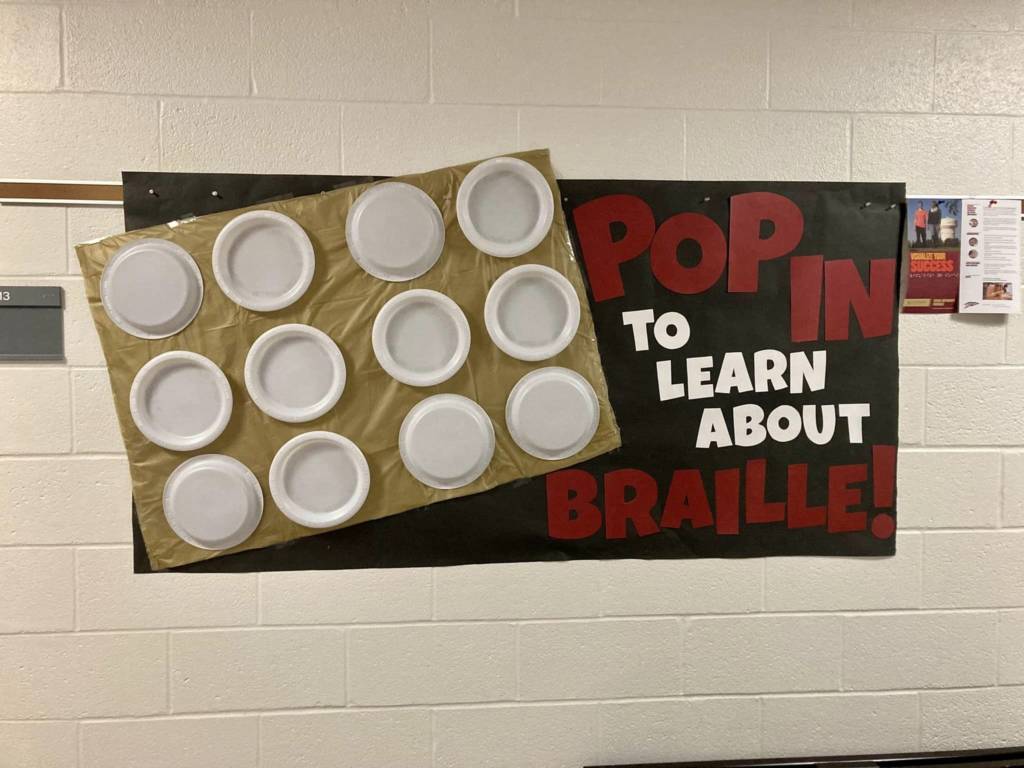
A welcoming sign put up in the hallway of the classroom says, “Pop in to Learn about Braille!”
Materials:
Plastic Plates from Dollar Tree
“Luckiest Guy” font on Google Docs
Bulletin Board Paper
Procedure:
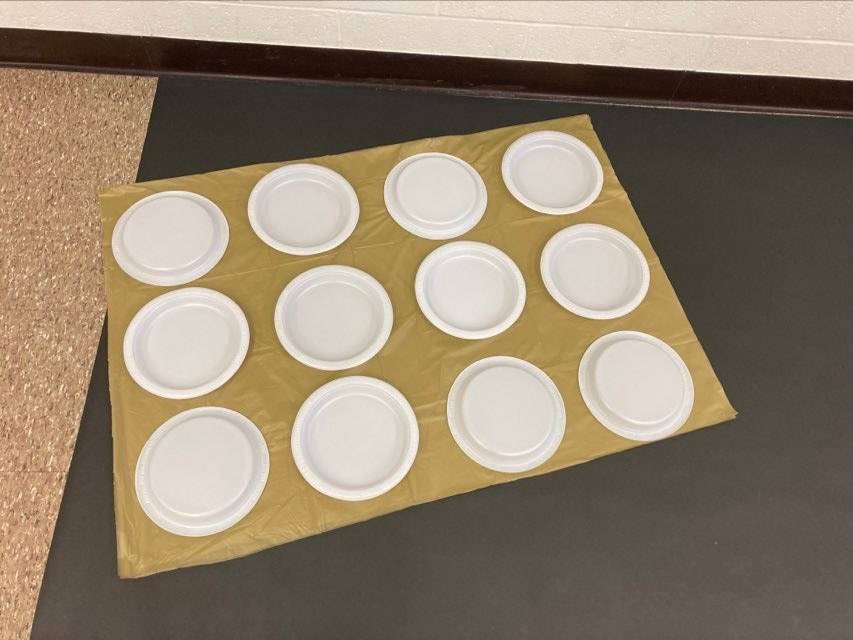
1. I used 9-inch dinner sized plates to make my “Pop It” but you could also make a smaller version using dessert plates. The exact kind of plate doesn’t matter, it is just important to have the plate be the same color front and back to complete the aesthetic.
Assemble your braille cells and decide what letter or dots you want to be “raised” and place those plates facing down, to create the visual effect of it being raised.
*Note: I used a plastic gold tablecloth from the dollar store for underneath the plates, however in hindsight, I would not recommend this method because the plastic was too thin and required a lot of extra securing. If I were to do this again, I would use colored bulletin board paper or colored construction paper.
2. Cut out your message, I used the font “Luckiest Guy” on Google Docs. First, I printed out my message and determined the size and placement. Next, I cut out the letters and traced them on heavier colored construction paper.
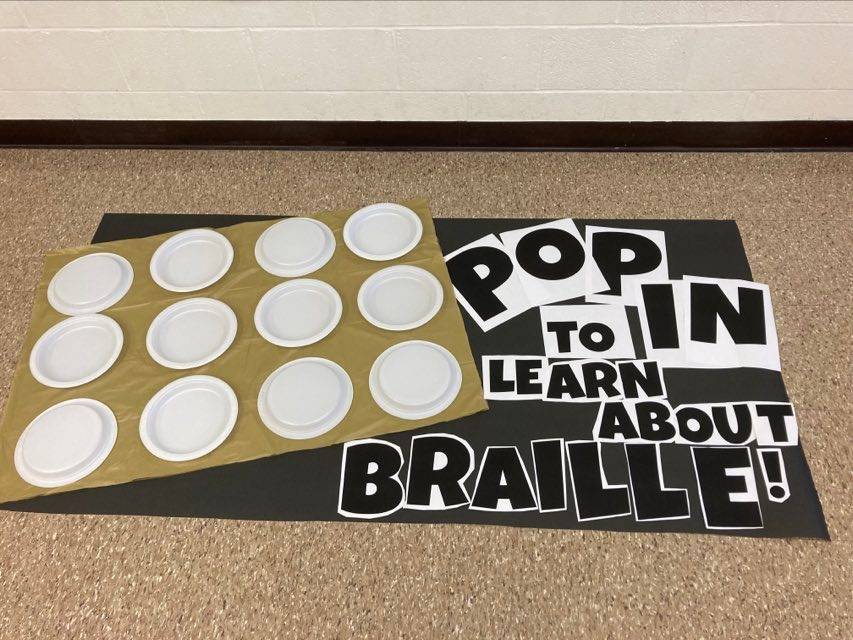
3. Then I used double sided tape and glue dots to secure everything into place.
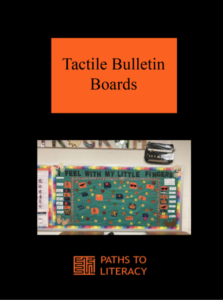
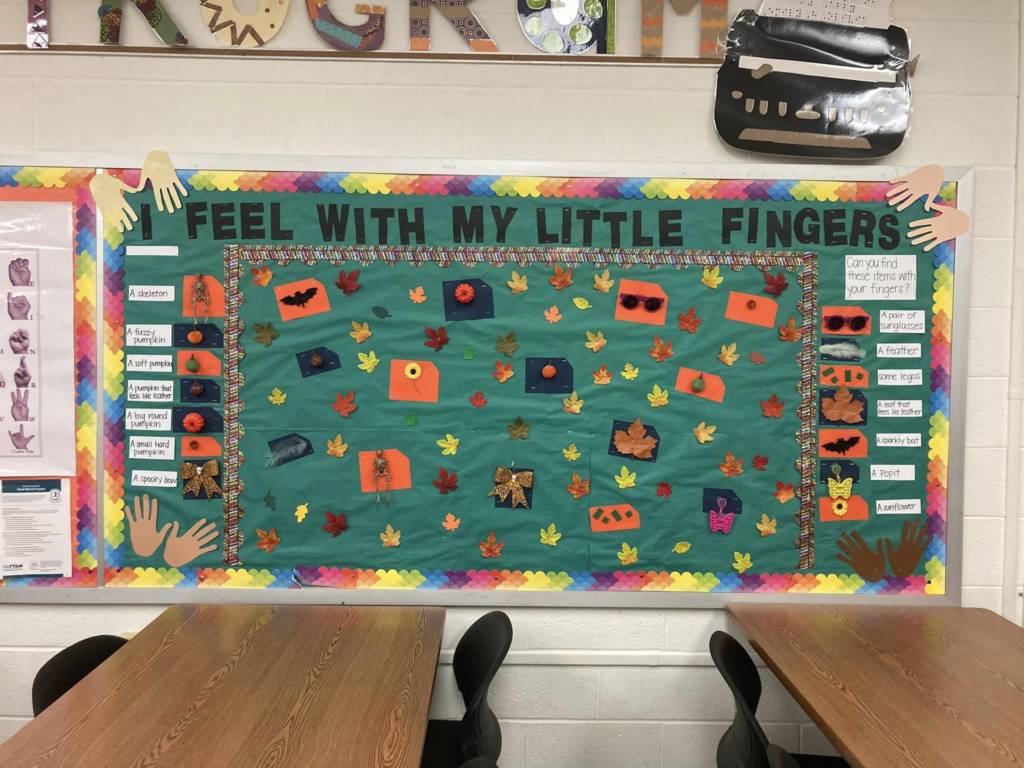
I Feel With My Little Fingers Bulletin Board
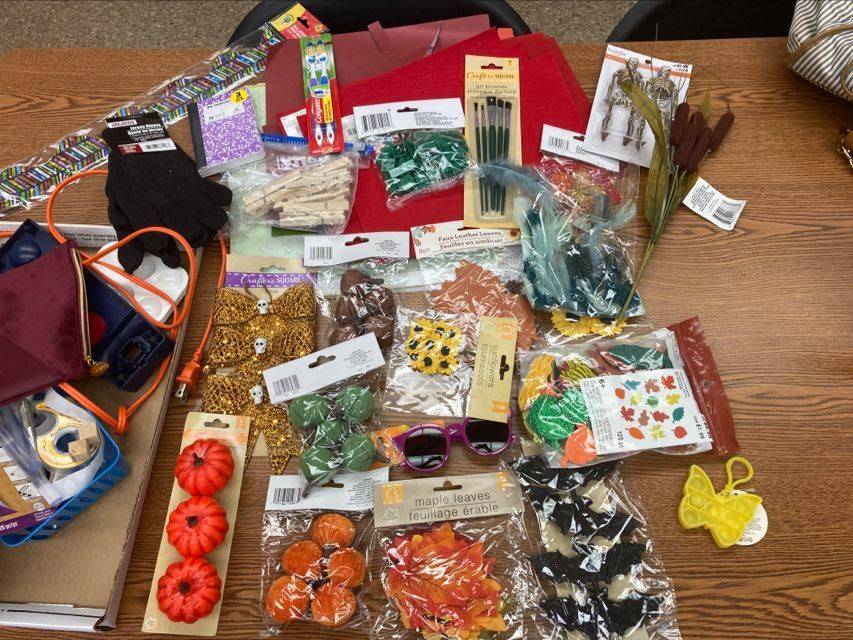
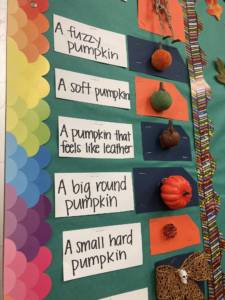
I wanted to make a tactile version of “Eye Spy.” With a fall theme in mind, I got many different “fall” objects from the Dollar Tree.
Materials:
Items from Dollar Tree
Index Cards
Brailler
Hot Glue
Stapler
Construction Paper
Procedure:
1. I picked the items I wanted students to find. I used hot glue to secure the items to a small piece of heavy construction paper. (Make 2 of each)
The items I chose were:
A skeleton
A fuzzy pumpkin
A soft pumpkin
A pumpkin that feels like leather
A big round pumpkin
A small hard pumpkin
A spooky bow
A pair of sunglasses
A feather
Some legos
A leaf that feels like leather
A sparkly bat
A Pop It
A sunflower
2. To make the heading, I used a basic die cut font and cut out my letters. Before stapling the letters in place, I used a piece of masking tape to hold the letters in place. This also allows you to rearrange the letters to your liking.
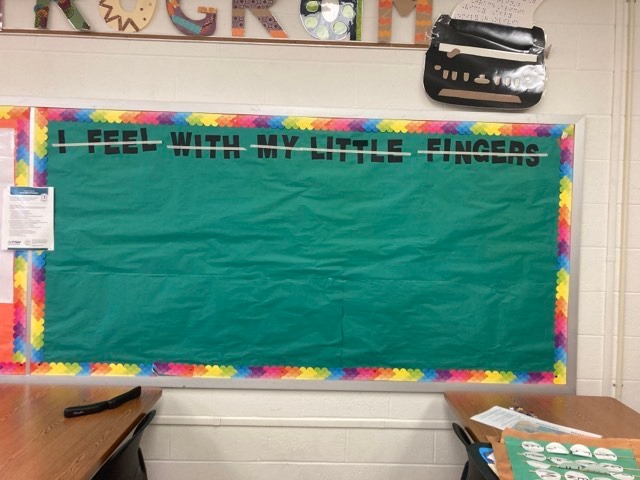
3. Using a boarder, I made a rectangle to place my items and stapled them in place. Next, I added tactile sticker leaves (purchased from Michaels) around the items. I used fake leaves from the Dollar Tree as well and stapled them in place.
4. Next, I made a key on each side of the rectangle that listed the items needed to be found.
5. I hand wrote a print label for each item on a 4×6 index card, then brailled directly on the index card.
Tactile Door Sign
A tactile sign that says, “Vision Program” decorated with large cut circles to represent braille.
Materials Needed:
Textured paper
Double sided tape
Scissors
Sticky label paper
Construction paper or die cut circles
Procedure:
1. To make a tactile door sign, I used the textured paper kit from APH.
2. Using the font, “Luckiest Guy” on Google Docs, I printed out the words I wanted (VISION PROGRAM). I cut them out and then traced them on the tactile paper and cut them out.
3. I used double sided tape to secure them to bulletin board paper. Next, I used clear label paper to add the braille letter under each print letter. Then I attached the paper to the door with double sided tape.
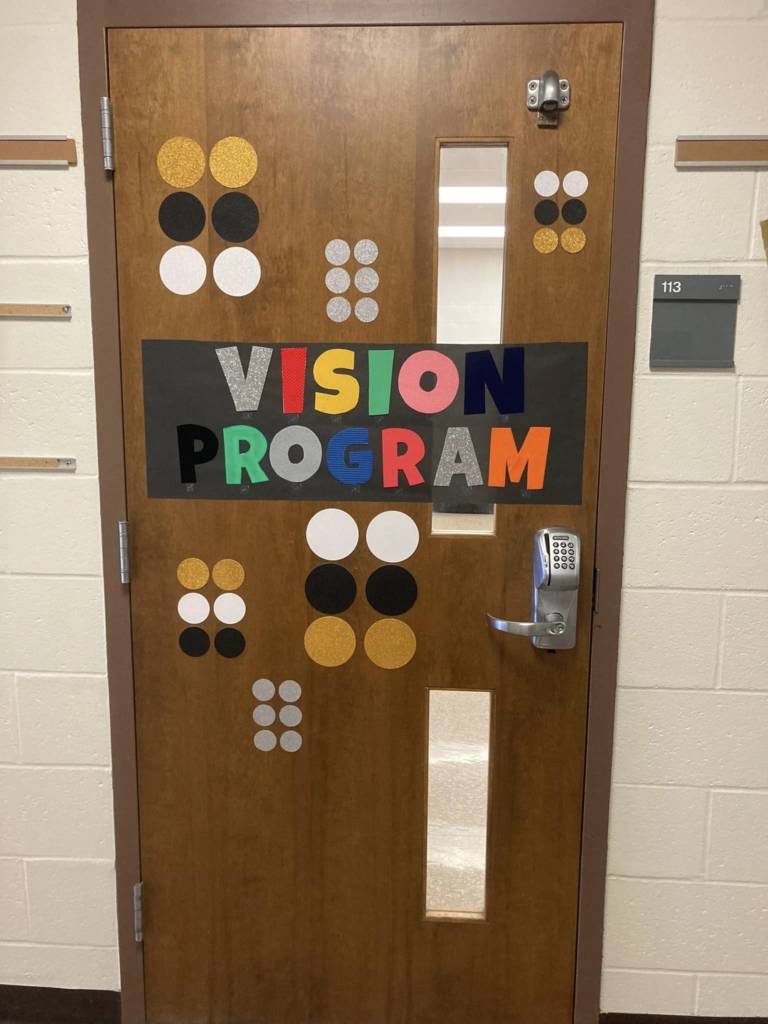
4. I used these die-cut circles from Michaels to make a few braille cells to add around the door and secured them with glue dots.
