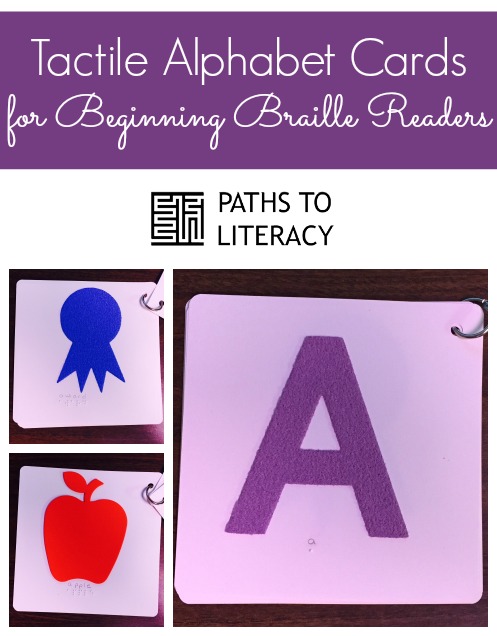
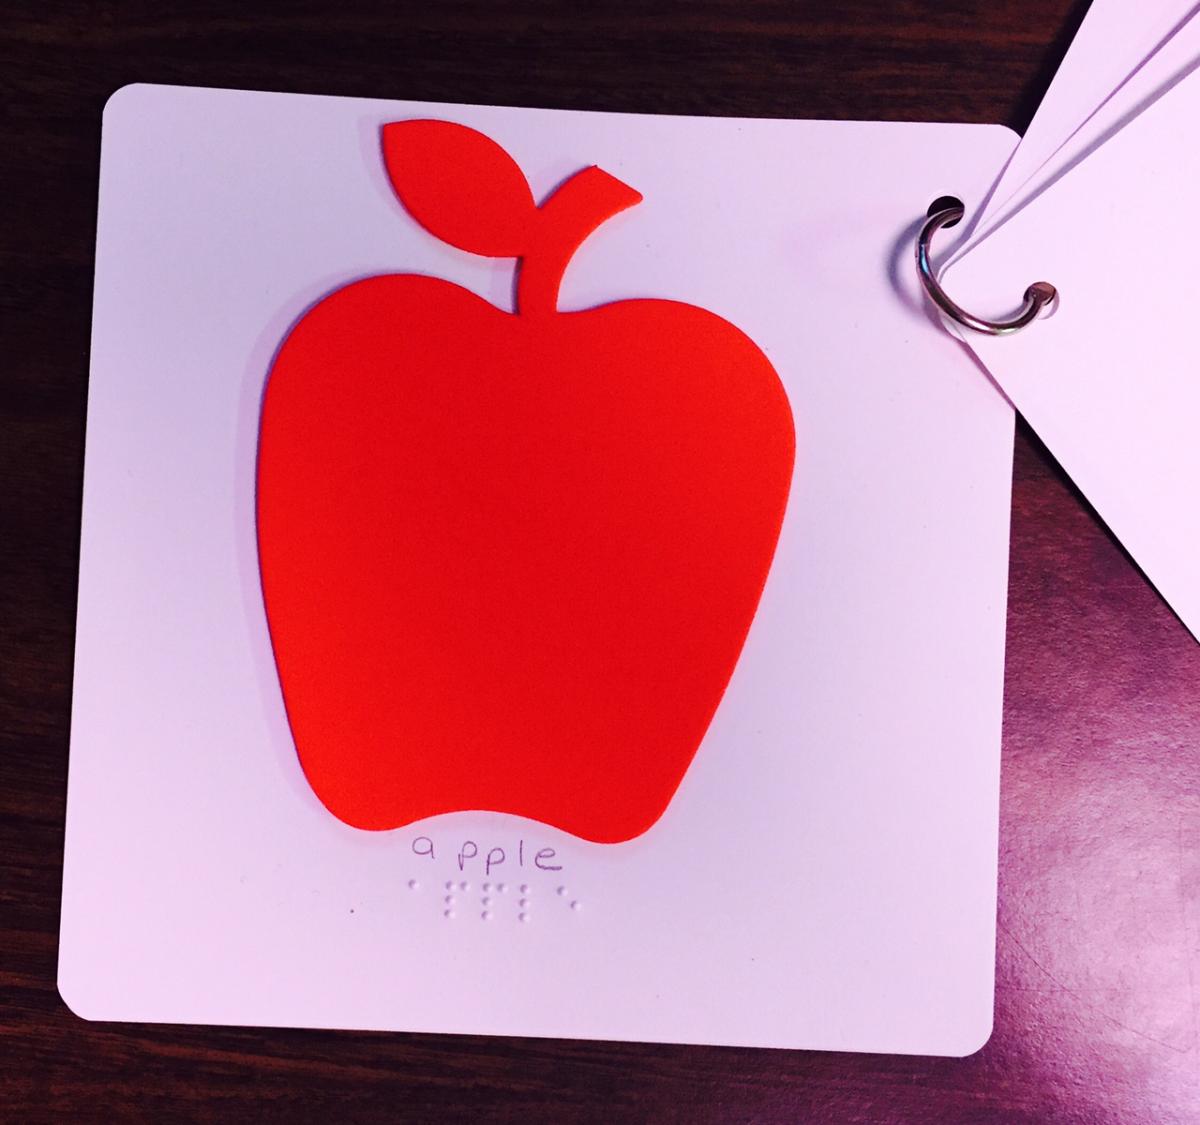
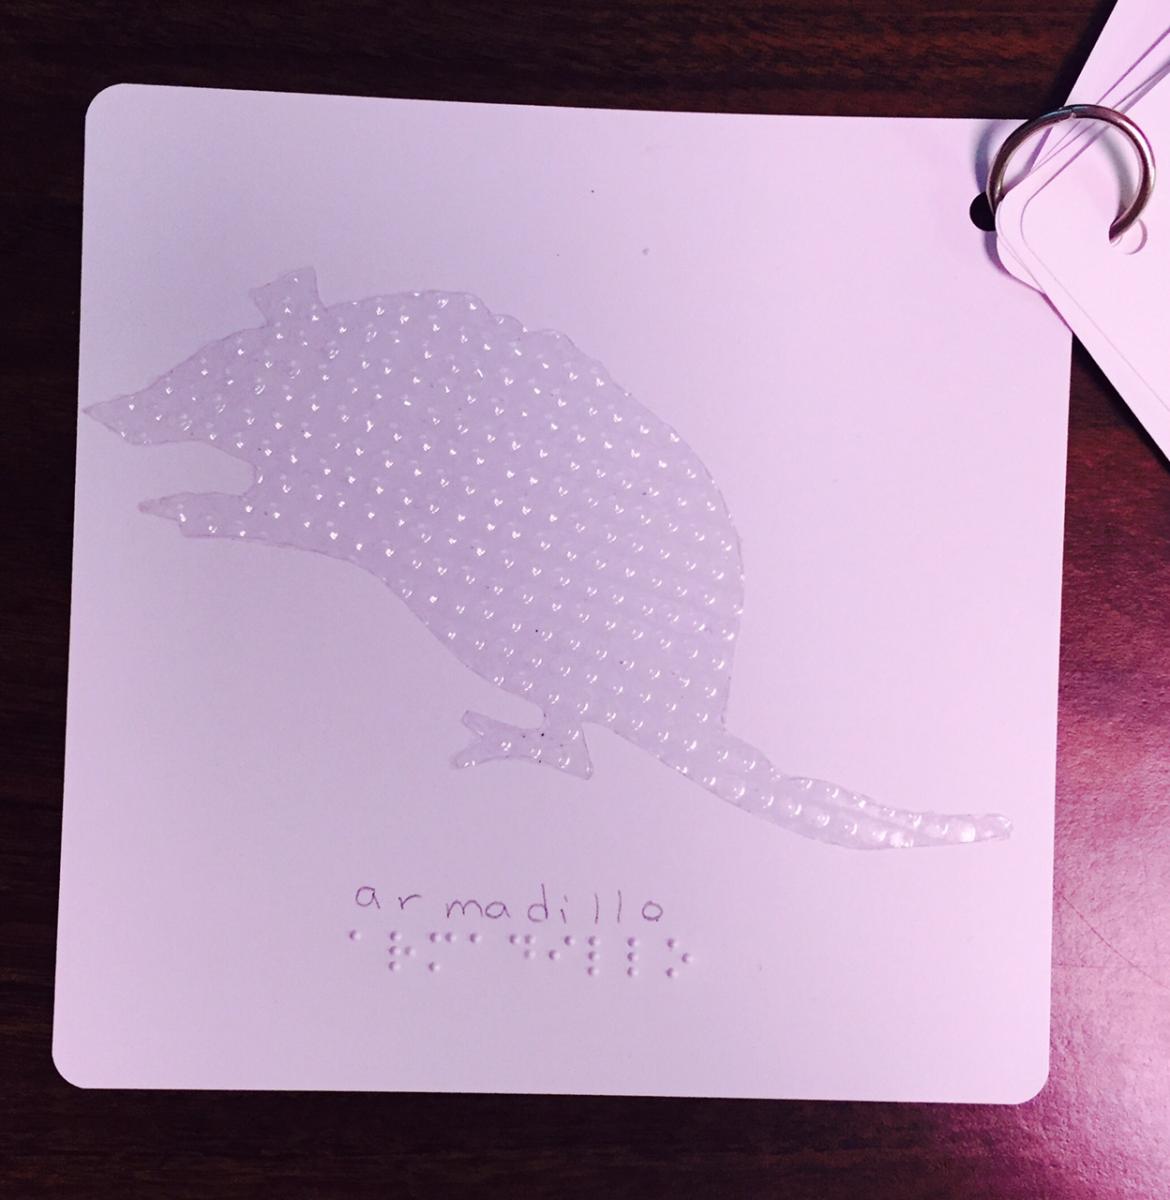
For my prebraille student, I am currently making her some alphabet tactile cards. While she doesn’t recognize symbols in braille yet, she is becoming accustomed to touching the braille and exploring it with her hands. Tactile graphics are very important to teach as well so I thought to combine the two by creating these alpha cards.
Materials
- Card stock or heavy paper or cardboard
- Tactile images
- Textured paper from APH Carousel of Textures
- APH Permabraille paper
- Metal rings
- Scissors or hole-puncher
Procedure
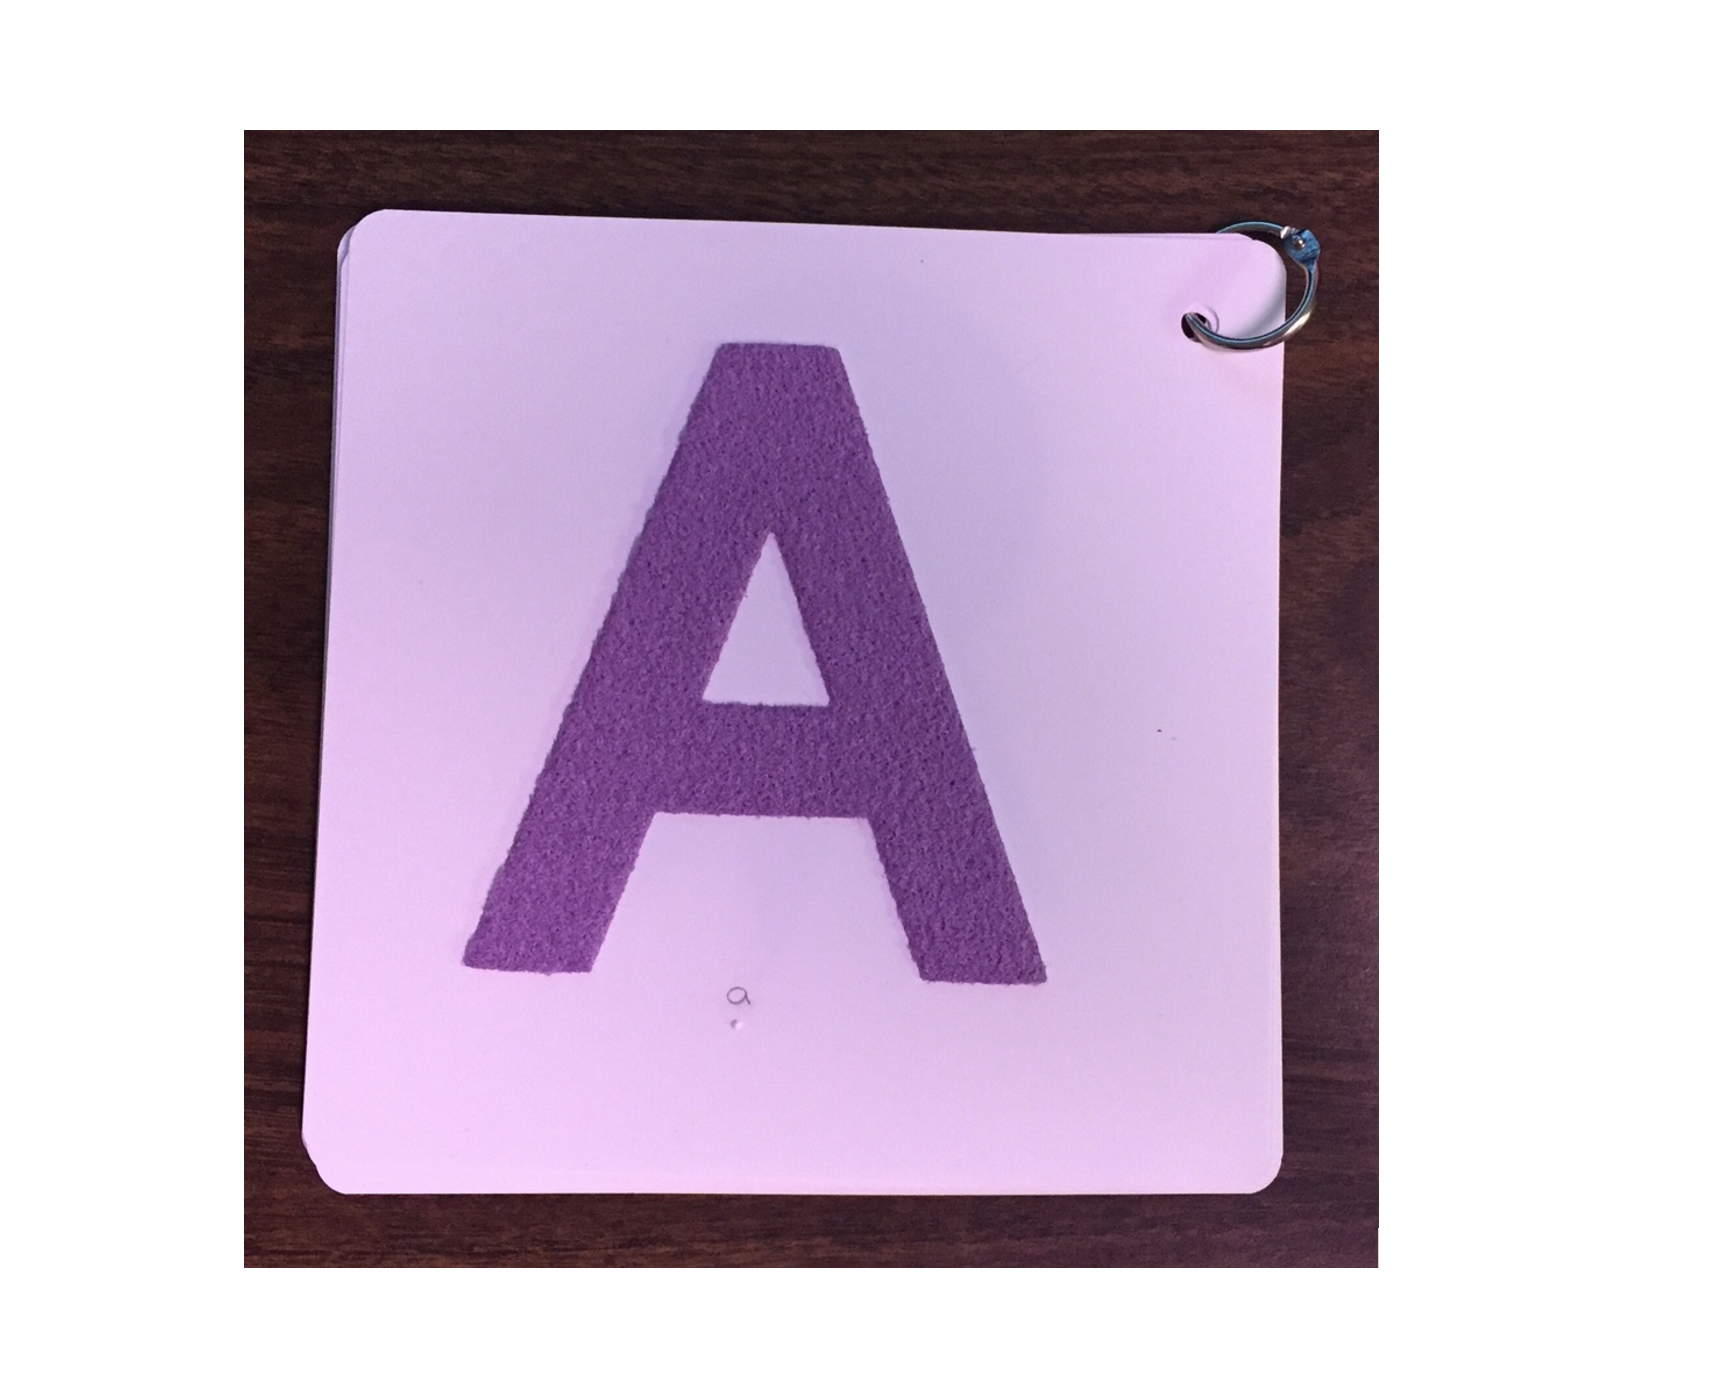
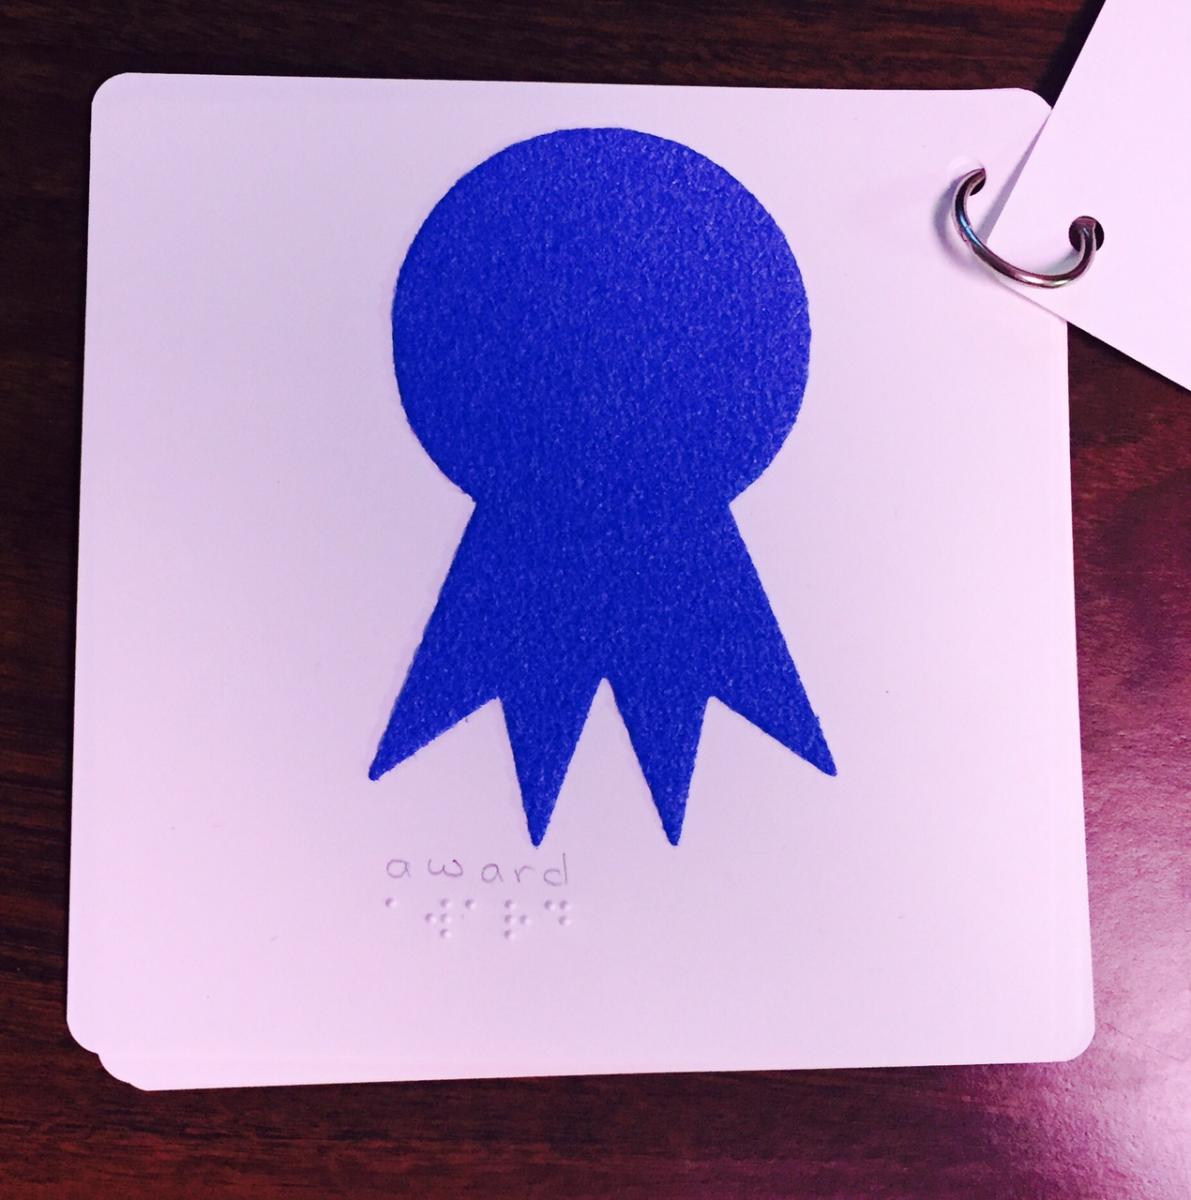
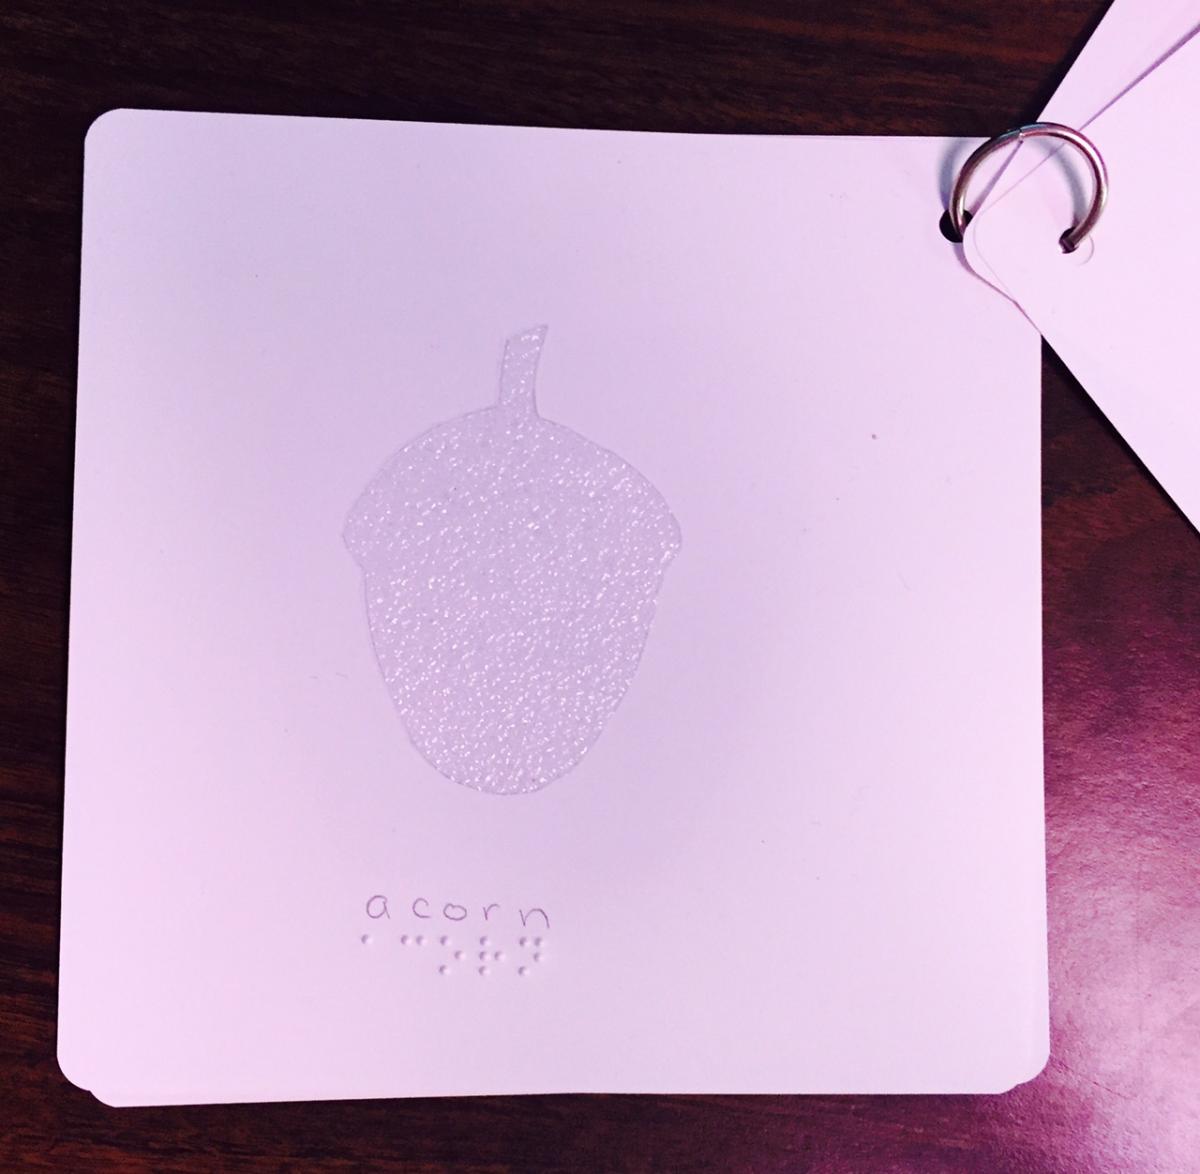
This first one is for the letter “a”. The cover will have that letter in a tactile letter that the print reader is used to seeing. The other images are from the different die cutting machine images I can find on the school campus. A better image would be from the Cricut Machine, as these machines can make any image if you have the right cartridge to do it. I used the textured paper from APH’s Carousel of Textures. I used APH’s Permabraille paper cut into 6×6 inch squares. Then all I need to do is braille the image name on the bottom of the card.
I rounded the corners of each card, as the corners can be a tad sharp. I bought a device from the scrapbooking section in a craft store that looks like one of their shape punches, but this one you insert the corner of the paper and it rounds it off. (Not sure what to call it.)
I put the ring in the top right corner to help my student learn to orient that as the right side up clue. She’ll be needing to learn that once we get into flashcards and the top right corner will contain a cut in it.
