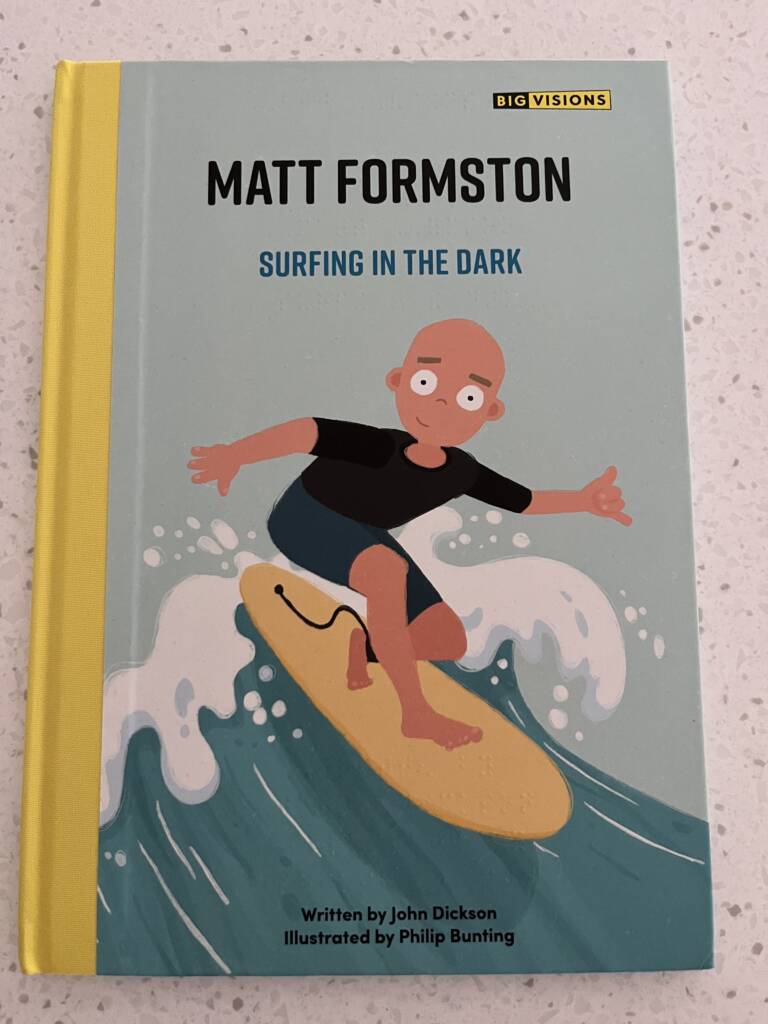
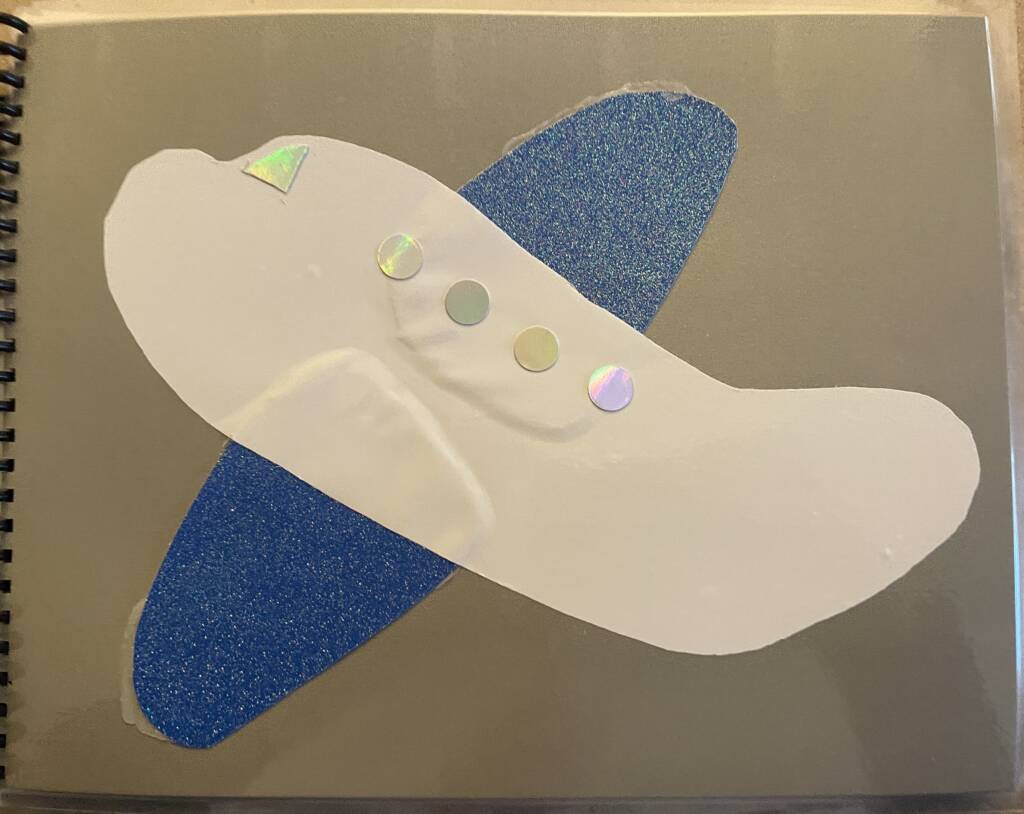
One of the most magical parts of going to a theme park like Disney World or Disneyland is getting signatures from the characters you encounter in your very own autograph book. They sell these autograph books at the parks and you can download ones for free all over the internet. This is something that could be easily overlooked when trying to give your child an authentic experience, which is as close to typical as possible in these parks, as these books are not accessible to people who are blind or visually impaired.
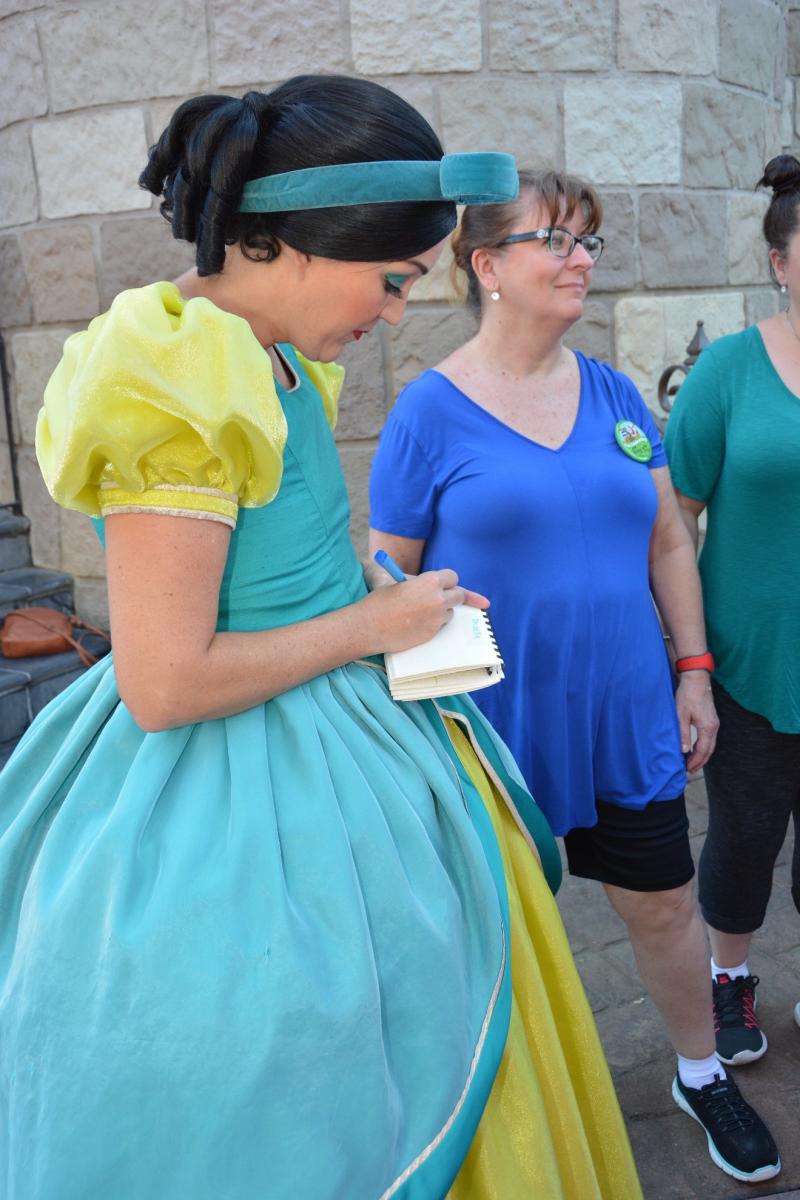
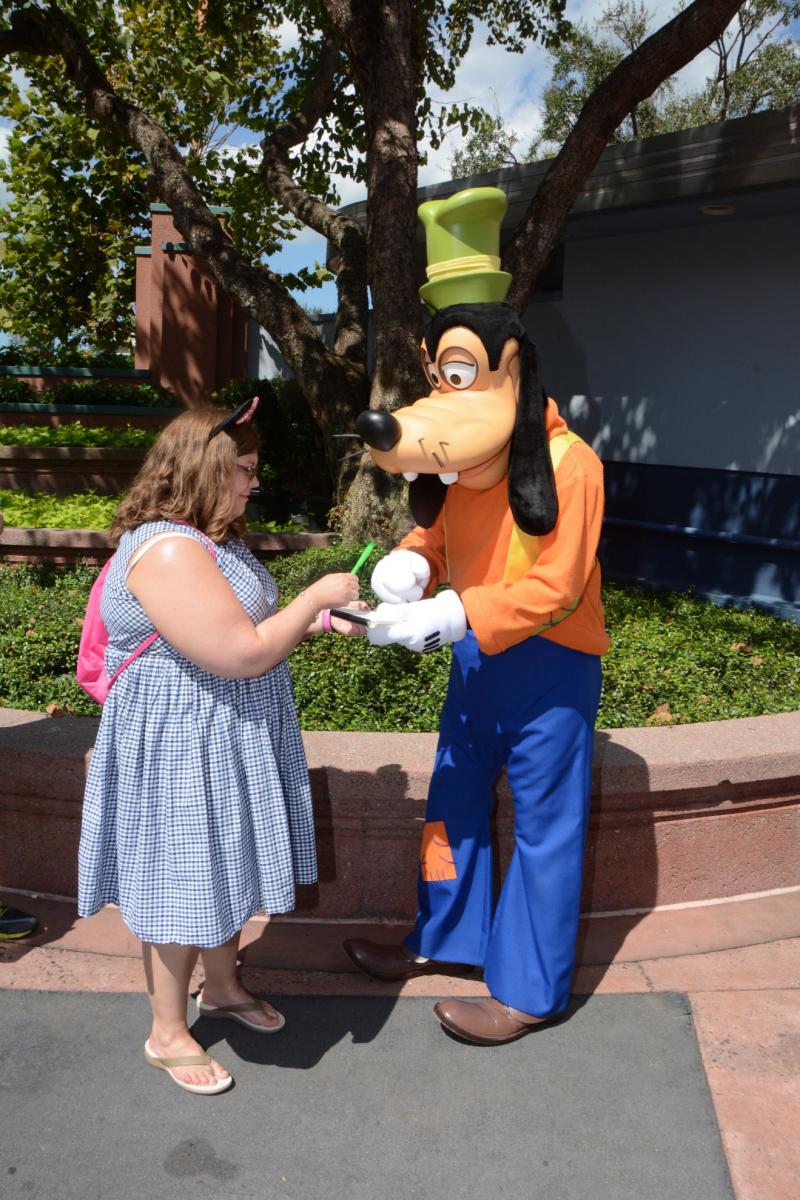
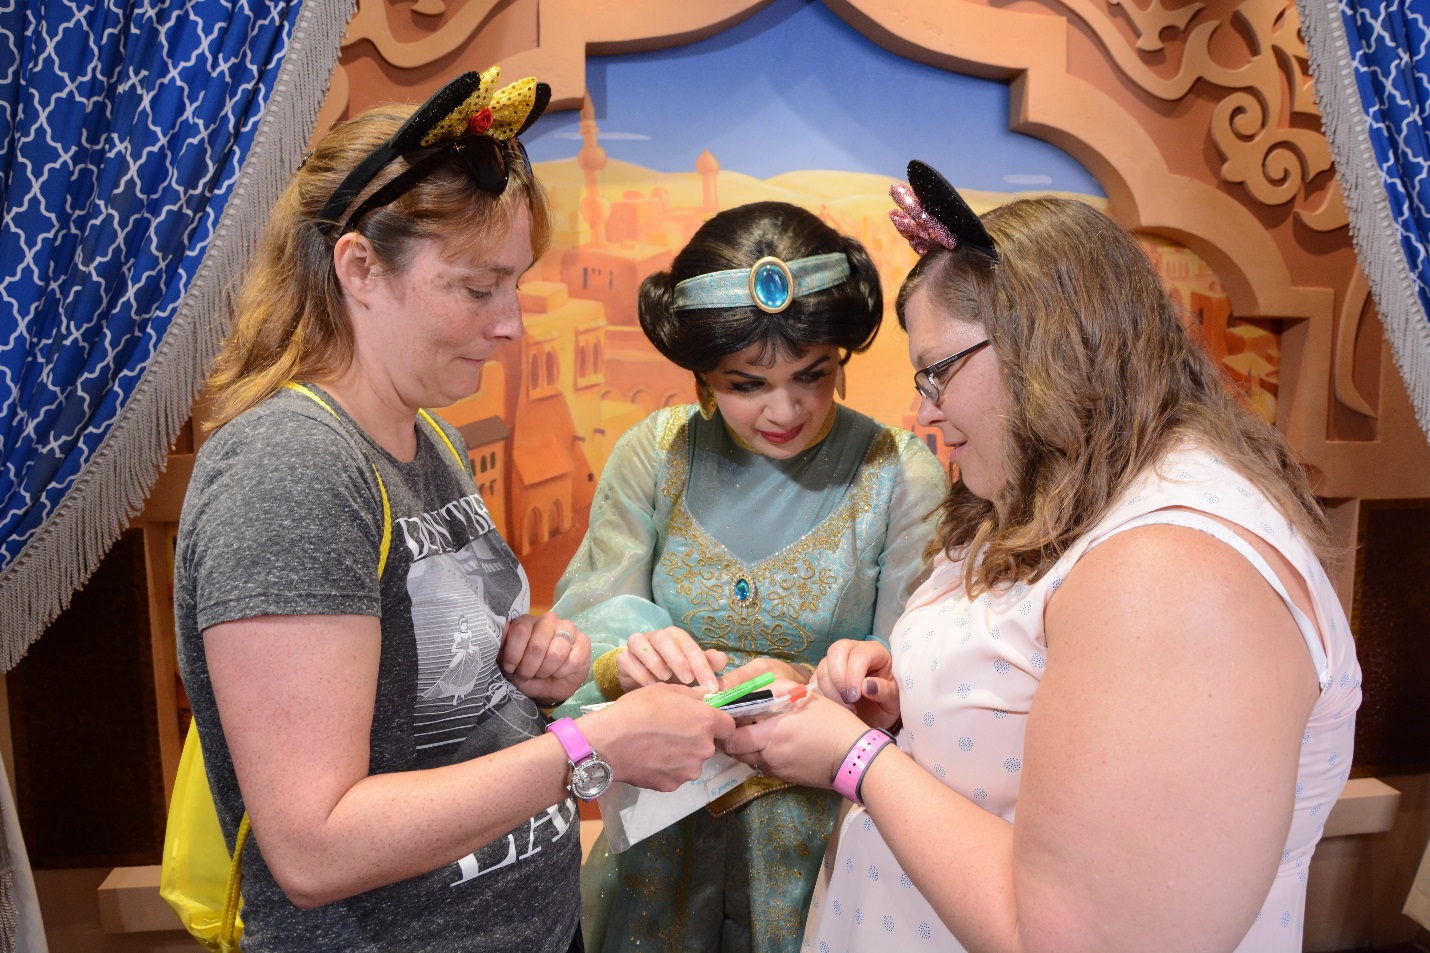
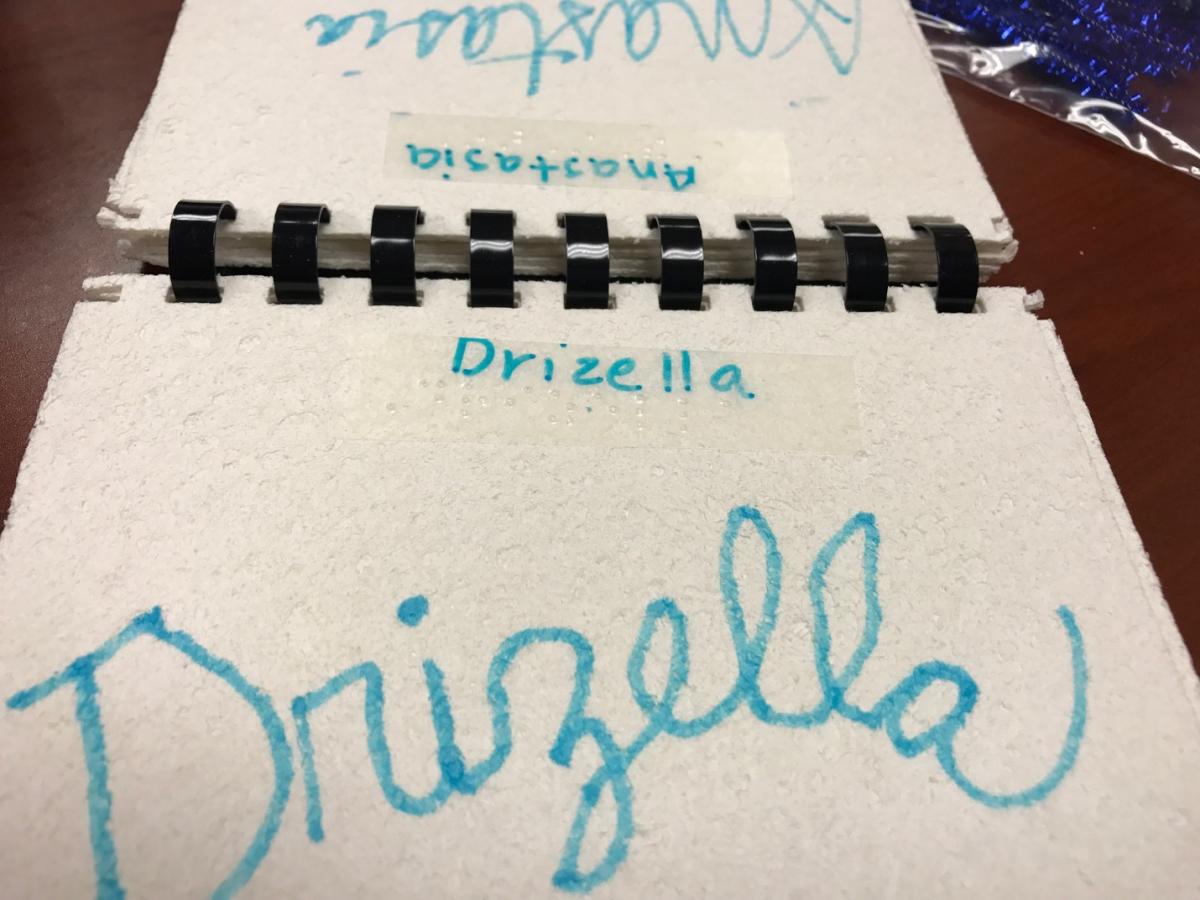
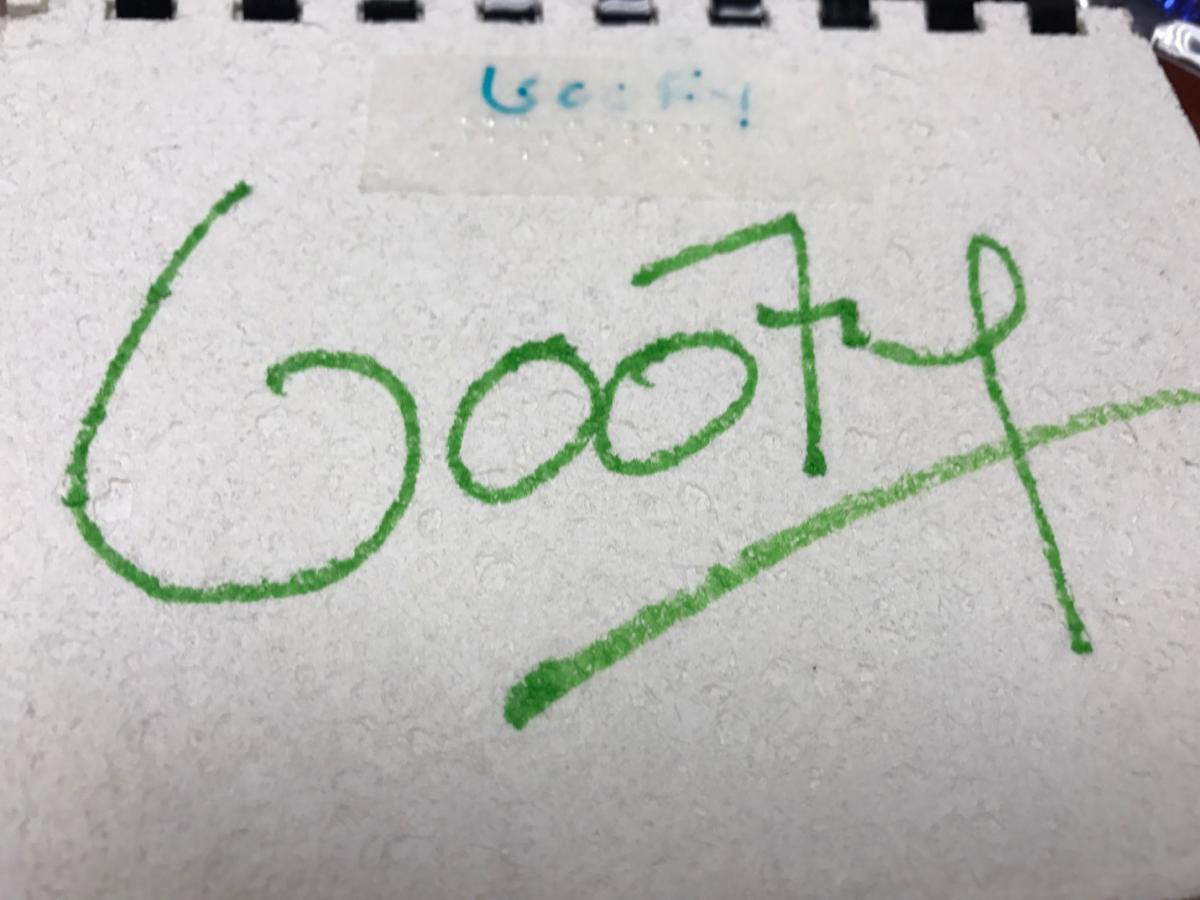
But, there is a way for them to participate in this experience. On a recent trip to Disney World, I decided to make my very own tactile autograph book to take with me to the parks. I met so many characters and many of them were just enthralled and so excited about this very special book. They wanted to feel their names in braille and were amazed when they felt their signatures puff up on the page.
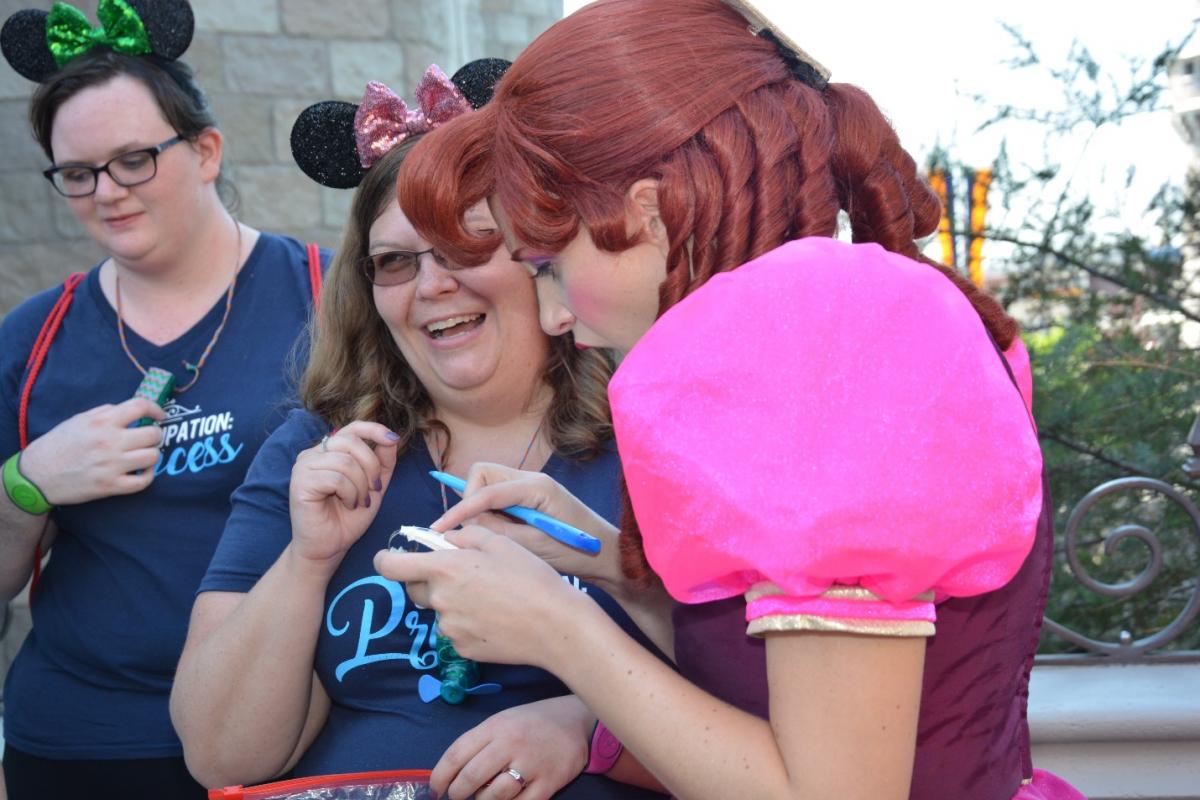
Each autograph is quite unique with specific flourishes. They will be able to touch and differentiate to a degree how each autograph is uniquely different from others. Creating a tactile autograph book for your child takes a little preparation, but will be an experience they’ll never forget.
- Quick Draw Paper: Ordered through APH
- Extra Highlighters: When ordering this paper they will send two highlighters with the paper, but you can really use any highlighter. Just in case they start to dry up, you may want backups. Consider getting larger sized highlighters for the gloved characters. Note: Sharpies and Crayola markers do not work with the quick draw paper, but we have found that the Mr. Sketch Scented Washable markers work even better than the highlighters. Basically, the more moisture in the marker the better, so you will want to make sure the marker isn’t drying out.
- Scissors
- Binding machine or hole puncher
- Plastic binder or key ring
- Braille label paper; I like the sturdy kind bought through APH
- Perkins brailler or slate and stylus
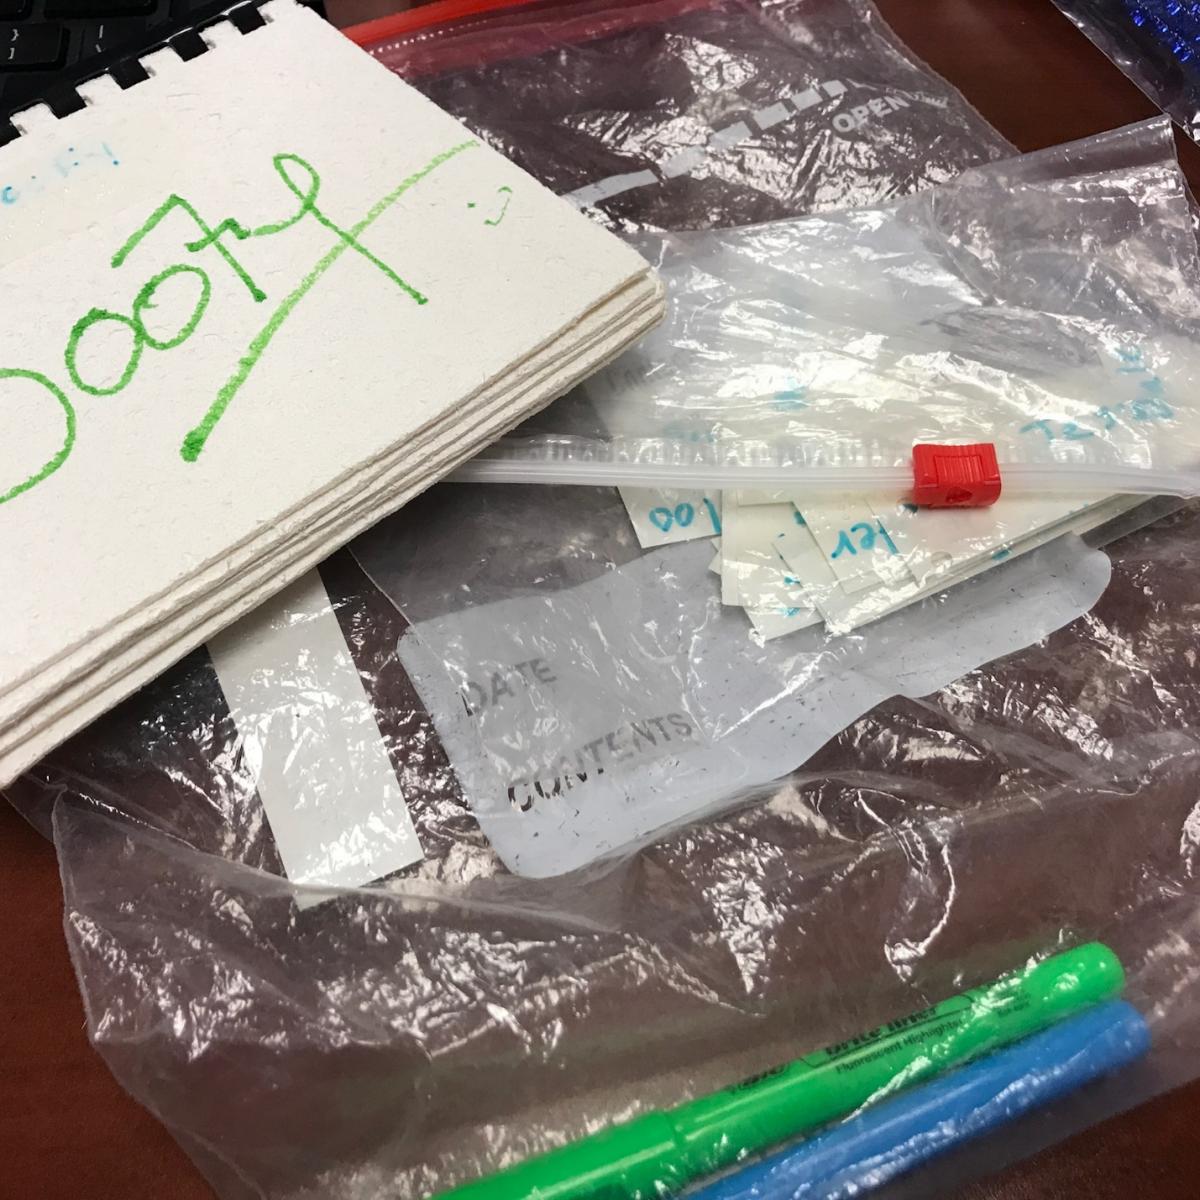
- Zip lock bag (I used one sandwich size and one gallon size)
- Cut the quick draw paper into even quarters. I folded them in half first to give myself a guide to where to cut. I cut 3 sheets into 12 quarter size pieces.
- I used our binding machine at work to punch the binder holes into the paper, then I bound it with a ½ inch book binder. If you don’t have access to a book binding machine, you can also punch a single hole in the corner of each sheet and put on a key ring.
- I then printed a list of all the characters that sign autographs at Disney World. This list is exhaustive and breaks it down by park and activity.
- Braille out the characters names and cut out
- Place the character’s braille name labels in the sandwich bag and the quick draw paper book and highlighters along with the sandwich bag of labels all inside the gallon size bag.
- You’ll carry this with you to the park. I just had the names all in one bag and while I was in line to meet a character, I pulled out the specific label and stuck it on the top of the page I would have them sign. You may also want to pre-organize the character labels using a coupon accordion organizer. You could organize them alphabetically for easier retrieval.
- Have them bare down well when signing if possible.
- You can use the front and back of each page.
I hope you are able to enjoy this very special experience with your child in the future!

