Learning how to spread items (such as butter, peanut butter, jam, mayonnaise) on bread is an important basic skill in preparing meals. This skill can be challenging for individuals with visual impairments, and these step-by-step instructions in written and video format are designed to teach the process systematically. Print out the step-by-step instructions and ask the students to follow the directions in print or braille. This is a fun way to incorporate literacy skills into a cooking activity and is a way to practice independent living skills and other areas of the Expanded Core Curriculum.
Expand this activity by having students write out the steps to a different task. Invite them to share the instructions with someone else and have the second individual follow the directions to see if they are complete and accurate.
Step-by-Step Instructions to Spread Items on Toast or Bread
1. Always wash your hands with soap and water, and prepare your workspace prior to food preparation.
2. When first learning to spread, practice with a firm item, such as toast, so that your knife doesn’t push through the surface and so that you can hear the knife moving on the surface as you spread. As your skills begin to improve, choose other firm items such as crackers or melba toast, a firm bun, an English muffin, or a biscuit to spread on. Finally, progress to softer items, like bread or a pancake, on which to spread.
Secondly, choose a soft spread (like margarine or softened butter) to begin your practice so that it spreads easily and doesn’t clump into chunks or push through the toast. This can be very frustrating.
3. When scooping the spread, NEVER re-dip the spoon or knife if it has touched anything else. If you re-dip, you may find that crumbs or other bits of food get into the spread, and mold will develop because of cross-contamination from other food sources.
Also, when scooping your spread, a table knife works well for thick spreads like butter, margarine, cheese whiz, cream cheese, and nut or seed butters, but you may prefer a spoon for softer spreads like jam, jelly, honey, hummus, or condiments such as mayonnaise and relish.
4. Ensure that you are standing at a counter or table where you can work comfortably. Place a gripper or wet cloth beneath your flat plate or cutting board so that it does not slide around as you practice spreading.
If you have low vision, please practice with color contrasting items. For example, spread lightly colored margarine on brown toast, which is placed on a flat white plate or cutting board. This will help you to visually isolate each item for easier access.
5. Think in patterns. A systematic pattern will help you to cover all parts of the toast with your spread. And, the pattern I use may not be the best pattern for you. You may need to experiment a bit to discover what works best for you. I know that some people like to spread with the back of a spoon while others like to use a table knife. For today’s demonstration, I will use a knife to scoop and spread margarine onto a piece of brown toast.
6. Here we go.
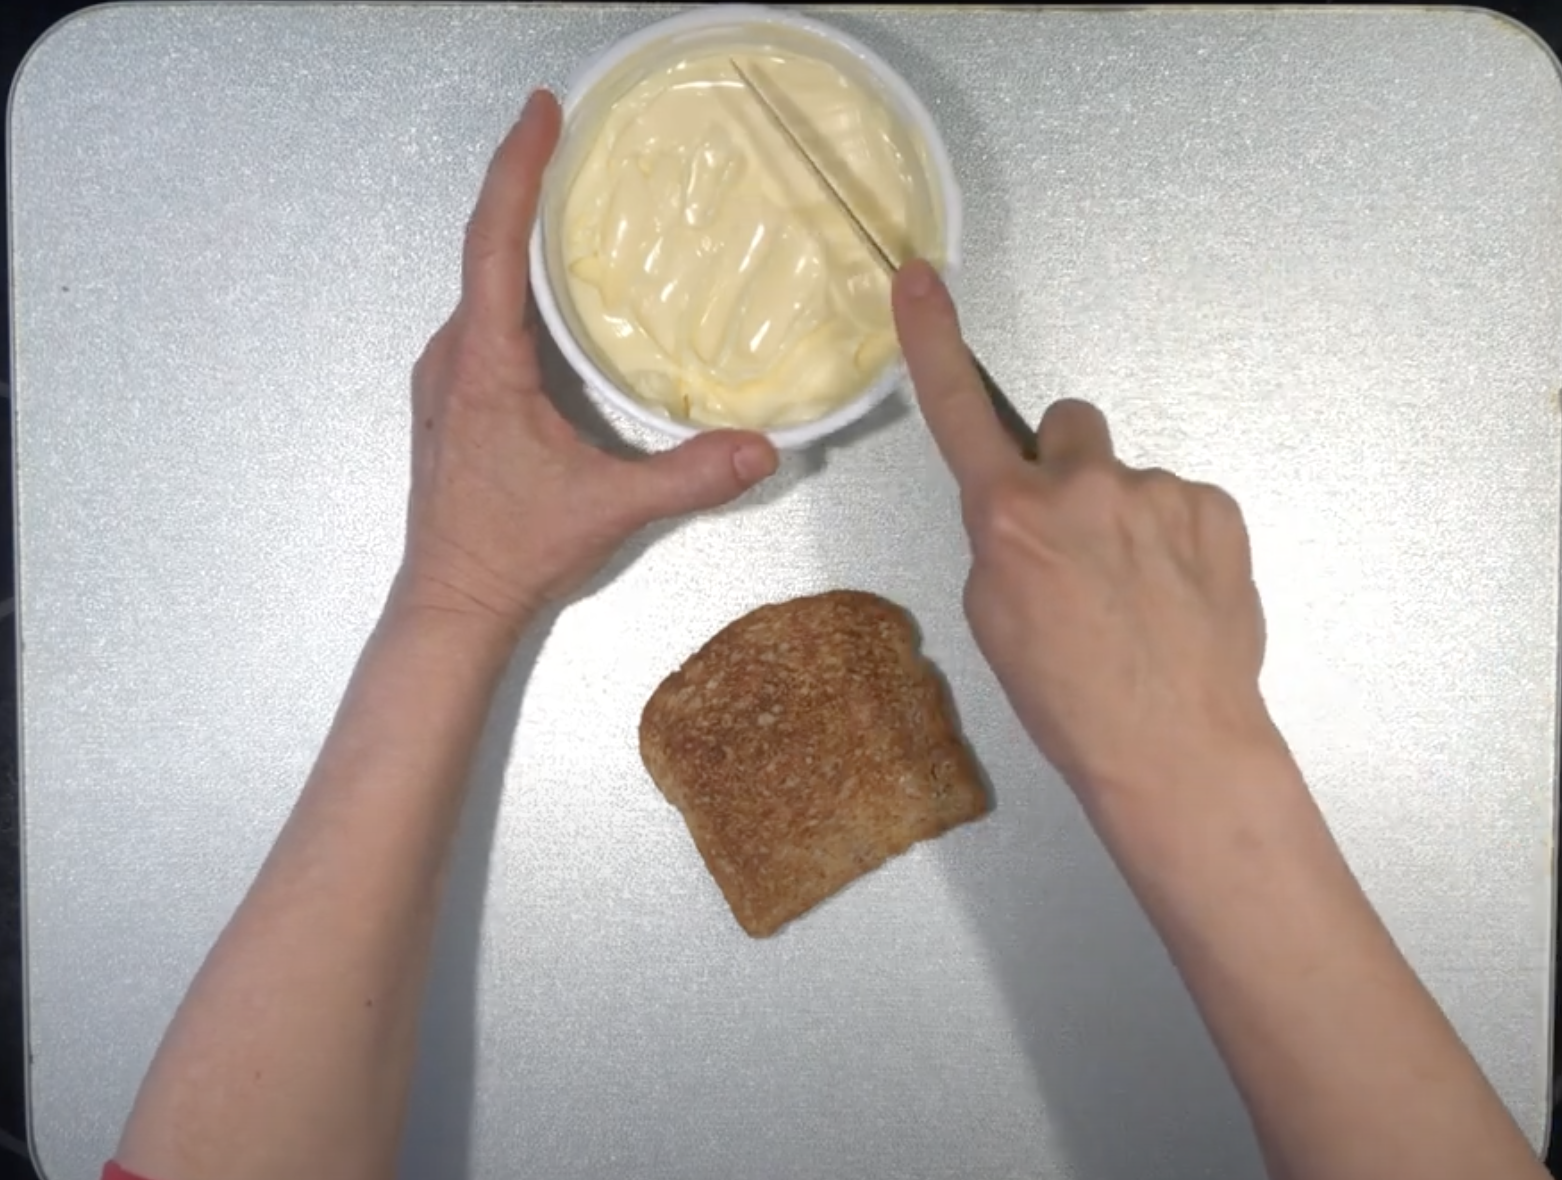
Place your toast onto a flat surface. I am using a white cutting board with rubber feet so that it won’t slide around while I work.
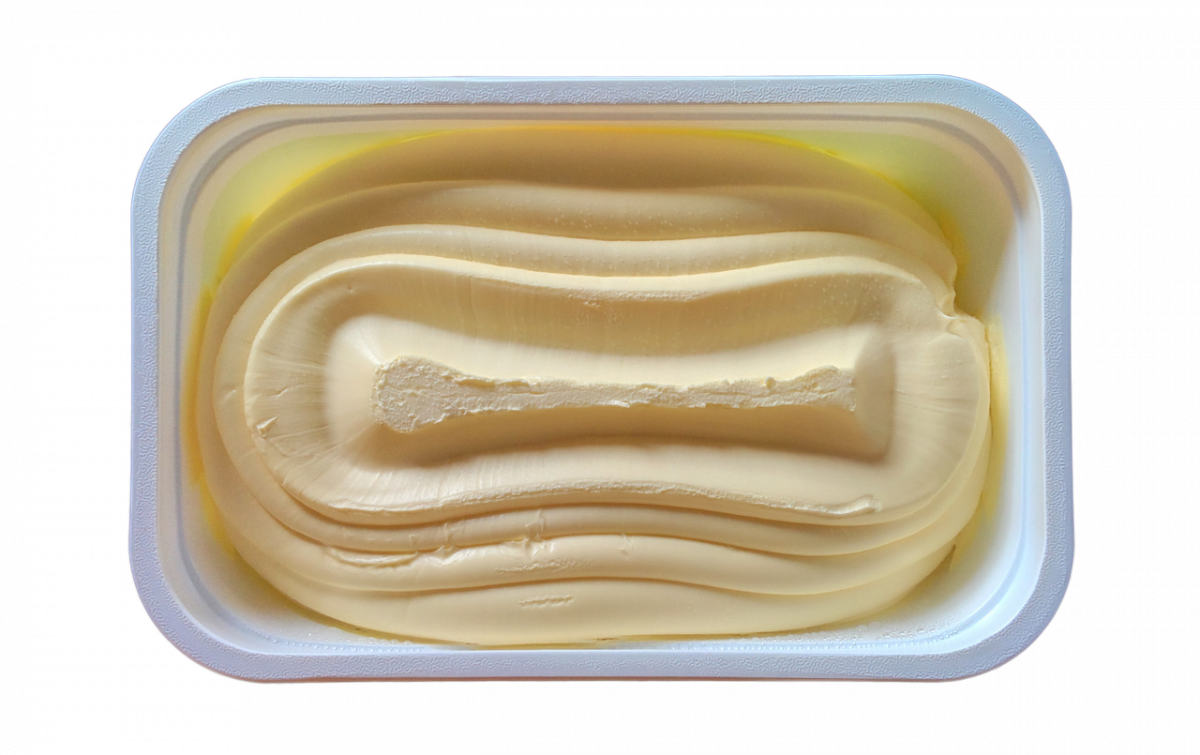
Place the margarine container above, or at the top edge of your plate. Hold the margarine container with your non-dominant hand. Grasp the knife by the handle with the pointer finger on the top of the blade. Reach into the container with the table knife, jagged edge down and for right-handed people, the point facing 10:00 or slightly to the left. If you are left handed, the point of the knife with be at 2:00 or slightly to the right. Press in as if you are making a cut, but not so far that your fingers touch the margarine. Now, pull the knife toward your body and when you hit the edge of the margarine container, twist the wrist holding the knife upward so that the jagged edge of the knife is pointed toward the edge of the margarine container. Now, pull up and you should have some margarine sitting on the flat side of the knife’s blade. It will stick there unless your knife is warm (for example if it just came out of the dishwasher), in which case the margarine will melt and fall off.
Release the margarine container with your non-dominant hand and prepare to grasp the toast with that hand. If your hand is big enough, and if you have sufficient mobility, grasp the toast on opposite edges with your middle finger and thumb. If you prefer, you can make a corner shape with your fingers pulled together and pointing away from your body with your thumb perpendicular to the fingers at a right angle. Place the hand flat on the cutting board and place one corner of the toast into the corner of the non-dominant hand. I like my toast to be oriented with one corner pointing toward my body.
Next, bring your knife and butter to the far corner of your toast. Place the serrated edge of the table knife perpendicular to the surface of the toast as if you are going to cut it. Now, turn your wrist slightly downward so that the blade of the table knife is at approximately a 45° angle to the toast. This is the angle you will use for the spreading activity.
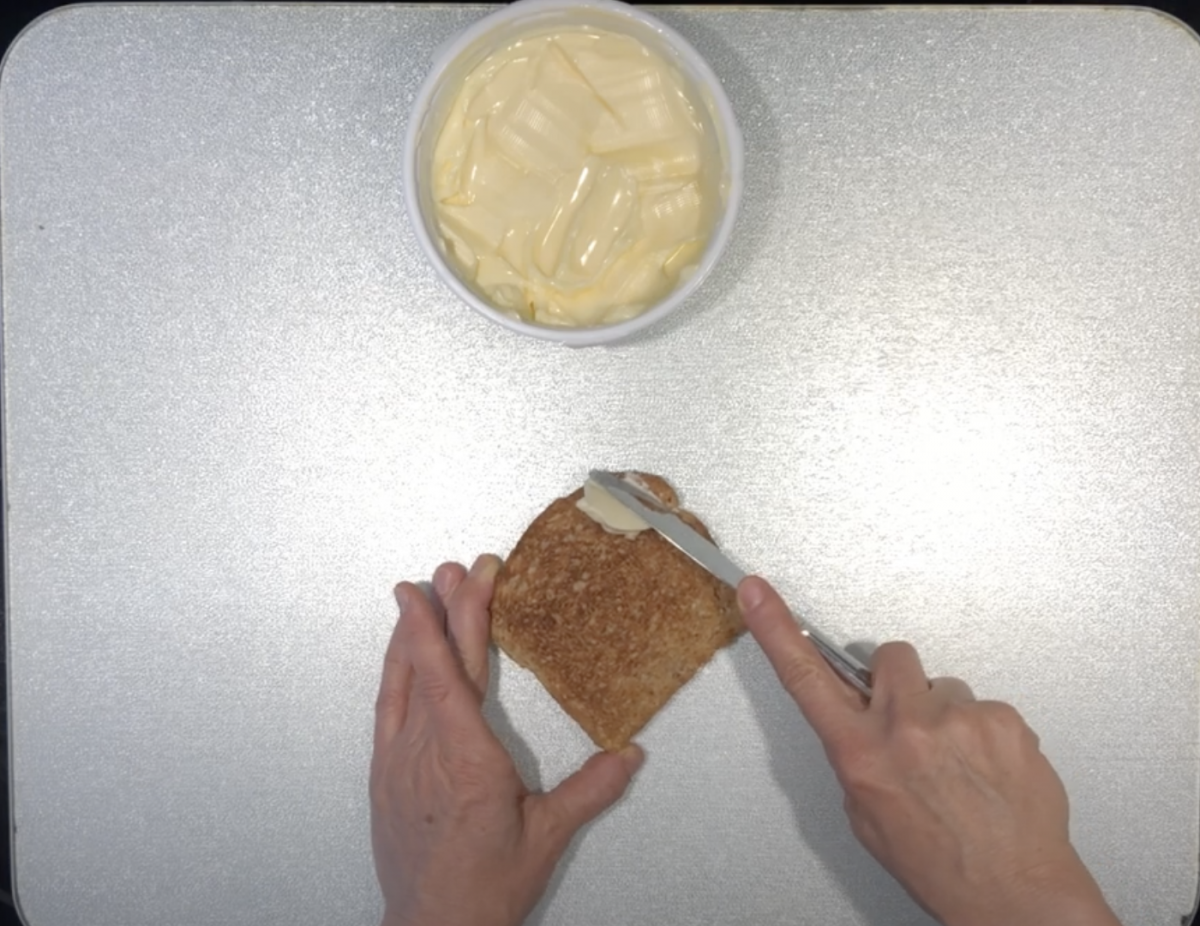
Now, with gentle pressure, pull the knife and spread toward your other hand until you reach the edge of the toast. It’s okay if you get butter on your hands; you can wash them when you are done. Lift your hand and the knife slightly, twist your wrist upward (to keep the margarine on) go back to the starting edge, then move the knife down that edge of the toast approximately an inch or a few cms or until it is just past the part which has been spread. Repeat the spreading process a few more times or until you reach the bottom edge of the toast. After your final pass, you may put the knife with margarine side down right onto the toast and pull it down and off the toast to get the last little bit of margarine off of the knife.
Of course, it will take practice to know how much margarine you’ll need. If you discover visually, through touch, or when you eat your toast, that you’ve estimated incorrectly, continue to practice. Remember to get a new knife (or spoon) if you’ll be adding a second scoop of spread so that you don’t contaminate the container of spread.
This concludes my lesson on spreading. Please remember that it takes a lot of practice, and that you may need to experiment with what works best for you. Have fun!
Download the instructions in Word format.
