Creating video content is THE trend on social media. People of all ages are doing it! After working with two middle school students who talked about TikTok, I found the perfect way to get them to talk about their vision, needs, and themselves, and to get to their teachers for the following school year: VIDEO!
I talked to the students about creating videos for their 2022-2023 school year teachers, but we also had goals we needed to meet. The process I used required the students to use their screen readers, typing skills, and their BrailleNote Touches. They accessed the document from multiple pieces of equipment utilizing Google Docs. Below you will find materials/resources and the steps we used to complete this process. My students enjoyed creating the videos and I hope yours do too!
Materials
- Signed permission to video/photograph
- Google Doc access
- BrailleNote/screen reader
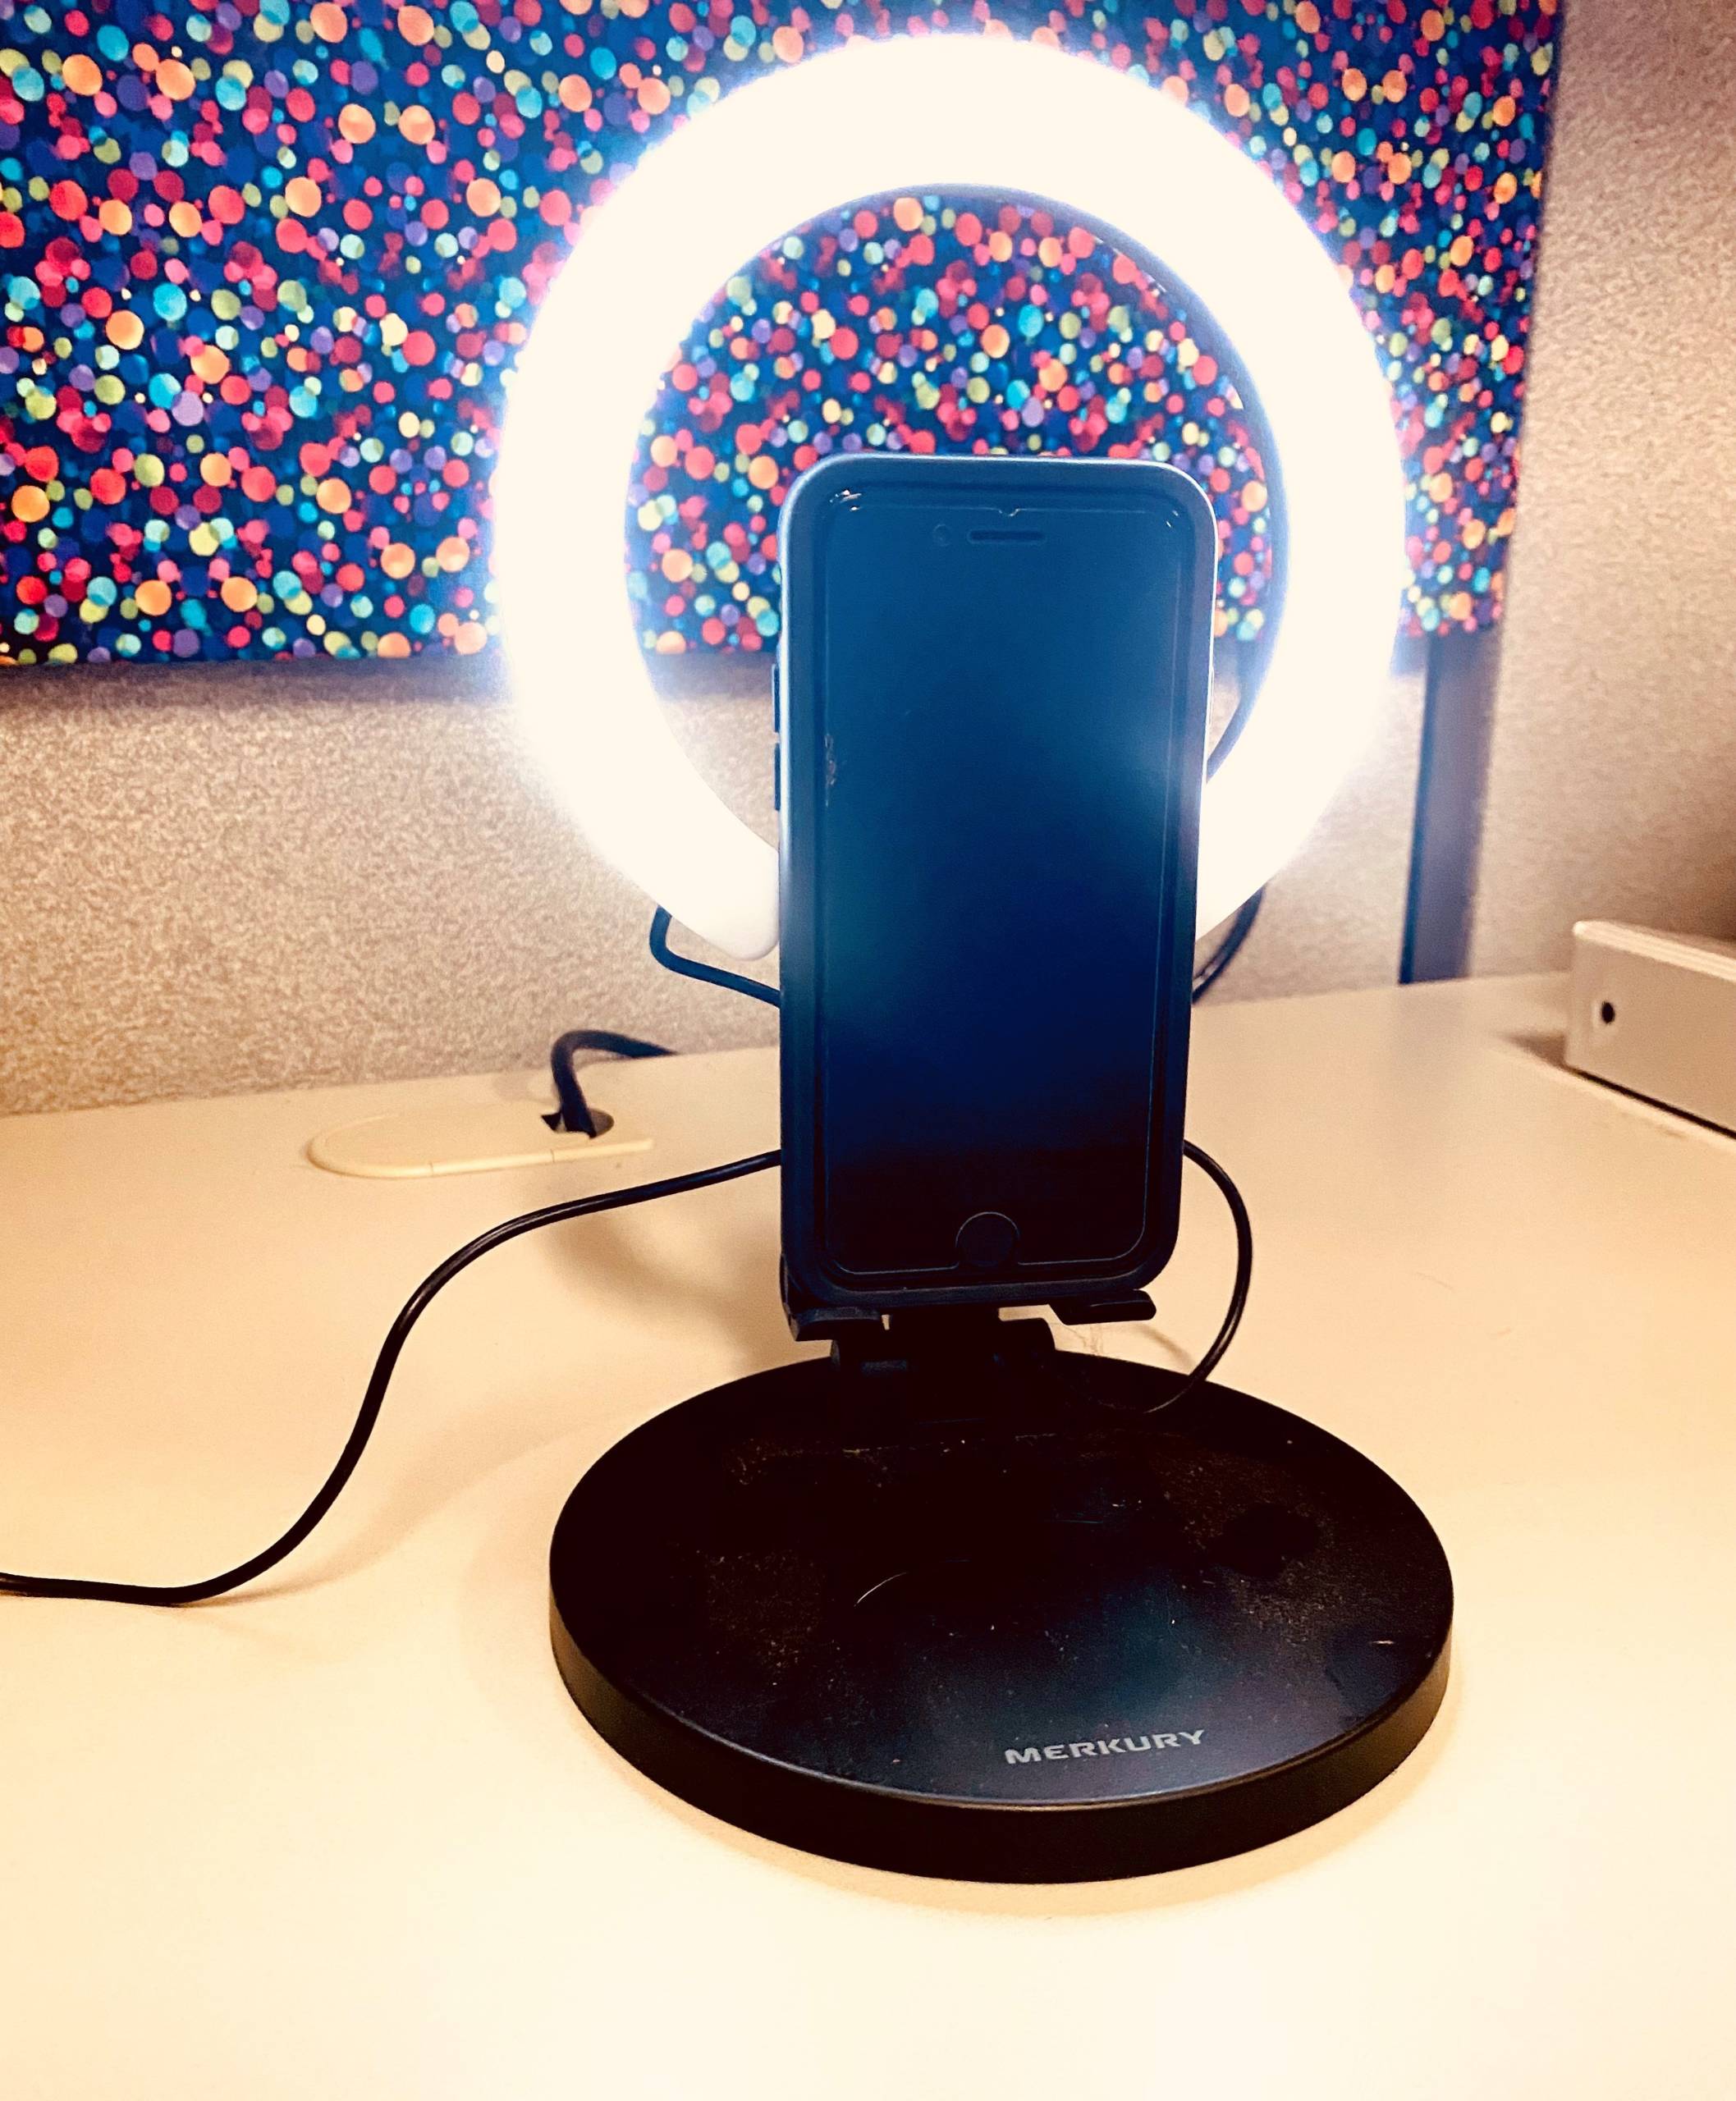
- Ring light
- Video recording device (smartphone)
Instructions
Step 1: Create an Outline
Attached is a copy of the outline I shared with my students.
This outline has 7 sections. You can tweak this however you need to for your students. This outline contains the following sections: About Me, About Your Vision, About You as a Learner, Technology and Equipment, Top 5 Teacher Tips, People Who Work with You, and the Closing.
Step 2: Share Google Doc Outline with Students
This allows you to track their progress independently.
This is extremely easy! Just share the document like you do any other time. To track their progress, Google Docs has a history link that you can click on to monitor your student’s progress from behind the scenes.
Step 3: Brainstorm
The student will work through the outline and brainstorm their ideas.
This step is something the students can work on independently. However, this step took the longest to complete. When introducing a section, if the student felt confident enough to take it on, I would either assign it for homework or give them time to do it. We discussed having them show their technology to the camera.
My favorite section to hear my students’ perspectives was their “Top 5 Teacher Tips.” This allowed the student to write the things teachers do that drive them crazy! When it came to the “Top 5 Teacher Tips,” we discussed ways to reword their ideas and provide positive examples because as I would say, “You haven’t given them a chance yet!” Both students wanted to address the importance of using them as a resource and the benefits of descriptive language.
Step 4: Create the Script
The student will take their outline with the brainstormed information to create a video script.
The students were able to do this with minimal support. The area I supported was reminding them about transitioning from one category to the next.
Step 5: Video Preparation
Have a conversation with your student about the appropriate look and their camera set up. Discuss practicing their script at home.
I asked my student about what they thought would be a good outfit to wear. I asked follow-up questions if I felt they needed them.
Step 6: RING LIGHT! SMARTPHONE! ACTION!
Time to record the video. You may need a few takes!
Make sure you have a ring light and their background set up. The student should set up their table how they want it. Both students used their BrailleNote Touches for their script reading.
Tips:
- Let them bring clothes to change into
- Give a big motivational speech to remind them how amazing they are
- Rehearse. When they stumbled, we discussed where they should take a breath or slow down
- Take breaks if needed
Step 7: Video Sharing
Share the video or video link with your student. I had a hard time compressing the video, so I created a DropBox. I uploaded the video and shared the link with the students.
Step 8: Write an Email and Share the Video Link
The students wrote emails to their case managers and asked them to share the link with their teachers for the 2022-2023 school year. This occurred at the end of the 2021-2022 school year. If the student was getting a new case manager, they received the link directly and were asked to share the video with the teachers.
Throughout this process, my students and I learned so much about them. The case managers and transcriptionists who viewed the videos were thrilled and were excited to share them with their teachers. I never thought social media would be the inspiration to provide a smoother transition for my students. I’m hopeful that the beginning of the 2022-2023 school year will be as stressless as possible surrounding my students’ teachers, their new TVI, and my students.


