Apps and technology
VNC Viewer App
Tips on using the VNC Viewer app with students who are blind or visually impaired
By Marsha Bork
Here is why I like this app so much…
Once the connection has been established between the Apex and VNC Viewer:
- A student can put their iPad on their desk/table and the teacher can now see exactly what the student is doing on their Apex. Many teachers have told me they feel lost when trying to assist a VI student using a braille note taker because: a) braille scares them; b) the student is working so fast on the notetaker and they don’t want to interrupt, and c) how can I help if I don’t know braille?
- If a student is doing a group project their peers can see exactly what their peer is doing
- Allows student to have a peer/teacher review class assignments/tests and get immediate feedback (which is what we want for all students, yes!)
Viewing a BrailleNote Apex’s Visual Display Wirelessly
Did you know that you can view the BrailleNote Apex’s visual display using only a wireless connection and your smartphone or tablet? If your BrailleNote Apex is running KeySoft 9.4.1 or later, this functionality is already available to you. If you are not running the latest software, simply visit www.humanware.com/braillenote_support to download your free update.
Before you start ensure your Braille Note and mobile device are connected to the same wireless network. To connect to your network using your Apex:
From the BrailleNote: 
- Activate the options menu with space with o (function O on QT units).
- Press the letter c for the connectivity menu.
- Press the letter w to select the wireless menu.
- When asked if you want to turn on wireless? Press the letter y followed by enter
- Press the letter s to scan for networks.
- Press the space bar until your desired network is shown. Activate it by pressing enter.
- Press space to navigate to the security key?
- Type in the wireless security password. Remember to use drop numbers if necessary.
- Press the main menu key or space with all 6 dots to jump to the main menu.
- When asked if you want to add this connection? Press Y.
From an iOS or Android Device:
- Tap settings.
- Tap WIFI
- Tap the network you wish to join.
- If requested, enter the security key.
- Tap join.
Note for school networks, more information may be required both from the BrailleNote, and from the iOS device to connect to the network.
Next we will establish a VNC visual display connection. If you are using an iOS device visit the App Store. For Android devices visit the GooglePlay store and download the VNC Viewer. This is a free app.
From the BrailleNote:

- Type space with the letter o (Function O on QT units), for the options menu.
- Type the letter v for the visual display settings.
- Type the letter w to activate the Wireless visual display and press enter.
On your smartphone or tablet:
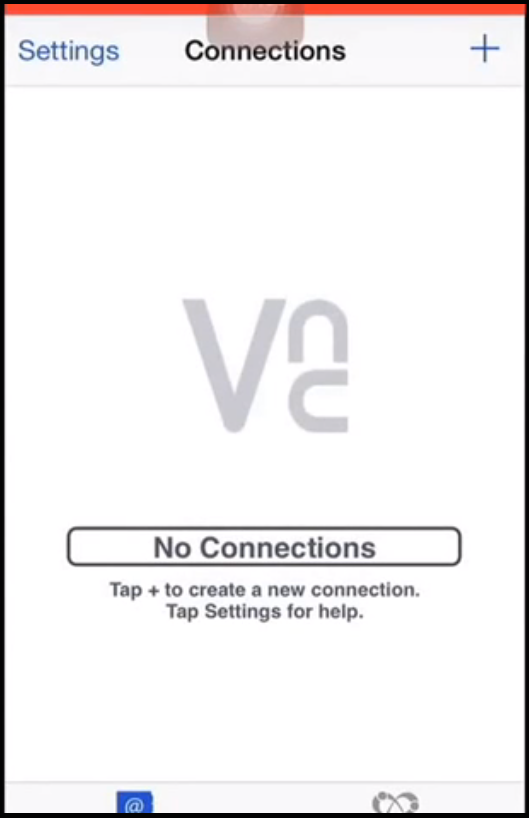
- From the iOS or Android device open the VNC viewer, and press the plus sign to add a connection.
- From the Braille Note read the IP address displayed in braille, and enter it on the IOS device in the address field.
- Tap next.
- Give the connection a name, and tap next.
- If you do not wish for the connection to be password protected, press the letter N on the braille note. Tap connect on the IOS device, and a connection will be established.
Now you will be seeing the BrailleNote’s visual display on your smartphone or tablet. To close the connection, tap the X on the lower right of the iOS screen. Tap disconnect, and the connection will be closed.
Alternatively you can use a paid app for iPads and iPhones called Remotix VNC & RDP which costs $19.99 on the App store. There is also a free “lite” version which works for 5 minutes at one time which allows you to try the app out in your environment. The major benefit of this app is that you do not have to always know the IP address of the BrailleNote. The app simply scans for VNC connections and displays them for you.
If using Remotix, follow the BrailleNote instructions above to start the visual display, and launch Remotix on your iPad or iPhone:
- On the left side of the screen tap “Net Bios”.
- On the right side of the screen you should see your Apex appear. Tap it.
- Tap done in the upper right hand corner.
You should now see the visual display on your screen and the Apex will have said “Connection established.
Using Your Visual Display without an Active Internet Connection:
Keep in mind that to view the Apex’s visual display on your smartphone or tablet, it is not necessary to have an active internet connection. It is also possible to use a smartphone as a wireless hotspot for the connection.
Alternatively you can purchase an inexpensive wireless router from your local electronics store and plug it into the wall. In school or business environments with complicated wireless security, this method may be ideal.
Once plugged in it will begin emitting a generic wireless signal which both your smartphone or tablet and Apex can connect. For example, if you buy a Linksys router it will emit a wireless signal simply called Linksys.
Using the above steps simply connect your Apex and mobile device to this network and you can begin to view the Apex’s visual display immediately on your smartphone or tablet.

