Resource
iOS Device Skills Checklist
iOS Skills checklist for teaching students who are blind or visually impaired
By John Rose
The following checklist is based on the following objectives:
- Objective 1 – Increase knowledge of iOS Device concepts (e.g. physical controls, apps, gestures),
- Objective 2 – Increase ability to access an iOS Device using VoiceOver (e.g. navigating iOS Device, accessing VoiceOver settings, launching and using apps), and
- Objective 3 – Increase knowledge of iOS Device capabilities and usability (e.g. internet searching, notetaking, orientation, matching Bluetooth devices).
Objectives 2 and 3 are based on specific tasks that are integral to success with compensatory academic and independent living skills.
Skills
Objective 1: iDevice Concepts
Concepts
- Locates physical controls: Power/Sleep/Wake, Rotation Lock, Volume, Home Button, Dock Connector, Head Phone Jack, & Front Camera.
- Understand concept of “Home Screen”
- Understand concept of “Dock”
- Understand concept of “folder”
- Understand concept of “menu” and “sub-menu”
- Understand concept of “rotation” (portrait/landscape)
- Understand concept of “apps”
- Understand concept of “gestures”
- Slide (systematic searching using grid pattern)
- Swipe or Flick Right, Left, Up, & Down
- Tap
- Double Tap
- Double Tap and Hold
- Double Tap and Drag
- Triple Tap
- Rotate Right/Left
- Scrub
- Pinch
- Drag
- Understand concept of “1-Finger Gestures”
- Understand concept of “2-Finger Gestures”
- Understand concept of “3-Finger Gestures”
- Understand concept of “4/5-Finger Gestures”
- Understand concept of “Jiggle” mode
- Understand concept of “App Icons”
- Understand concept of “Buttons”
- Understand concept of “Rotor”
- Understand concept of “Multitasking Bar” or “App Switcher”
- Understand concept of “Search Screen”
- Understand concept of “Pop-Over Menu”
- Understand concept of “Selector Wheel”
Objective 2: Navigation using VoiceOver
- Turning VoiceOver on/off (Home button 3x)
- Ensuring iPad Rotation is Locked in Horizontal Mode
- Unlocking iPad:
- Method 1: (TAP)
- Slide your finger to select the “Slide to Unlock” button
- (1-Finger_SLIDE)
- Activate button to unlock (1-Finger_DOUBLE TAP)
- Method 2: (FLICK)
- Select the “Slide to Unlock” button (1-Finger_FLICK)
- Activate “Slide to Unlock” button to unlock
- (1-Finger_DOUBLE TAP)
- Method 1: (TAP)
- Adjust Speech Options:
- Speech Rate:
- Change “Rotor” to “Speech Rate” (2-Finger ROTATE)
- Increase/Decrease speech rate (1-Finger SWIPE Up/Down)
- Speech Rate:
- Turn Speech On/Off (3-Finger DOUBLE TAP)
- Navigate the App Icons
- Go to the “Home Screen” (Press HOME button)
- Move forward one app at a time (1-Finger FLICK RIGHT)
- Move backward one app at a time (1-Finger FLICK LEFT)
- Slide one finger on the screen in a grid pattern (1-Finger SLIDE)
- Move between Search & Home Screens
- Move to Search Screen (3-Finger FLICK DOWN)
- Move to Page 1 of the Home Screen (3-Finger SWIPE RIGHT or Press HOME Button Once)
- Move to Page 2 of the Home Screen (3-Finger SWIPE LEFT)
- Rearrange App Icons & Create Folders on Home Screen
- Select an App Icon (1-Finger FLICK LEFT/RIGHT)
- Place Apps in “Jiggle” Mode (1-Finger DOUBLE TAP & HOLD)
- Select the desired App Icon (1-Finger FLICK LEFT/RIGHT, then 1-Finger DOUBLE TAP & HOLD)
- Drag App to desired location
- Create a folder: Repeat steps, but drag app on top of another app and release touch to create folder. The iPad will initially name the folder for you, but you can edit the folder name using a text box. Apps can be dragged out of the folder using the same process for rearranging as described above. If all apps are removed from a folder, the folder is automatically erased.
Objective 3: iDevice Capabilities & Usability
Settings
- Launch Settings from Home Screen (typically on Page 1)
- Access Right and Left panes (1-Finger DRAG, or 2-Finger ROTATE to set Rotor to Headings or Containers and 1-Finger FLICK UP or DOWN)
- Locate and Select “General” Settings (1-Finger FLICK RIGHT, then DOUBLE TAP)
- Access “Use Side Switch to:” (1-Finger FLICK RIGHT), then ensure “Lock Rotation” is selected (DOUBLE TAP)
- Access “Keyboard” (1-Finger FLICK RIGHT, then DOUBLE TAP)
- Add New Keyboard (1-Finger FLICK RIGHT, then DOUBLE TAP)
- Return to “General Settings” (1-Finger FLICK LEFT, then DOUBLE TAP on “General, back button”
- Access “VoiceOver” Settings
- Access and select “Accessibility” (1-Finger FLICK RIGHT, then DOUBLE TAP)
- Access and select “VoiceOver” (1-Finger FLICK, then DOUBLE TAP)
- Adjust “Speaking Rate” Slider (1-Finger FLICK RIGHT, then 1-Finger FLICK UP/DOWN)
- Adjust “Rotor” items (1-Finger FLICK RIGHT to “Rotor”, then DOUBLE TAP); Select and de-select Rotor items (DOUBLE TAP)
- Set Up Mail Account
- Access and select “Mail, Contacts, Calendars” in the “Settings” pane (1-Finger DRAG, 1-Finger FLICK RIGHT, DOUBLE TAP)
- Use “Rotor” to select navigation by “Headings” (2-Finger ROTATE RIGHT)
- Locate “Accounts” Heading (1-Finger FLICK DOWN)
- Access “Add Account…” (1-Finger FLICK RIGHT, DOUBLE TAP)
- Select Account Type (1-Finger FLICK RIGHT, DOUBLE TAP)
- Input Account Info (Using on-screen or Bluetooth keyboard) and Click “Save” (1-Finger FLICK RIGHT and DOUBLE TAP or keyboard “Return”)
Safari
- Launch Safari from Home Screen>Dock
- 1-Finger SLIDE or 1-Finger FLICK to select Safari
- 1-Finger DOUBLE TAP to open
- Move to Address Bar (1-Finger FLICK LEFT; VoiceOver will say “address.”
- Enter the Address Bar (1-Finger DOUBLE TAP)
- Copy the Web Page Address
- When the user enters the address bar, the web address text is automatically selected
- Change the Rotor to Edit (2-Finger ROTATE RIGHT/LEFT)
- Select “Copy” from the Edit menu (1-Finger FLICK UP/DOWN)
- Copy text (1-Finger DOUBLE TAP)
- Text can now be pasted in a document using the Edit menu from the Rotor or using the Command+V keyboard shortcut
- Move to the “Clear Text” button (1-Finger FLICK RIGHT until VoiceOver reads “clear text button”)
- Activate “Clear Text” button (1-Finger DOUBLE TAP)
- Type the desired web address
- Uses “Standard” or “Touch Typing” on the iPad screen, OR
- Uses an external keyboard or refreshable braille display
- Activate “Reader Mode”
- 1-Finger FLICK LEFT from Address Bar
- 1-Finger DOUBLE TAP to activate “Reader Mode”
- Navigating down/up a website (1-Finger FLICK RIGHT/LEFT)
- Read webpage from current location (2-finger SWIPE DOWN)
- Select a Link (1-Finger FLICK RIGHT, then 1-Finger DOUBLE TAP)
- Read webpage from current location (2-finger SWIPE DOWN)
- Scrolling down a web page (3-Finger SWIPE UP)
- Scrolling up a web page (3-Finger SWIPE DOWN)
- Open link in a new tab:
- Access options menu (1-Finger DOUBLE TAP & HOLD on link)
- Navigate to “Open in New Tab” (1-Finger FLICK RIGHT)
- Select option (1-Finger DOUBLE TAP)
- Dismiss Pop-Up (1-Finger TAP, then 1-Finger DOUBLE TAP, or 2-Finger SCRUB, LEFT & RIGHT)
- Access New Tab (1-Finger FLICK LEFT, then 1-Finger DOUBLE TAP)
- Switch between tabs (1-Finger FLICK LEFT/RIGHT to select tab, then 1-Finger DOUBLE TAP)
- Close a tab (1-Finger FLICK LEFT to tab, 1-Finger DOUBLE TAP to activate tab, 1-Finger FLICK LEFT to move to close button, 1-Finger DOUBLE TAP to activate close button)
- Use the Rotor to Select Elements (Headings, Form Controls, etc.)
- Change the Rotor to Headings (2-Finger ROTATE RIGHT)
- Navigate page using Headings (1-Finger FLICK DOWN/UP)
- Navigate to text paragraph (1-Finger FLICK RIGHT); VoiceOver will begin reading paragraph automatically
- Pause/Resume speech (2-Finger TAP)
- Change the Rotor to Form Controls (2-Finger ROTATE RIGHT)
- Navigate by Form Controls (1-Finger FLICK DOWN/UP)
- Navigate using other Rotor Elements if possible using the same command pattern
- Copy Text from Website
- Navigate to desired website. Select “Reader Mode” if available (see above)
- Navigate page to desired text using 1-Finger FLICK RIGHT/LEFT or Rotor Elements (e.g., Headings)
- Change the Rotor to Text Selection (2-Finger ROTATE RIGHT/LEFT)
- Select the type of text to be selected (e.g., Select All, Page, Line, Word, Character) using 1-Finger FLICK UP/DOWN
- Expand or shrink selected text using 1-Finger FLICK RIGHT (to select text) or LEFT (to deselect text)
- When text is selected, change the Rotor to Edit (2-Finger ROTATE RIGHT/LEFT)
- Select “Copy” from the Edit menu (1-Finger FLICK UP/DOWN)
- Copy text (1-Finger DOUBLE TAP)
- Text can now be pasted in a document using the Edit menu from the Rotor or using the Command+V keyboard shortcut
Notes
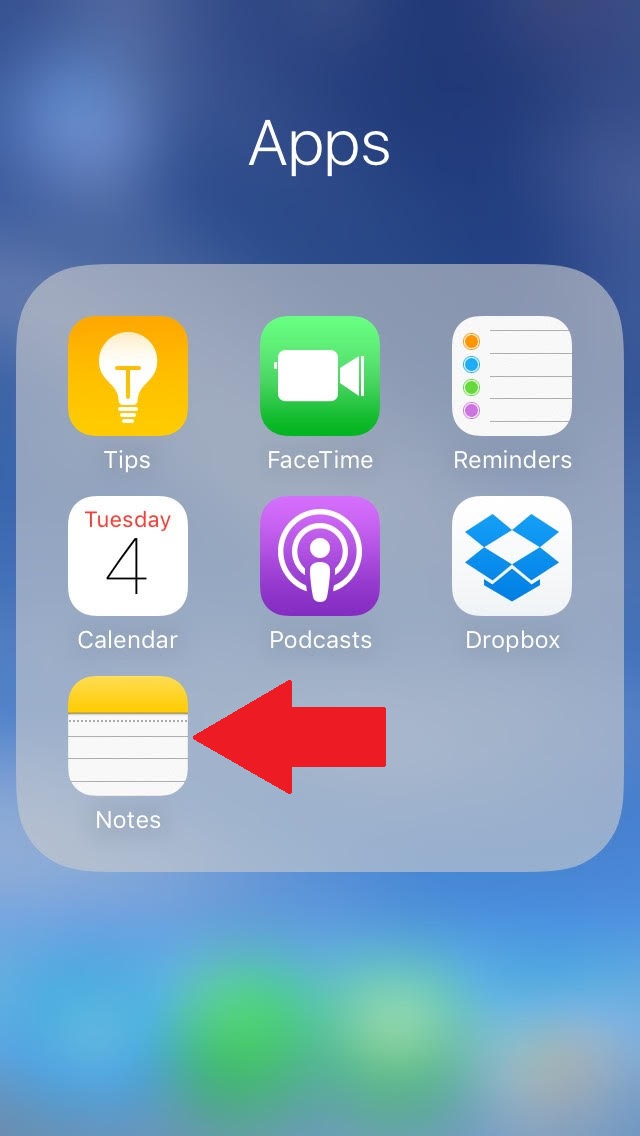
- Launch Notes from Home Screen
- 3-Finger SWIPE to switch pages on iPad (Notes is typically on page one)
- 1-Finger SLIDE or 1-Finger FLICK to select Notes
- 1-Finger DOUBLE TAP to open
- 1-Finger FLICK to Navigate Notes app
- 1-Finger DOUBLE TAP in Note to Edit
- Add New Note
- 1-Finger FLICK to “Compose” button (or 1-Finger SLIDE to locate it on the top right of the screen)
- DOUBLE TAP to create new note
- Share Note
- 1-Finger FLICK to “Share” button
- DOUBLE TAP to select Mail, Print, or Copy
- Delete Note
- 1-Finger FLICK to “Delete” button
- DOUBLE TAP for pop-up “Delete Note” button
- DOUBLE TAP to delete note
- Spell Checking (Rotor method)
- Navigate to “Text field is editing” and 1-Finger DOUBLE TAP to enter the Notes text field
- Change the Rotor to “Words” for navigation (2-Finger ROTATE RIGHT/LEFT)
- 1-Finger FLICK DOWN/UP to locate misspelled word
- Change the Rotor to “Edit” (2-Finger ROTATE RIGHT/LEFT)
- 1-Finger FLICK DOWN/UP to “Select”
- 1-Finger DOUBLE TAP to select misspelled word
- 1-Finger FLICK RIGHT/LEFT to “Replace…”
- 1-Finger DOUBLE TAP and a list of suggestions will appear
- 1-Finger FLICK RIGHT/LEFT to locate the correct word, if available
- 1-Finger DOUBLE TAP to select the correct word and replace it in the document
- Spell Checking (Dictation method)
- Navigate to “Text field is editing” and 1-Finger DOUBLE TAP to enter the Notes text field
- Change the Rotor to “Words” for navigation (2-Finger ROTATE RIGHT/LEFT)
- 1-Finger FLICK DOWN/UP to locate misspelled word
- Change the Rotor to “Edit” (2-Finger ROTATE RIGHT/LEFT)
- 1-Finger FLICK DOWN/UP to “Select”
- 1-Finger DOUBLE TAP to select misspelled word
- 1-Finger TOUCH AND DRAG to locate “Dictate” on the on-screen keyboard
- 1-Finger DOUBLE TAP to activate dictation
- Speak the correct word to replace the selected word in the document
- Navigate by Words again to ensure that the word is not misspelled
Calendar
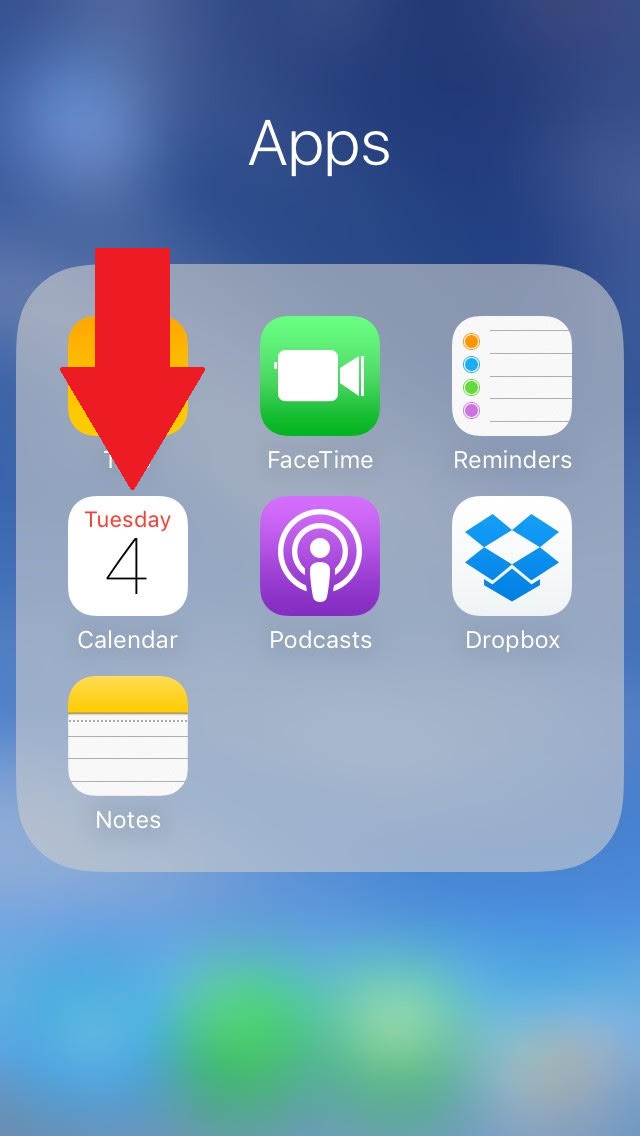
- Launch Calendar from Home Screen
- 3-Finger SWIPE to switch pages on iPad (Calendar is typically on page one)
- 1-Finger SLIDE or 1-Finger FLICK to select Calendar
- 1-Finger DOUBLE TAP to open
- 1-Finger FLICK to Navigate Calendar app
- Add New Event
- 1-Finger FLICK to “Add” button (or 1-Finger SLIDE to locate it on the bottom right of the screen)
- DOUBLE TAP to create new event
- Type Event Title, then press Enter or Tab on keyboard or 1-Finger FLICK Right
- Type Event Location, then press Enter or Tab on keyboard or 1-Finger FLICK Right
- 1-Finger DOUBLE TAP to toggle “All Day” setting
- 1-Finger FLICK Right to “Starts…” field. DOUBLE TAP to edi
- 1-Finger FLICK Right to Selector Wheel. VoiceOver will say day and date (e.g. Friday, April 12th) then the user will need to 1-Finger FLICK Right to the Day, which VoiceOver will speak e.g., “Today, Picker Item Adjustable.” SWIPE Up or Down to select Date
- 1-Finger FLICK Right to Hour. SWIPE Up or Down to select hour
- 1-Finger FLICK Right to Minute. SWIPE Up or Down to select minute
- 1-Finger FLICK Right to AM/PM. SWIPE Up or Down to select AM or PM
- 1-Finger FLICK Right to “Ends…” field. DOUBLE TAP to edit. Repeat Selector Wheel steps listed above
- Users also have the option to Repeat the event, select Invitees, set an Alert, and select the Calendar with which the event is associated, in addition to a few other options
- 1-Finger FLICK Left to “Done.” DOUBLE TAP to finish adding new event
Reminders
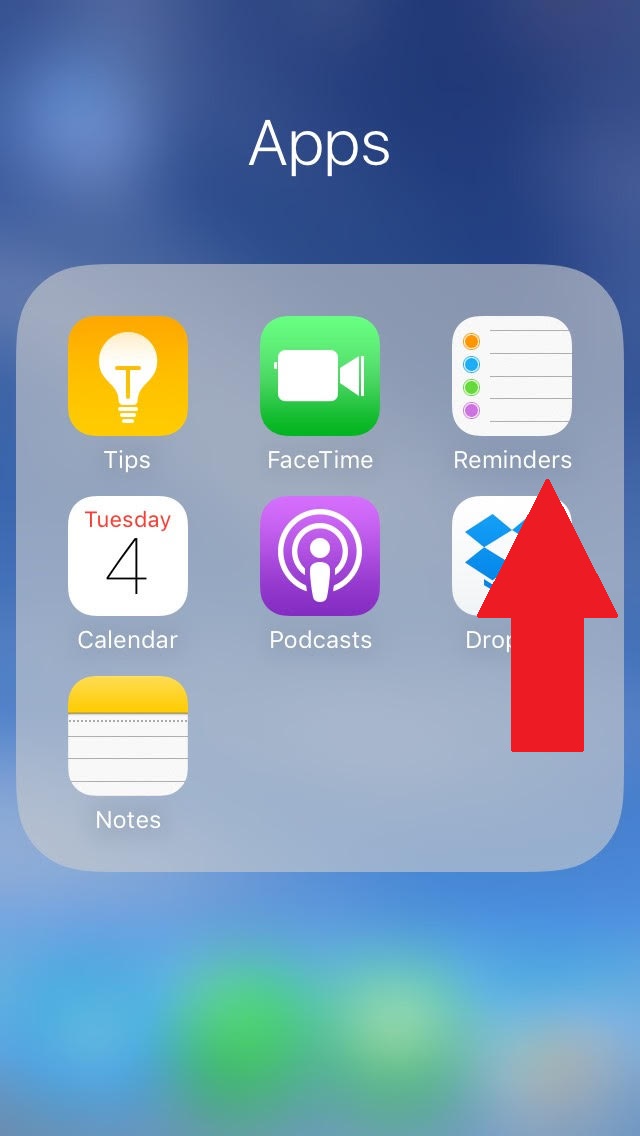
- Launch Reminders from Home Screen
- 3-Finger SWIPE to switch pages on iPad (Reminders is typically on page one)
- 1-Finger SLIDE or 1-Finger FLICK to select Reminders
- 1-Finger DOUBLE TAP to open
- 1-Finger FLICK to Navigate Reminders app
- Add New Reminder
- 1-Finger FLICK until VoiceOver reads “New Reminder” button (or 1-Finger SLIDE to locate it on the bottom right of the screen)
- DOUBLE TAP to create new reminder
- Type Reminders Title
- Pressing Enter or Tab on keyboard will input the Reminder without an alert.
- 1-Finger FLICK Right to the “More Info” button, then DOUBLE TAP to edit reminder details
- 1-Finger FLICK Right to “Remind me on a day” switch button. DOUBLE TAP to toggle the setting
- 1-Finger FLICK Right to “Alarm” field. DOUBLE TAP to edit.
- 1-Finger FLICK Right to Selector Wheel. VoiceOver will say day, date, and time (e.g. Friday, April 12th, 2014, 5pm) then the user will need to 1-Finger FLICK Right to the Day, which VoiceOver will speak e.g., “Today, Picker Item Adjustable.” SWIPE Up or Down to select the date
- 1-Finger FLICK Right to Hour. SWIPE Up or Down to select hour
- 1-Finger FLICK Right to Minute. SWIPE Up or Down to select minute
- 1-Finger FLICK Right to AM/PM. SWIPE Up or Down to select AM or PM
- 1-Finger FLICK Right to “Repeat” field. DOUBLE TAP to select how often the Reminder should repeat
- Users also have the option to set the priority and enter notes
- 1-Finger FLICK Left to “Done.” DOUBLE TAP to finish adding new event
- Delete Reminder
- In the right-side pane is a list of reminders. Voiceover will read “Reminders” then the number of reminders. 1-Finger FLICK until VoiceOver reads “Edit” button after the number of reminders (or 1-Finger SLIDE to locate it at the top right of the screen)
- DOUBLE TAP to access Edit features
- 1-FINGER FLICK RIGHT until Voiceover reads “Delete” and the name of the note you want to delete
- DOUBLE TAP to delete
- DOUBLE TAP again to confirm
- VoiceOver focus will return to the “Done” button. DOUBLE TAP on the “Done” button to complete the task
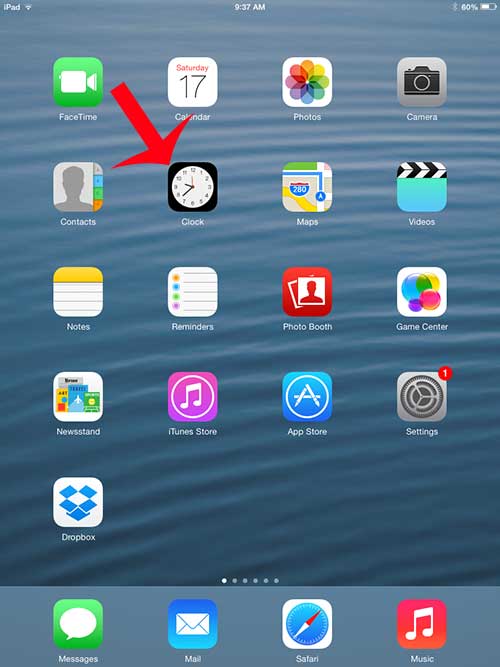 Clock – Set an Alarm
- Launch Clock from Home Screen
- 3-Finger SWIPE to switch pages on iPad (Clock is typically on page one)
- 1-Finger SLIDE or 1-Finger FLICK to select Clock
- 1-Finger DOUBLE TAP to open
- 1-Finger FLICK to Navigate Clock app
- If Alarm is not selected…
- 1-Finger FLICK until VoiceOver reads “Alarm tab 2 of 4” (or 1-Finger SLIDE to locate it on the bottom middle of the screen)
- DOUBLE TAP to access the Alarm
- To Set an Alarm…
- 1-Finger FLICK Right to the “Add” button, then DOUBLE TAP to add an alarm
- 1-Finger FLICK Right to the “Picker Item” hour selector. VoiceOver will read a value (e.g. “4 o’clock”).
- 1-Finger FLICK Up or Down to select the Hour
- 1-Finger FLICK Right to the “Picker Item” minute selector. VoiceOver will read a value (e.g. “49 minutes”)
- 1-Finger FLICK Up or Down to select the Minutes
- 1-Finger FLICK Right to the “Picker Item” AM/PM selector. VoiceOver will read a value (e.g. “AM”)
- 1-Finger FLICK Up or Down to select either AM or PM
- 1-Finger FLICK Right to “Repeat” field. DOUBLE TAP to select how often the Alarm should repeat
- Users also have the option to set the label of the alarm, the sound that is associated with it, and the snooze option
- 1-Finger FLICK Left to “Done.” DOUBLE TAP to finish adding new event
