A teacher writes:
The student I work with is a ninth grade braille reader who is in advanced classes. Since she does not like to use foil or the Sewell raised line drawing technique, I was hoping you might have information on how my student can learn to bisect angles tactually.
Susan replies:
For constructions, my students don’t use foil or the “usual” Sewell raised line drawing technique either. We use some type of rubber on a flat surface – whatever you have available. Some of my students and I happen to like an old Sewell raised line drawing board which has rubber attached to a clip board so that I can clip my braille paper to this to keep it from sliding. But, others use a rubber pad on top of a regular wooden drawing board or table. Still others might like a similar rubber on wood board from Howe Press (which is no longer available for purchase) because it too has a way of clipping the paper down. Even a plain clipboard with craft foam works quite well.
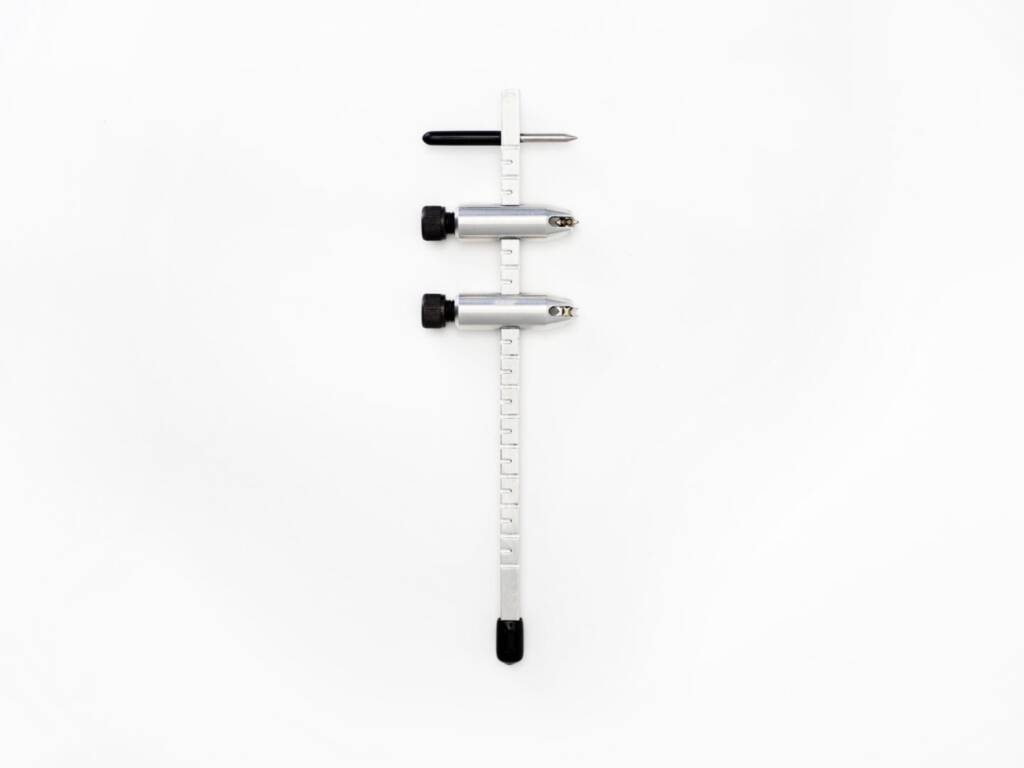
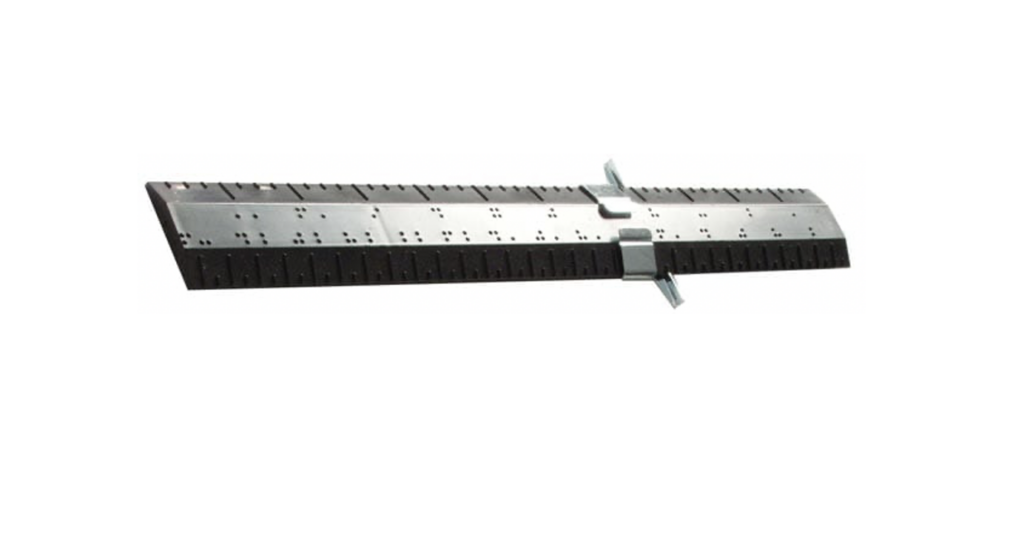
Next, you will need a braille compass. I still love my compass from Howe Press, but it is no longer available for purchase. The compass has a regular pointed end, but the other end has a small tracing wheel attached. The best substitute is the Tactile Compass for Math and Art from APH. Next you will need a straightedge – any “print” ruler will do if you don’t have a plain straightedge, since the student is a braille reader. Finally, you will need a tracing wheel. Use one from the homemaking department, or the APH tactile drawing kit, or the local hardware/hobby shop.
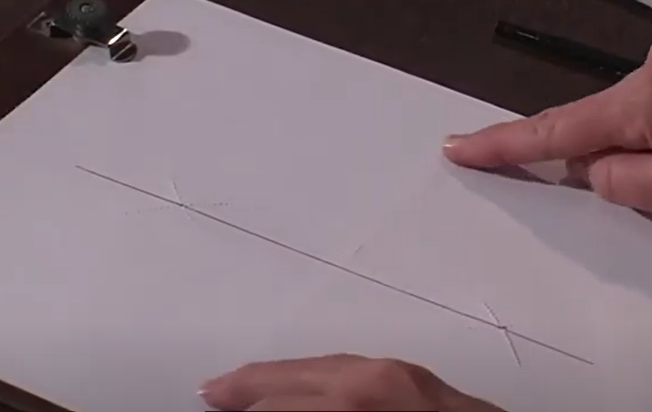
For your student to bisect an angle you would first take a piece of braille paper (not the flimsy Sewell plastic) and place it on your rubberized surface (board). Draw the angle you wish the student to bisect using a straightedge and tracing wheel. Remove it from the board. Label the angle with an “A” at the vertex using slate and stylus or your braillewriter. Return the braille paper to the board. Ask the student to bisect angle A. The student should first reverse the paper. Place the compass point on A and draw an arc, locating two points B and C on the respective rays of the angle. Reverse the paper. Place the compass point on B and draw an arc in the interior of the angle. With the same compass setting, place the compass point on C and draw an arc, locating point D – the intersection of the two arcs. Reverse the paper. Draw a ray, AD, which is the angle bisector of angle A. Voila!!
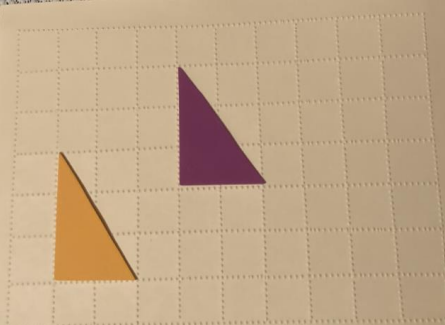
Using a similar technique with only a compass and straightedge, a blind student (or anyone else) can also copy a line segment, bisect a segment, copy a triangle, copy an angle, construct the perpendicular bisector of a segment, etc. These are the same basic techniques that the math teacher would use except that the braille student would usually prefer reversing the paper so as to take the most advantage of the raised drawing on the reverse side. The end product is easily graded by the math teacher – allowing the student to stay in the regular classroom setting throughout the construction.
See the video: Constructing a perpendicular bisector of a line segment.
This article was originally published by Texas School for the Blind and Visually Impaired (TSBVI) and is reprinted here with permission. Updated in 2024.

