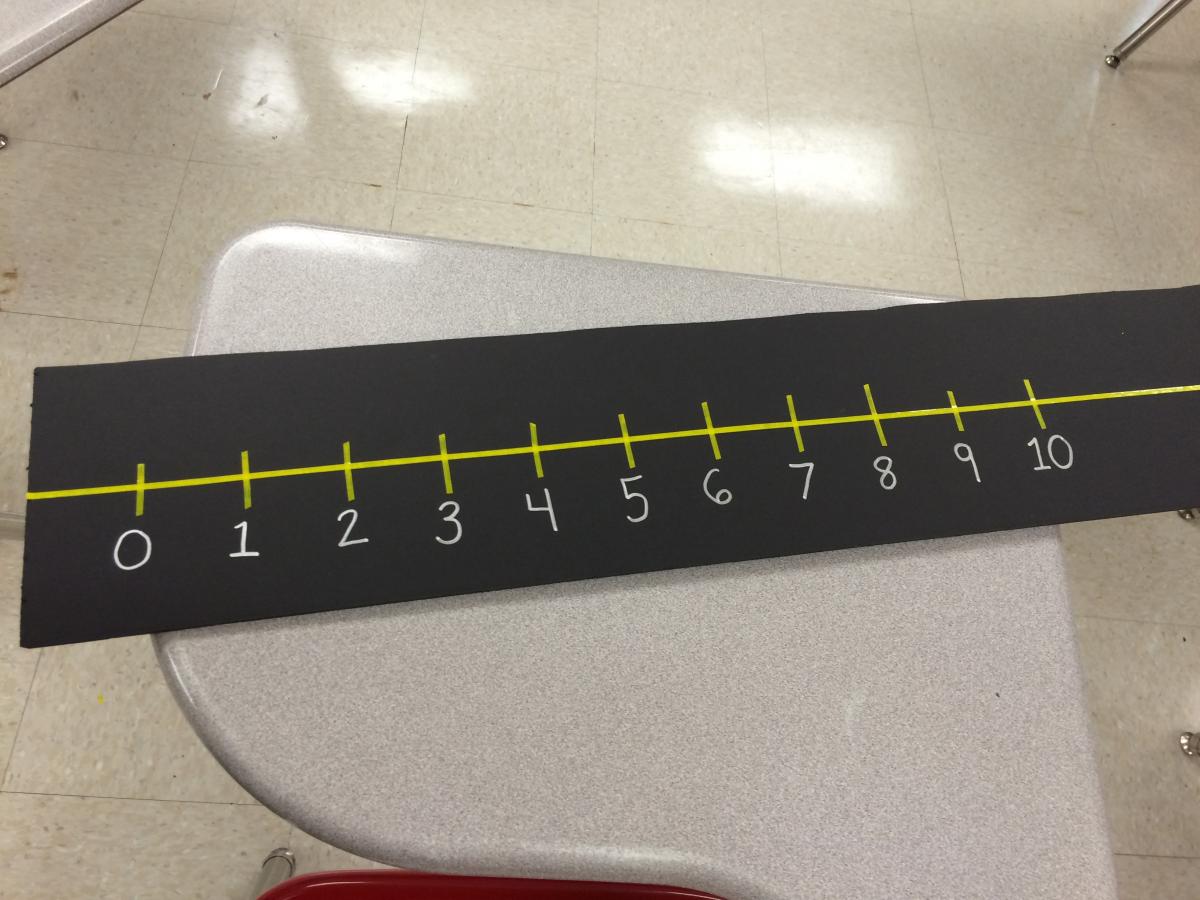
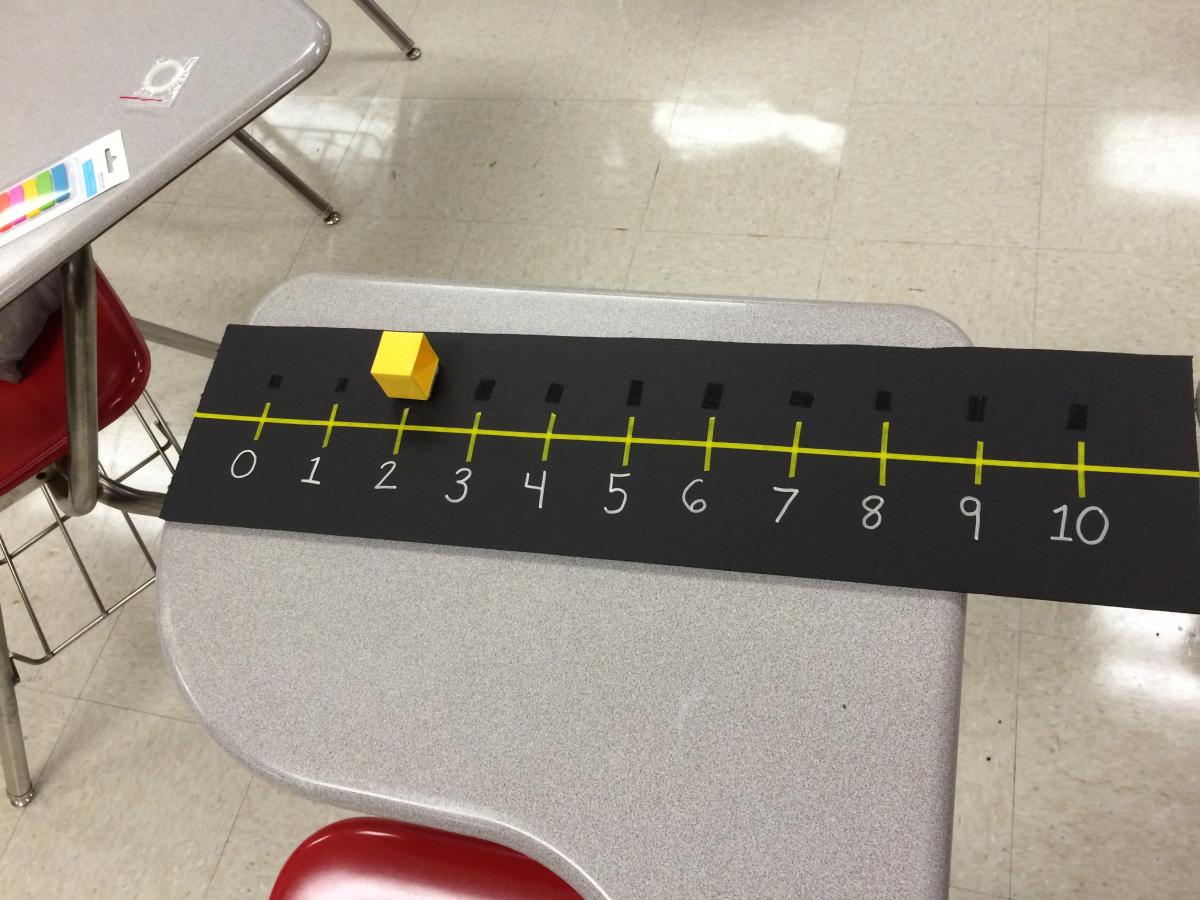
I made this number line for one of my students with a cortical visual impairment (CVI). He is learning about number lines in his kindergarten class and we needed a more functional one that would be not only easy to visually fixate on, but also to manipulate.
Materials
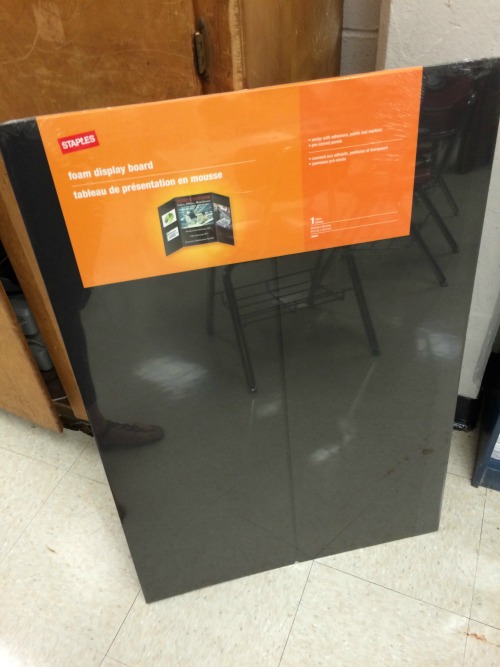
- Black Display Board
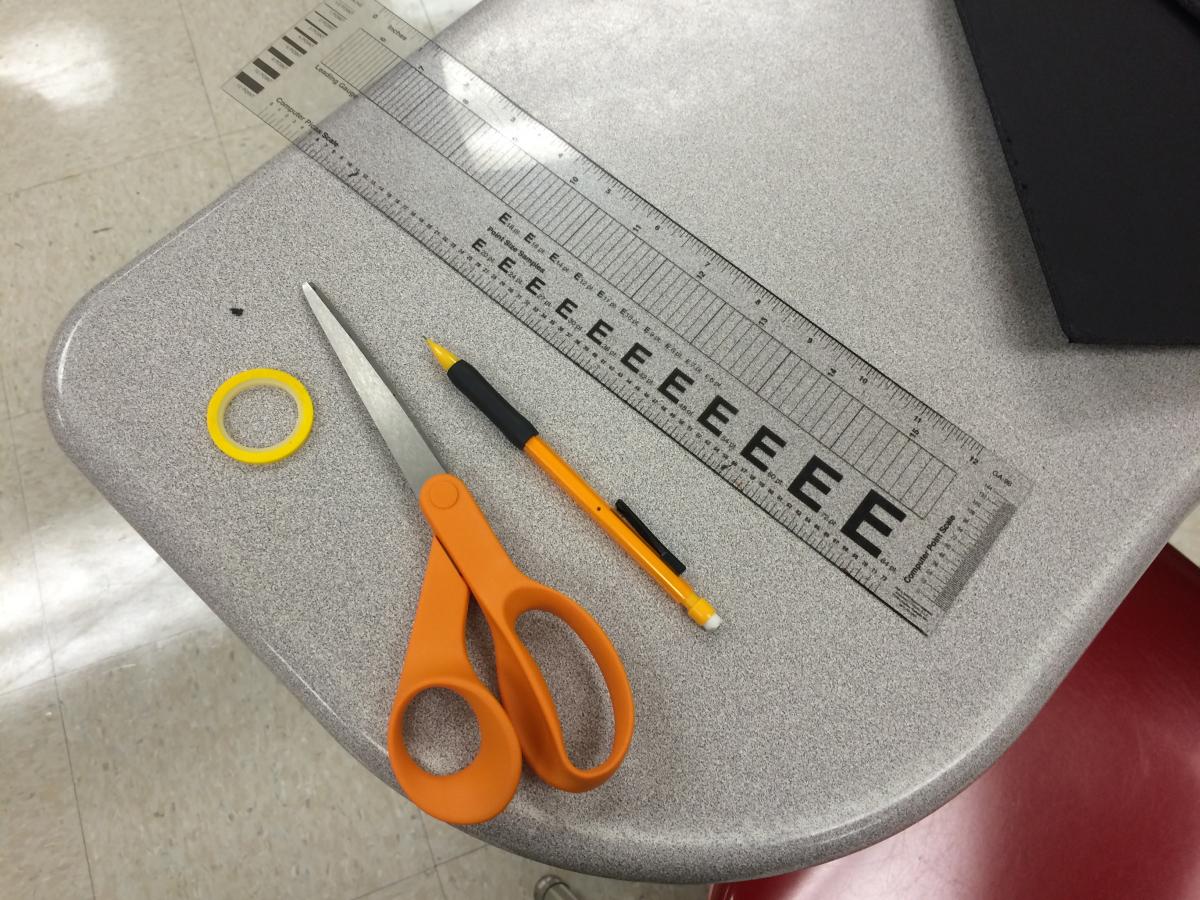
- Ruler
- Scissors
- Yellow, red or preferred color graphic art tape
- Black Velcro pieces
- Object (small block, ball, etc.) in preferred color
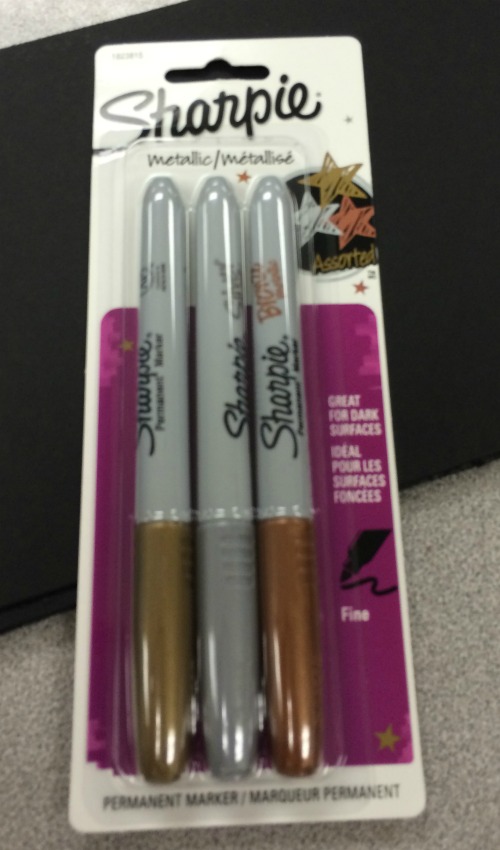
- Sharpie metallic pens or mylar numbers.
Procedure
- Cut display board into a strip. Mine was about 6 x 24 inches. Use a pencil to draw your straight line, then using scissors, a box cutter or an exacto knife, cut down one side of the board along the penciled line. Fold board along cut,then using cutting tool, cut along the other side.

- Using your ruler and pencil, draw a line straight down the middle long ways.
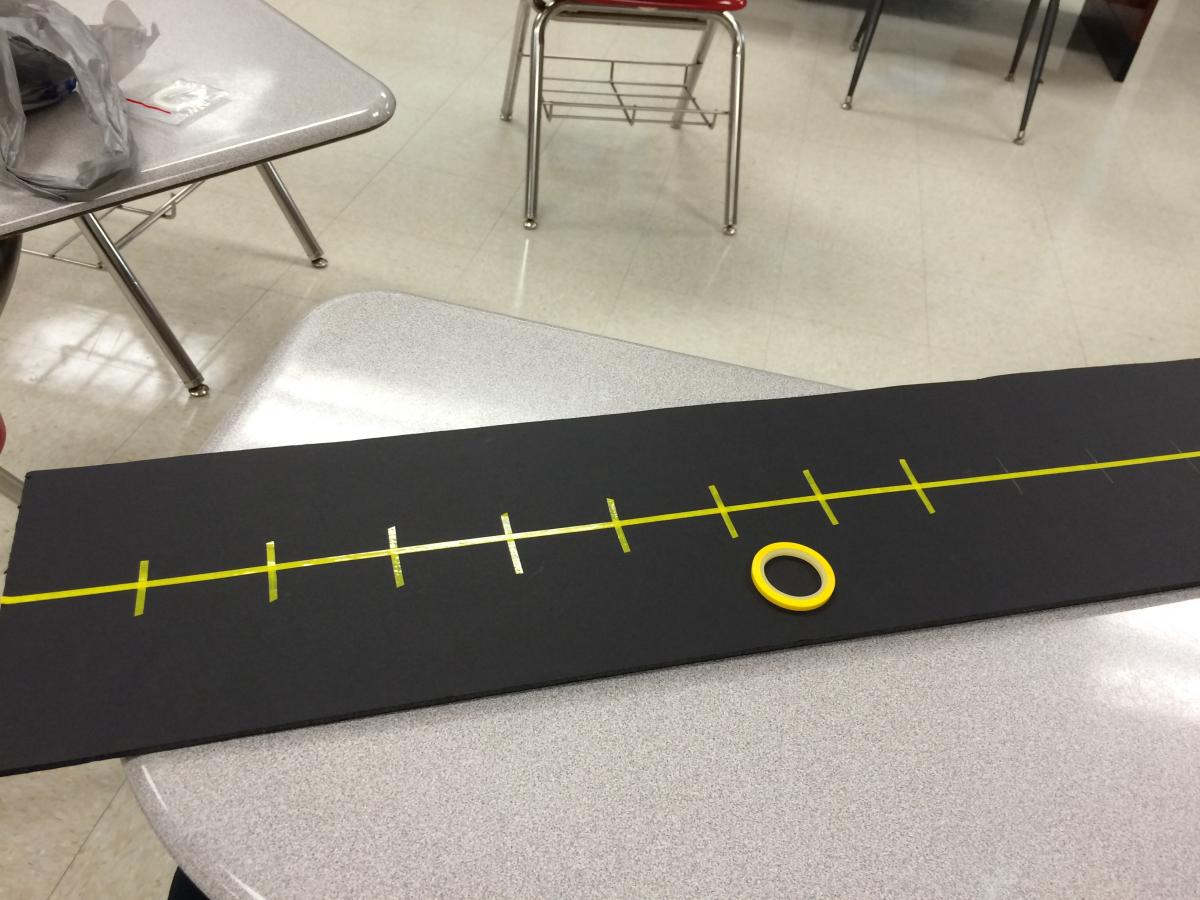
- Measure out evenly your notches. Mine were about 4 inches apart.
- Using your graphic art tape, tape along your penciled lines. Depending on the thickness of your graphic art tape, you may need to tape over twice for desired boldness.
- Either draw or glue your number below each notch.
- Use your black velcro to place a piece above each notch.
- Use opposite side velcro piece on your chose object.
Variations
You can adapt this to your student’s preferred color. It will also work for a low vision student and braille student. For low vision, make sure you use the contrast colors that work best for that specific student and for a braille student, ensure the lines are tactile and incorporate the braille numbers below.


