This is the first post in a series about adapting worksheets for students who are blind or visually impaired. It is designed to help teachers and assistants to think through the steps involved in providing access to materials.
Before you begin…
Consider your workload, the task size and the timing involved. For teaching assistants time can often be limited and there can be pressure felt to provide a suitable alternative for individual learners. Keep it simple and focus on what the learning outcome is for the child and what they need to understand. There may not be any need to provide the exact same resource as the rest of the class, depending on what the expected outcome is. Discuss with class teacher whether it is necessary for the individual to complete the same task or same volume of work in order to understand the concept being taught.
Examples of Worksheets to Adapt
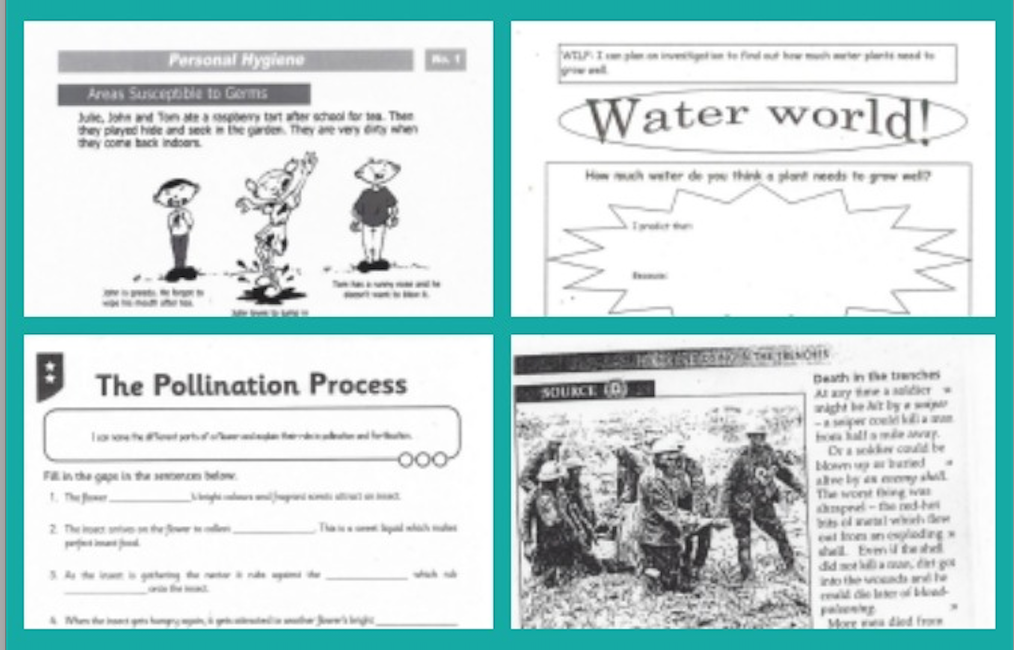
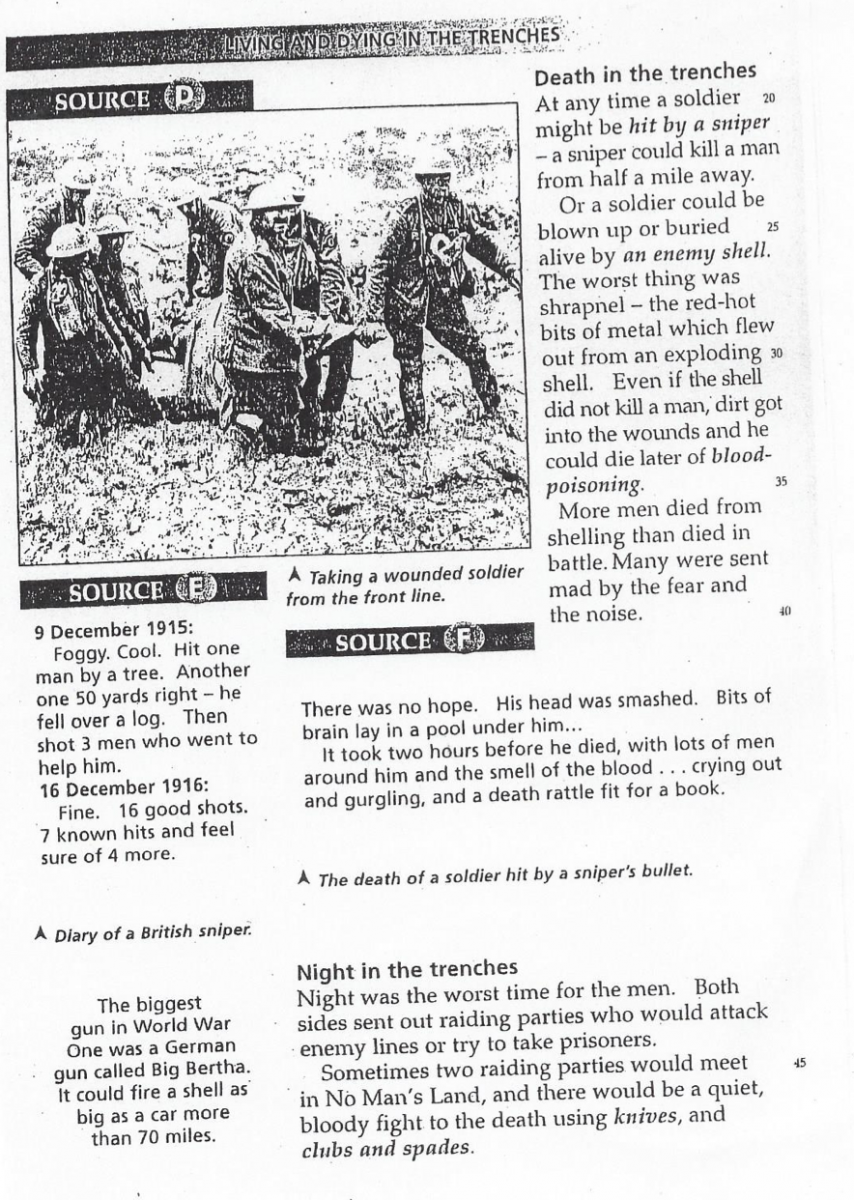
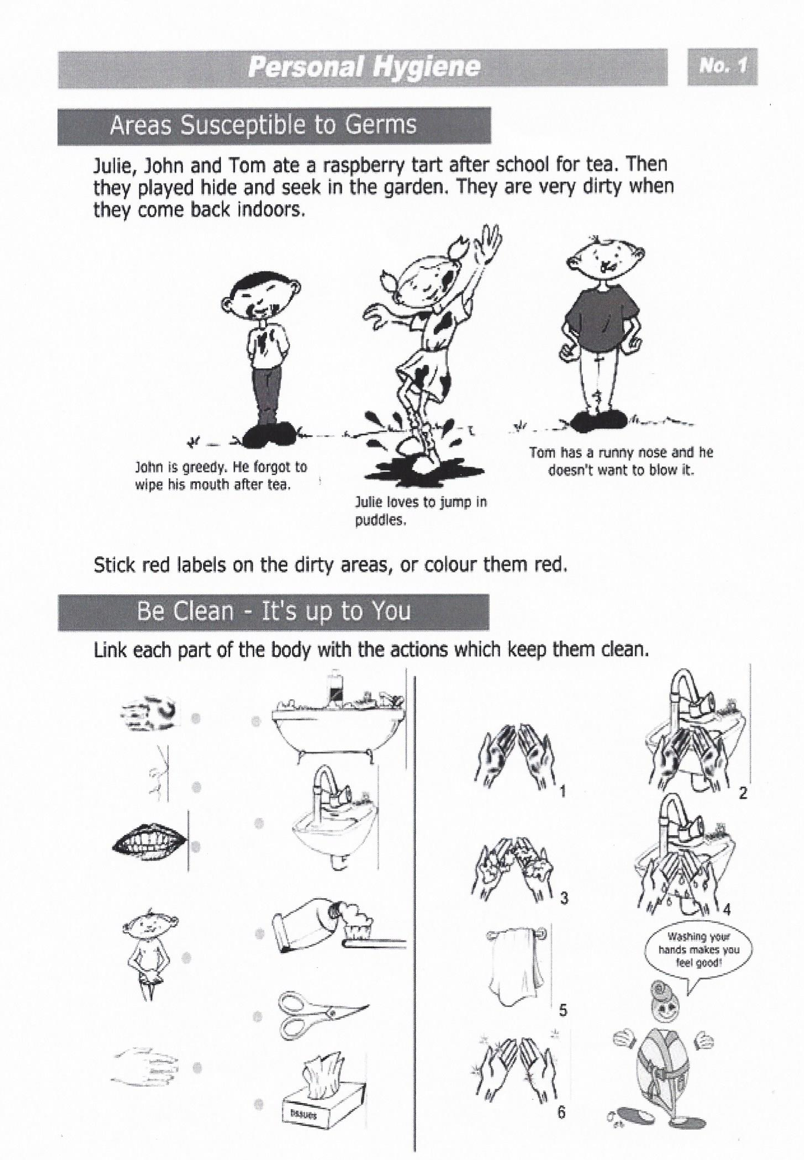
In this series, we will show you how we adapted the following examples of worksheets:
Sample Adapted Worksheets
Examples of alternative methods are presented to enable access for sighted and non-sighted pupils.
You will find a selection of worksheets on a variety of topics to give a range of ideas and examples. In each section, you will find the original worksheet, an example of the thought process you may go through before differentiating and various examples of how you may adapt the worksheet in order to maximise learning for an individual. Please refer to the contents page for examples from specific subject areas.
A guide to subjects and worksheets covered here for quick easy reference:
- Science (Life Cycle of a Flowering Plant)
- Science (The Pollination Process)
- Science (Water world)
- Science (Temperature)
- English (Inferences)
- English (Creative writing- What happens next?)
- History (Sources)
- Current Affairs (The EU Referendum)
- Geography (Paris Landmarks)
- PHSE (Personal Hygiene)
General Tips
- Try to stick to A4 (8 x 11) size paper. If you have to enlarge a sheet to A3, try to make the page smaller by cutting down the margins.
- Keep it clutter free. Printing lots of text or busy backgrounds can be very distracting.
- Use a sans serif font where letters are clearly separated from each other. Arial is a good example. Make it bold and it is even clearer.
- Put adequate spaces between sections, so that it is very clear where one part ends and the other begins. Put good spaces between text and diagrams as well.
- Bold, sharp print provides good contrast. When enlarging print copies, try to achieve clear, non-blurry copies.
- For handwritten tasks, using bold-lined paper, with varying amounts of space between the lines, may be helpful.
- The student may prefer to use pencils and pens with larger points and darker lead and ink.
- If the image is black and white, look at the individual components and ask:
- How easy is it to distinguish the separate elements of the picture?
- Do the key points of the picture stand out sufficiently?
- Is there unnecessary clutter in the image?
- Are lines bold and sufficiently contrasted to make them as clear as possible?
- Children may be sensitive about being given different worksheets or equipment, as it makes them stand out from the group. To avoid this you can:
- Give all pupils in his/her group the same differentiated or adapted materials.
- Give the whole class the same size sheet and text.
- Give both copies to the pupil –the standard sheet and the differentiated or adapted copy.
- Computers and laptops are a good means of access and recording notes for VI pupils.
- Pupils with visual impairments often need much more time to read worksheets and complete tasks than their peers. Beginning braille readers cannot easily skim read and may take up to three times as long as other students to read a text. If a large volume of reading is required, consider reading the material to the student, or obtain it in audio format.
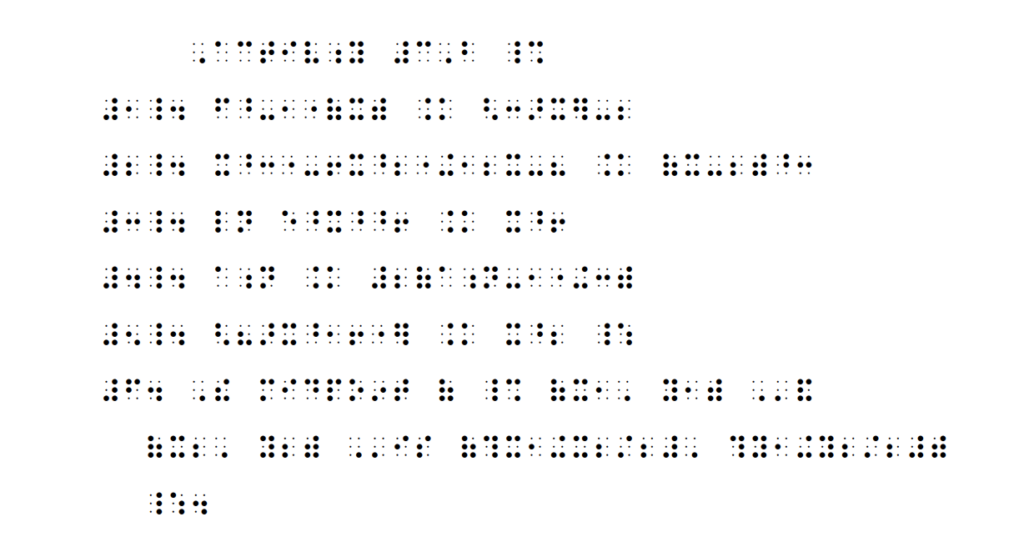
- Encourage quality over quantity for written work for pupils with visual impairment. Braille users typically complete their written assignments using a brailler or braillenote. This may take longer than handwriting.
Importance of Tangible Materials
- Use tactile, concrete, and real life material as much as possible. This provides opportunities for kinaesthetic and tactile learning. Real-life examples and concrete material can assist in establishing relationships between abstract learning and the student’s experience. “Hands-on” material is always preferable and will not only be of benefit to the individual, but the whole class.
Flowchart for Adapting Materials
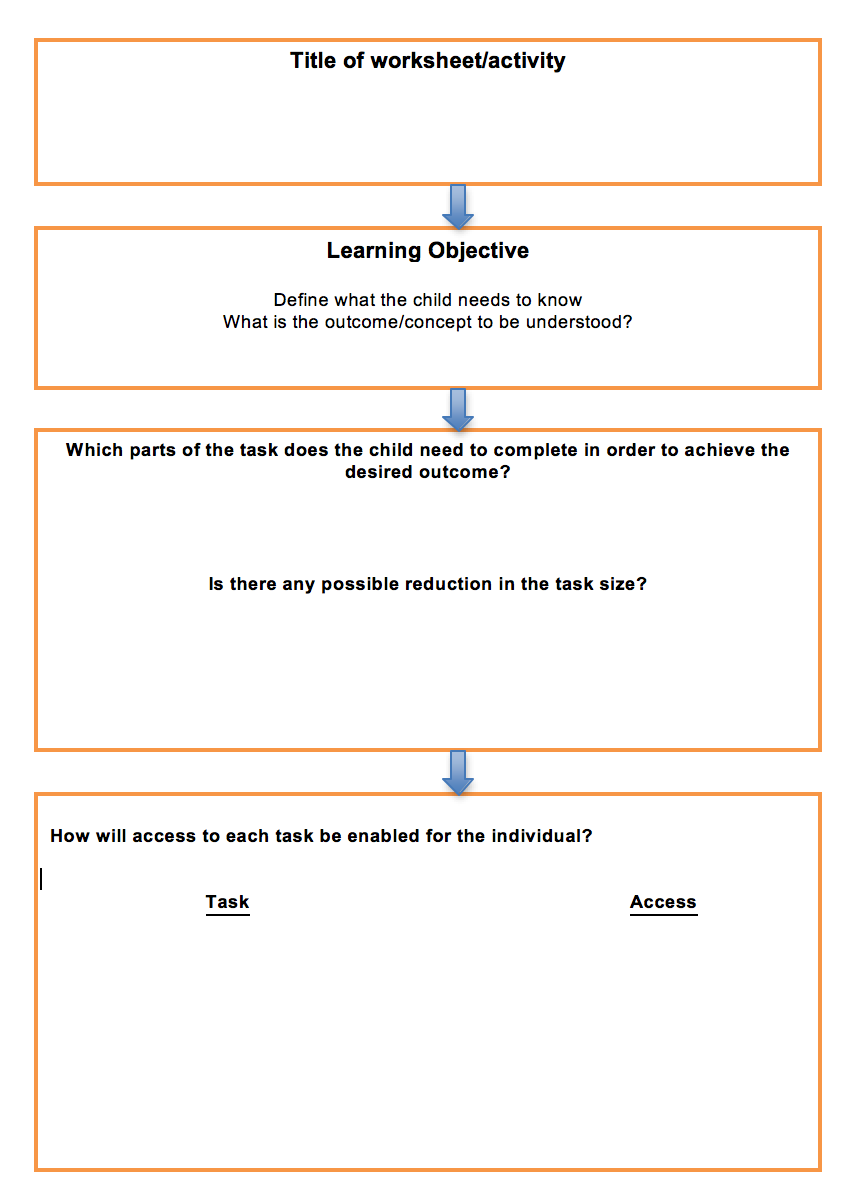
When approaching a worksheet, it may be helpful to use the tool below to write down the following steps:
- Title of worksheet or activity
- Learning objective: Define what the child needs to know. What is the outcome or concept being taught?
- Which parts of the task does the child need to complete in order to achieve the desired outcome? Is there any possible reduction in the task size?
- How will access to each task be enabled for the individual? List each task and describe how access will be provided.
