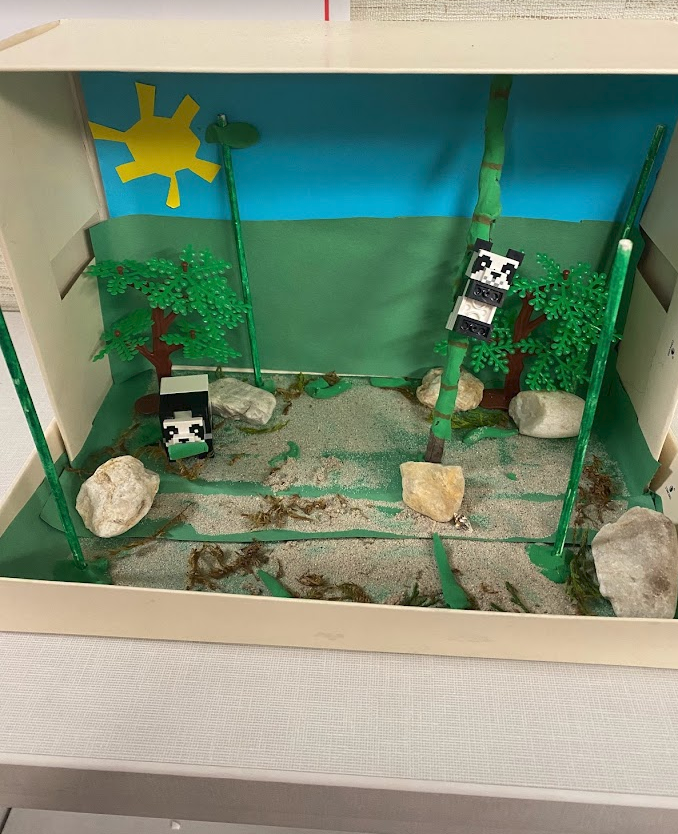
Dioramas have been used in many classrooms throughout the years to display content knowledge in a variety of subjects including literature, history, and science. For our students who have visual impairments, dioramas are a great project option that touch on several learning objectives and spark creativity.
Dioramas typically are “physical boxes built to showcase learning on a subject matter or topic. They are a way to incorporate craft projects into the understanding of a topic. They allow students to illustrate an academic subject, the plot of a story, or an event in history.”
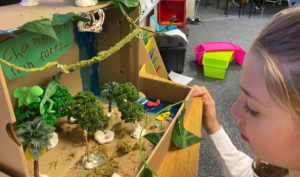
Dioramas are a student favorite in most classroom settings because they enable students more freedom and creativity by displaying three dimensional scenes. Students who may be blind or visually impaired benefit from dioramas because they are tactile and lend themselves to many learning levels.
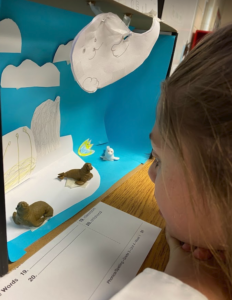
Create a Project Outline
Students benefit from structure even when being creative. Have an outline that guides them and presents them with desired outcomes, even a rubric can direct them properly. The teacher should keep in mind the subject matter, what they want their students to master, the student’s current abilities, and the timeline.
Materials
There is no set list of materials when creating dioramas but typically teachers give general lists of common materials. They often also have rules about what the student cannot have in their dioramas, for example, living materials.
Materials list example:
- Shoe box
- Markers, crayons, or paint
- Clay
- Pipe cleaners
- Fake plants
- Miniature toy animals or people
- Glue and tape
- Craft/popsicle sticks
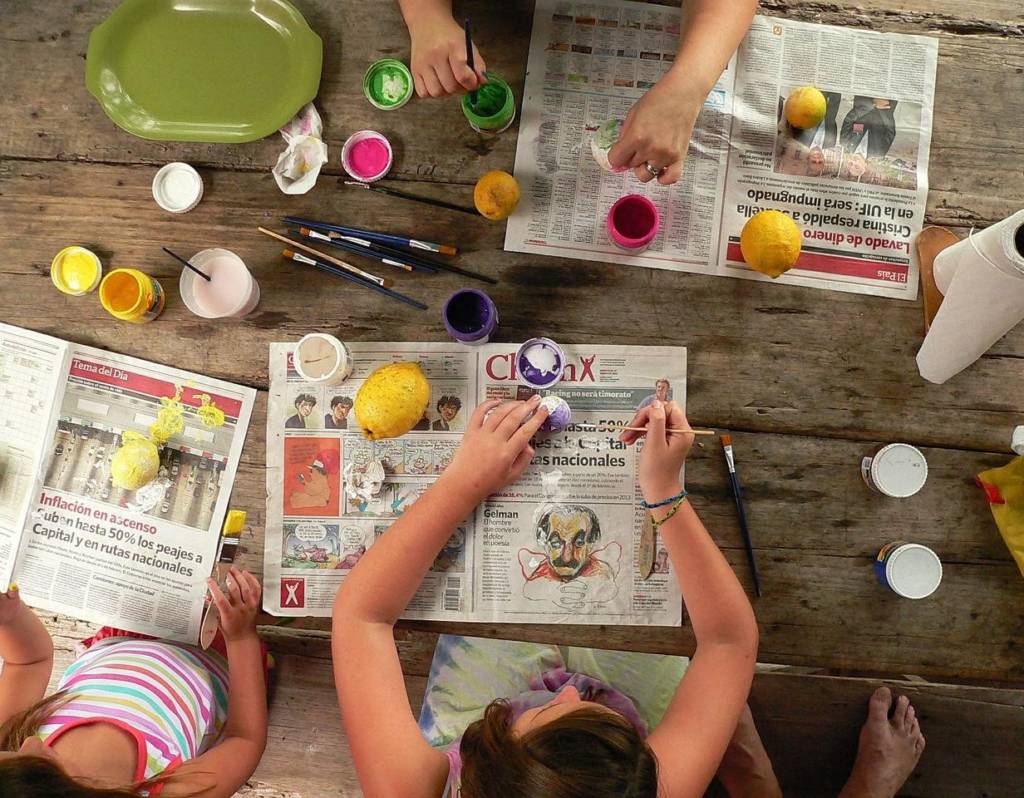
Dioramas can be used alone or as a unit. They can be combined with a written report, oral presentation, iMovie, or Google slides. For students who have difficulty writing or speaking, they can use dioramas as a better way to express what they have learned.
