This presentation and step-by-step instruction was created to assist a Kindergarten team of teachers, as well as the student’s parent, as the child was beginning to learn his sight words. I created this to assist the team and show the process of creating a basic slide show style presentation to be used either in the traditional classroom, or, in my student’s case, through a distance-learning platform.
Be Sure to Assess Your Student Before Planning Interventions
It is important to understand that no singular CVI intervention will benefit all students. Having knowledge of what a student’s visual needs are and what Phase the student is currently in using CVI assessment tools will best allow a team to be able to modify and adapt curriculum to fit each student’s unique needs. There is no “one shoe fits all” mentality when it comes to CVI, and this presentation is focused on instruction for a student who is in Phase III that has shown that they are now using their vision effectively and we are working towards reducing complexity: auditory, visual, and positional. As Ellen Mazel shares in her presentation “Building Strategies Around CVI Phases”, this specific intervention has incorporated the following:
- Increase word and letter spacing
- Use color highlighting
- Use predictable books/materials
This presentation is specific to my student who is mid to late Phase III and it addresses different learning needs than one that would be focused on for a student who is in Phase I where a student is learning to look or in Phase II where a student is beginning to integrate vision with function. This can be easily modified, and the presentation of the materials could be delivered in many ways depending on your student’s individualized plan for instruction.
Step-By-Step Instructions
The program that works best is called Roman Word Bubbling. The screen below will be the welcome screen when you enter the site. It is very customizable as you will see below.
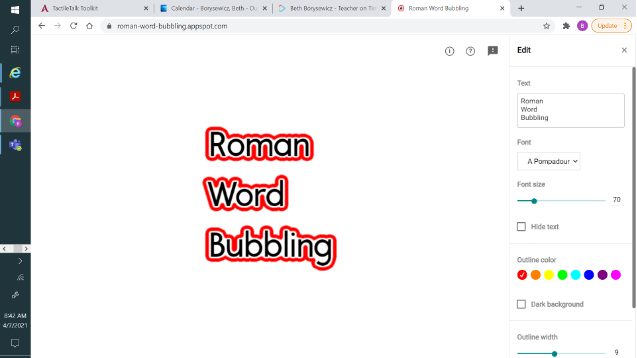
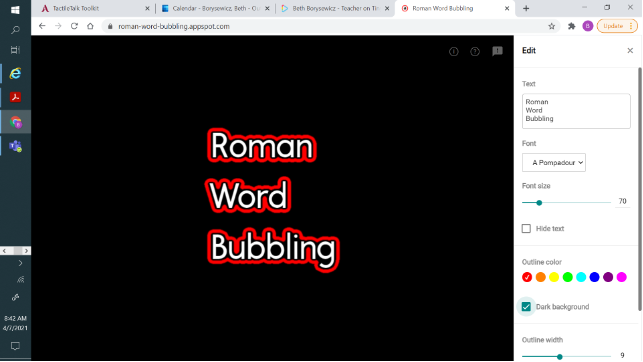
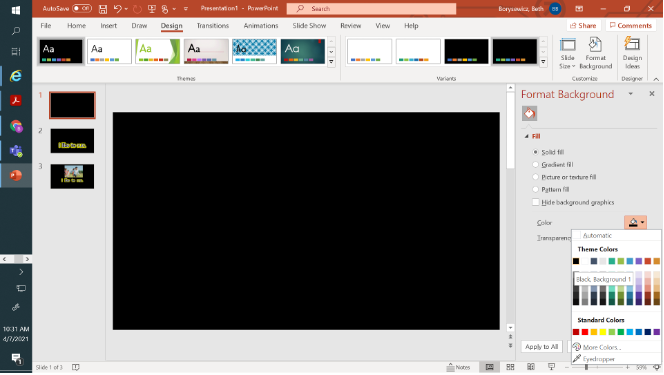
The more contrast the better, so I like to make the background screen black. This will be best when you are saving the text to be placed in other programs.
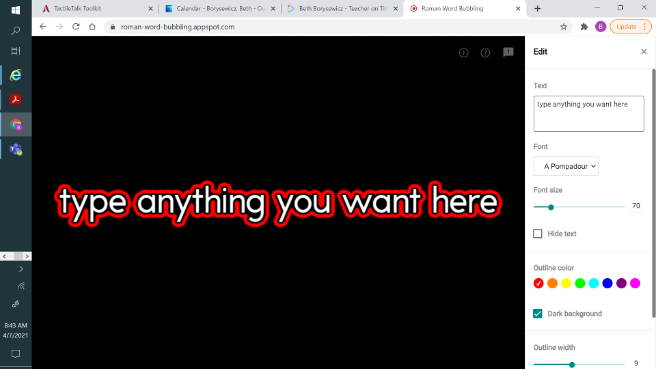
This is where you can type in any content you would like to be bubbled. It can be full sentences, single words, letters, numbers, etc.
For demonstration I am using a single sight word.
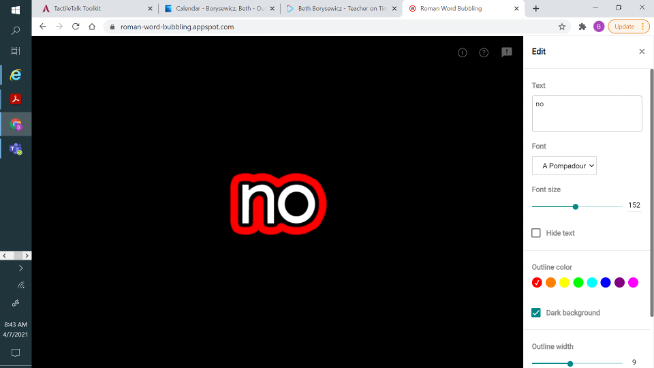
You can change the color surround of the word as well if your student prefers one color over another, but just maintain consistency. It is not recommended to use multiple colors. Pick one and stick with it through all instruction.
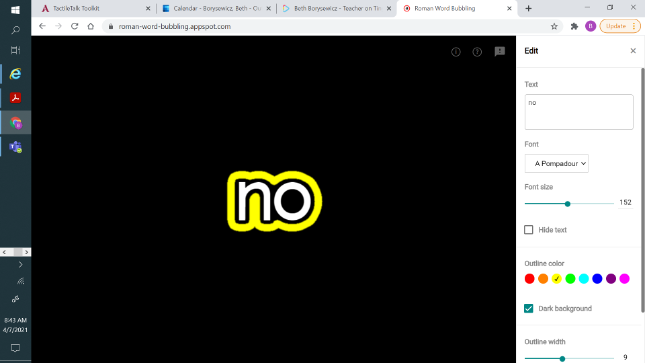
Once you are happy with the presentation, you can save to your photos or in a folder specifically for your student. These can be all created ahead of time and can be used when needed and the student progresses.
You are going to want to place your cursor directly on the word/phrase you created and right click. This menu should appear. You are going to select “Save Image As”
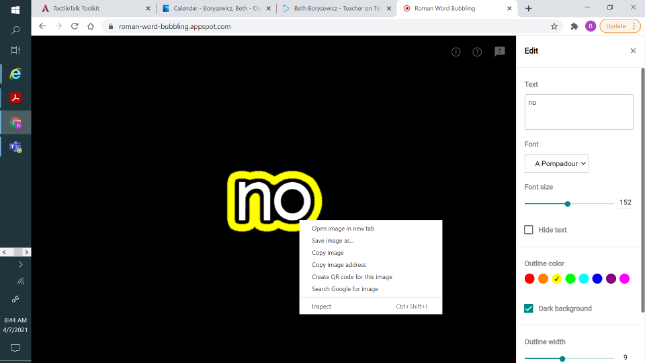
Save as you typically would in a specified folder for ease of access
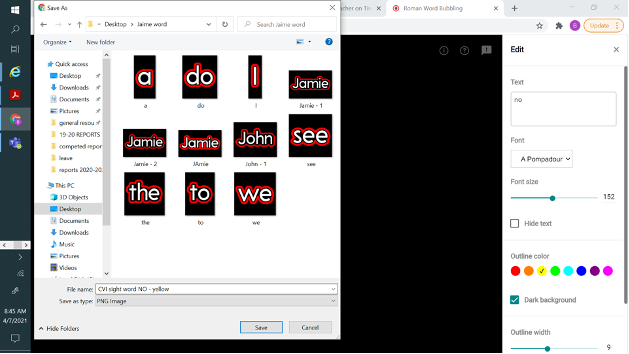
Once saved you can create a PowerPoint for presentation purposes. If there is another program you prefer for presenting instructional materials for your student, the steps may differ a bit.
Open a new PowerPoint blank presentation.
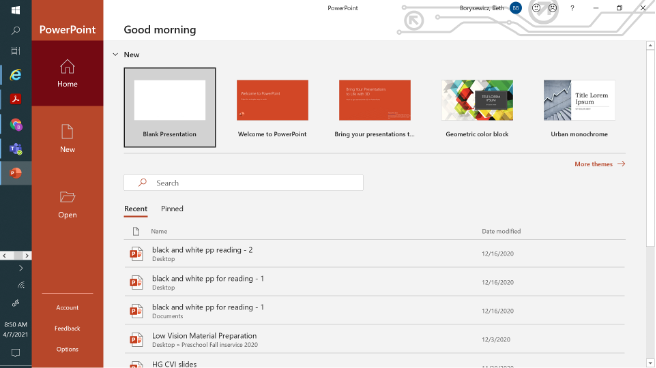
You are going to want to “Format the Background”. You can find this option under the Design tab on the menu bar.
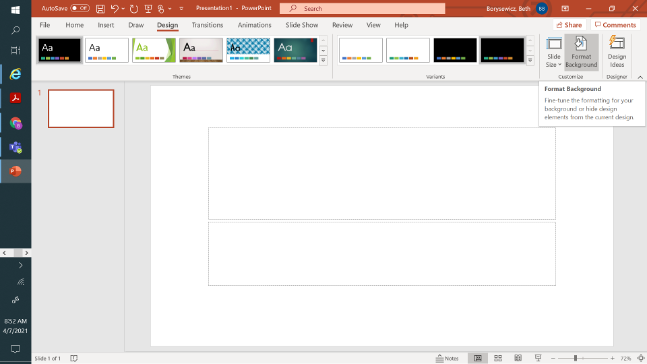
Once you click on “Design” then “Format Background” this submenu should appear. Again for most constrast, I like to select a black background
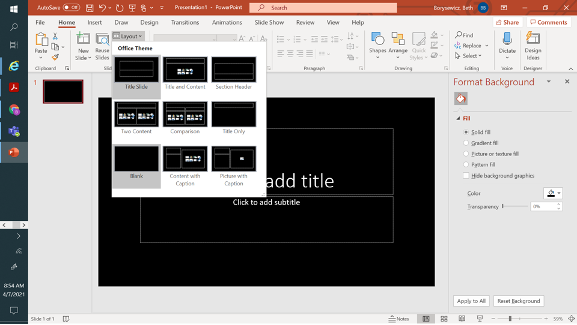
To format the slide you go to the “Home” tab on the menu bar and then “Layout”. As you can see below I like to use blank, but you can use whatever one you prefer or you feel may work best for instructional purposes.
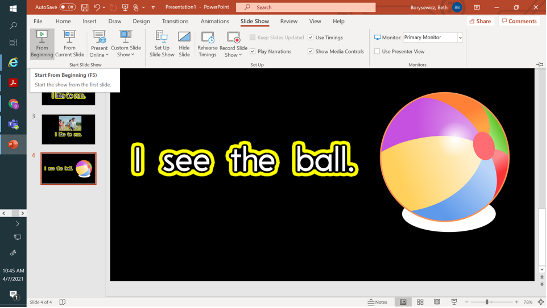
Now we are ready to add in the content created. It is as simple as adding in the picture. You can see why creating all the “sight words” or other workable content and saving prior can speed up the process once you get to this point.
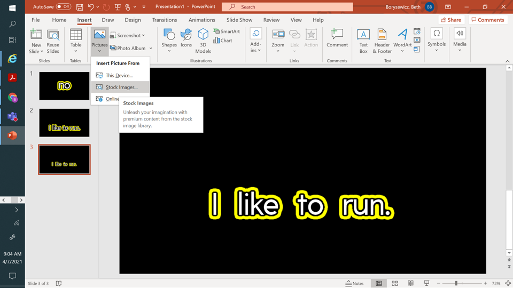
Go to “Insert” tab and then “This Device”. This will bring you to your drive.
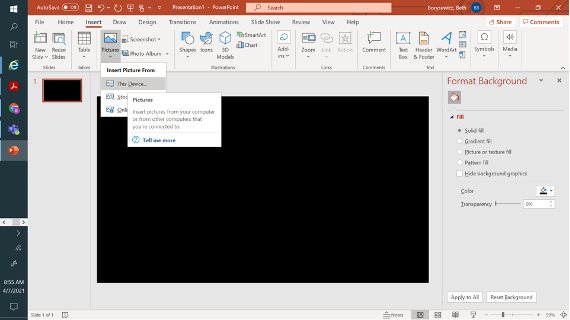
Select the content you want and then click OPEN.
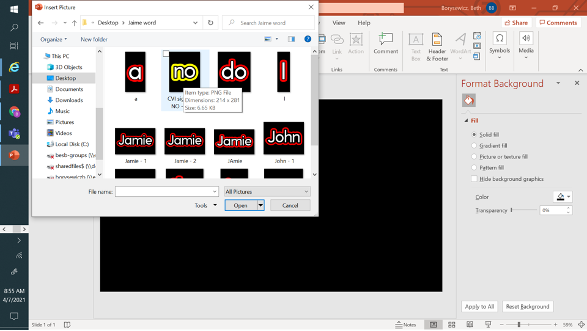
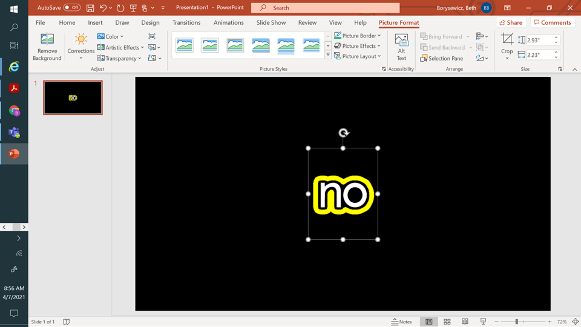
You can now size and move content as you wish just like any other image.
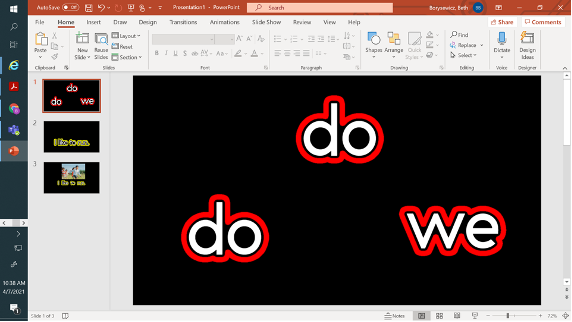
You can add in multiple pictures to make a matching game, or get creative.
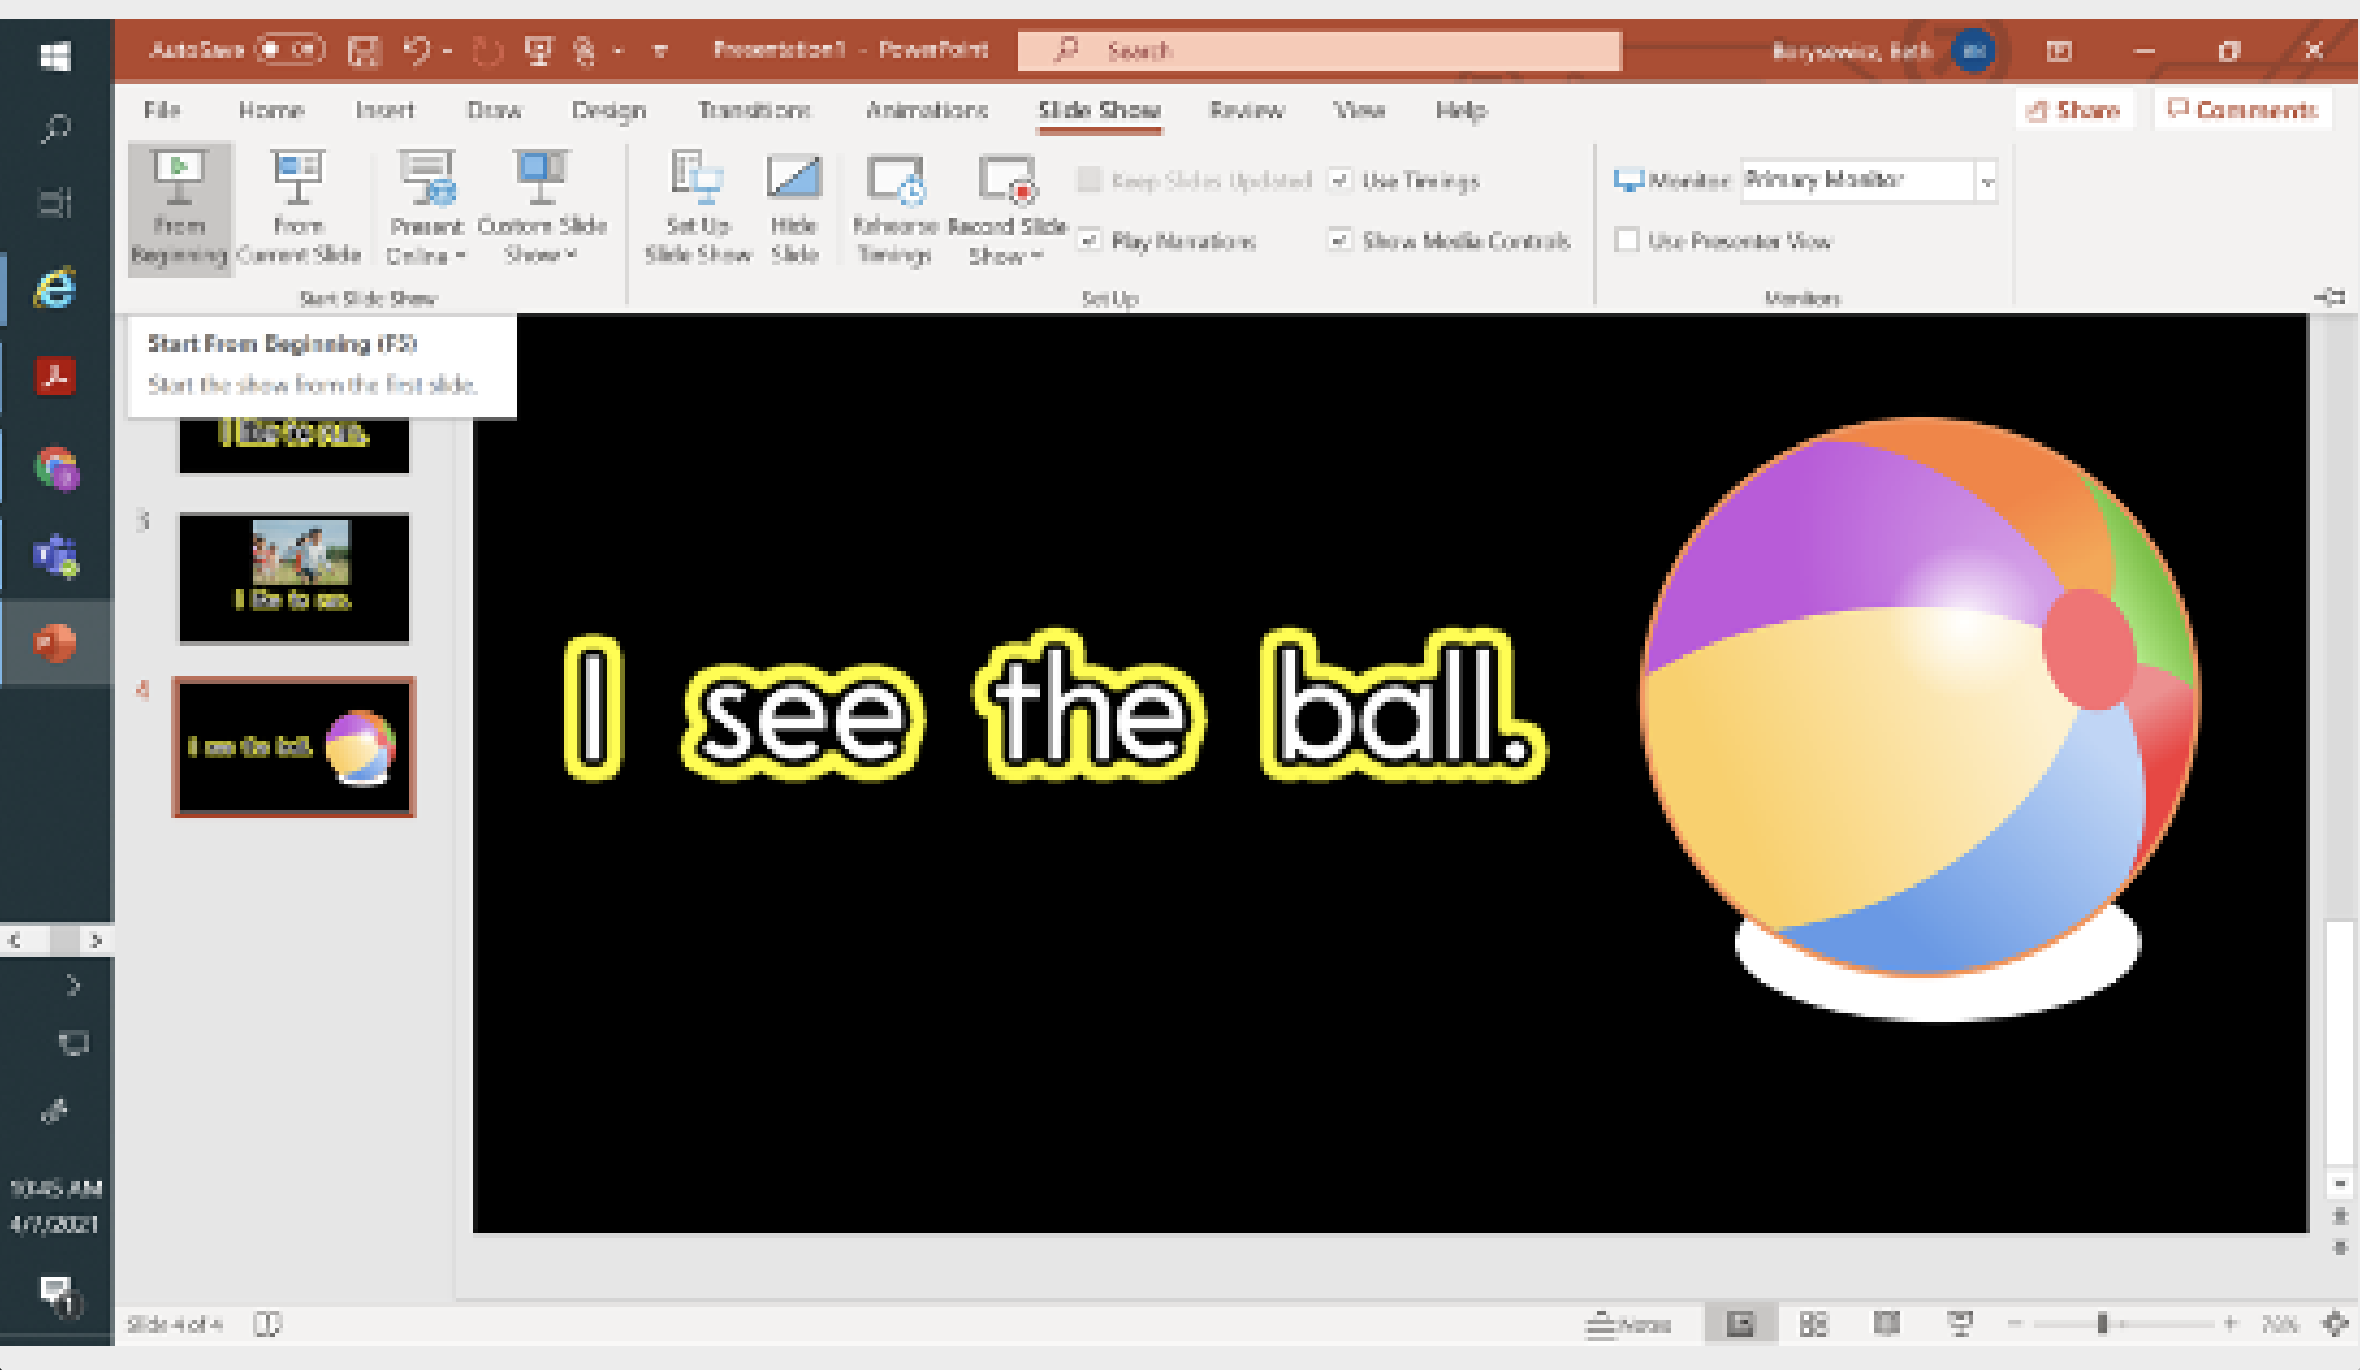
If you decide to write simple beginning sentences you can change the size and spacing by adding an extra space when typing or changing font size on the slider bar
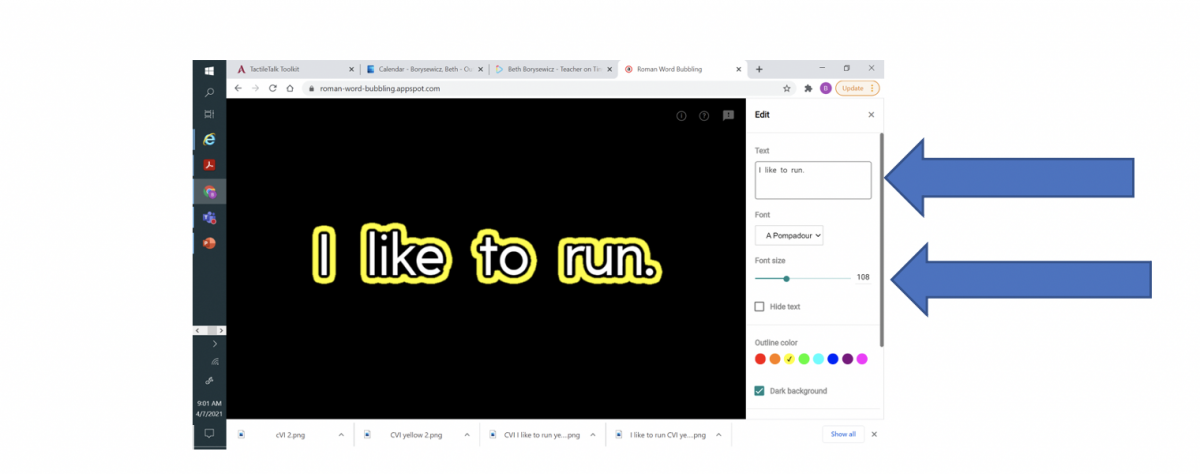
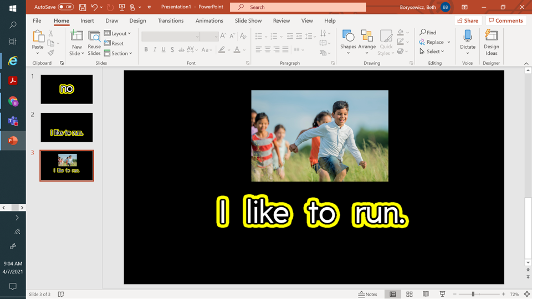
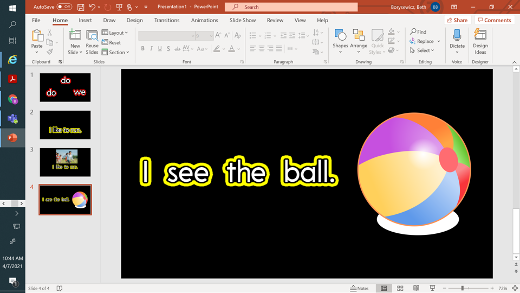
Do the same steps to save and insert into your PowerPoint. You can move it to the bottom of the page to enable you to find some simple pictures to add.
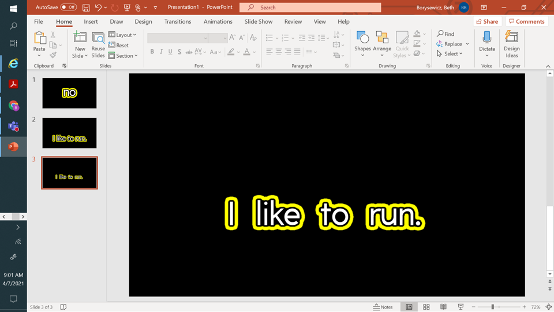
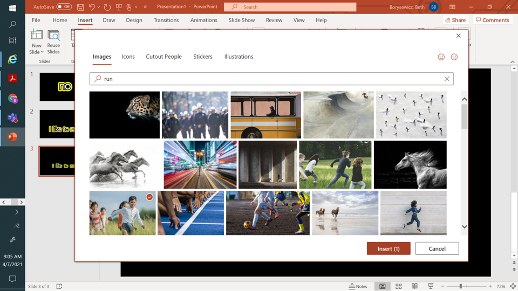
Stock photos or online photos may be easiest, but if you have other clip art you can use that as well. (Editor’s note: Be aware of copyright law if you plan to share this beyond a lesson with your student.)
