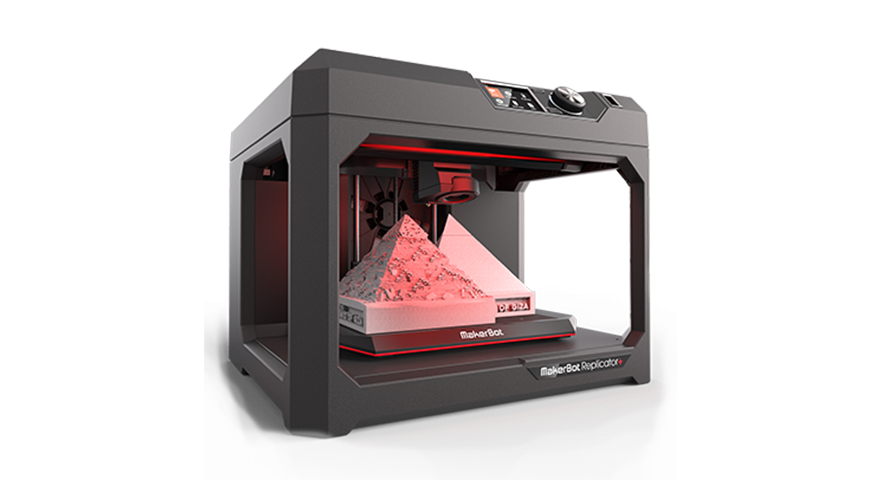
I am a COMS and TVI, and have been using a MakerBot Replicator 5th Generation since June 2014, and I presented at SOMA on my experience with 3D printing. I have been pleased with MakerBot for its plug-and-play ease of use and great customer support. You might be able to obtain special offers by requesting a quote from MakerBot, but currently the MakerBot 5th Generation is on sale for $2,499.
Creating 3D Models
MakerBot hosts the website Thingiverse, which is a repository of open-source and for-purchase 3D files. The vast majority of the 3D models I have made came from Thingiverse. I consulted with Heather Livingstone, a TVI at one of the VI program schools that I serve, and we selected to print items that were often inaccessible to students with visual impairment due to size, distance, or risk of danger. Be aware 3D printing is not a fast process – I printed an 18″ tall model of the new World Trade tower, and the print took about 50 hours. We printed a virus, T-rex skull, the Parthenon (ancient and modern day), ossicles, and a tapeworm (custom print I designed).
3D Printing for O&M Purposes
Custom prints require a person to have the time and patience to make a 3D design from scratch. For O&M purposes, I designed a hook pencil tip of my own design using TinkerCAD, an online computer aided design site, and plus-shaped and t-shaped intersections complete with curbs, curb cuts, and road camber. I also like SketchUp, a 3D design program that can be obtained for free with proof of being an education professional. I wish I had more time to devote to custom design so that I could make 3D models of the schools my students attend.