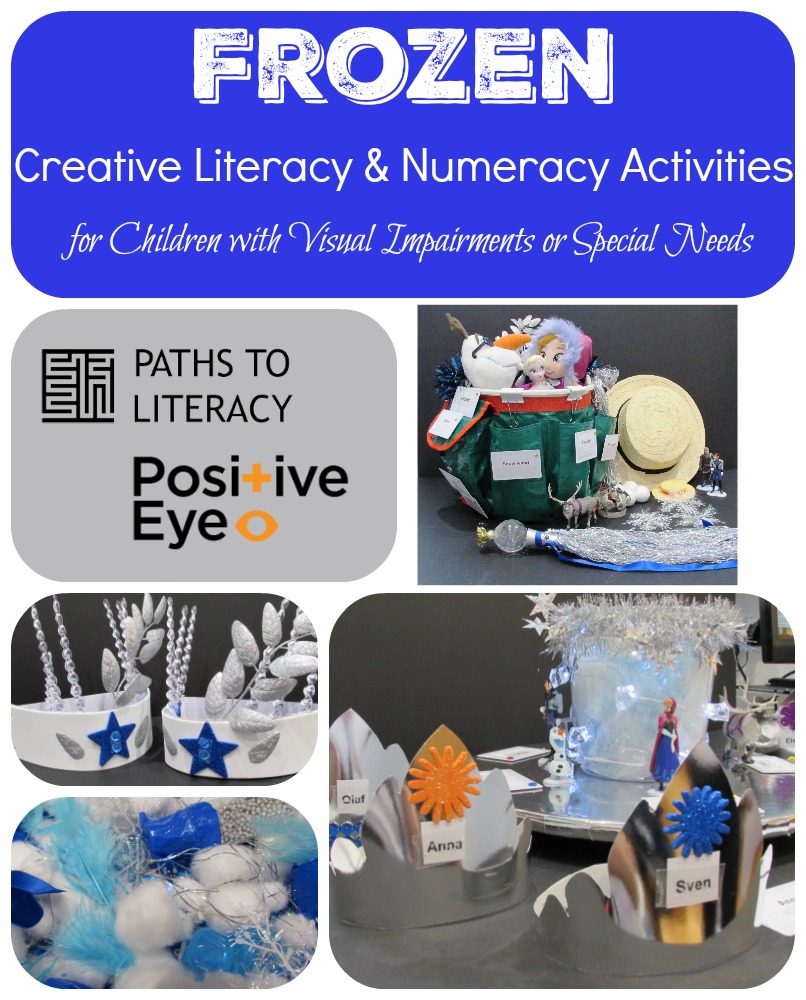
Creating a holistic approach based on a theme or story enables children who are visually impaired to access and enjoy literacy and numeracy activities in a meaningful way.
The film “Frozen” has been tremendously popular with many children. The following are accessible, creative, fun ideas and suggestions to bring the story alive and to make it meaningful for children with visual impairments. The ideas offer a starting point and can all be adapted to suit the individual visual needs of the child you are working with.
You need:
- Plastic bucket
- Bucket apron (Amazon)
- Organza – blue, turquoise
- Frozen characters, Elsa, Anna (rag doll) and Olaf
- Set of miniatures including Elsa, Anna and Olaf along with Kristoff, Hans and Sven (Disney store)
- Sparkly white pom poms (Hobbycraft)
- Snow wand (light up toy from Amazon)
- Reindeer ( Christmas decoration)
- Crown (Christmas decoration)
- Olaf’s boater (from Olaf toy)
- Real Boater (fancy dress hat – from Amazon)
- Silver sparkly leaves (Christmas decoration)
- ID cards for braille/large print key words
- Tinsel for bucket handle
- Velcro
- Bull dog clips
- Polystyrene balls (Hobbycraft)
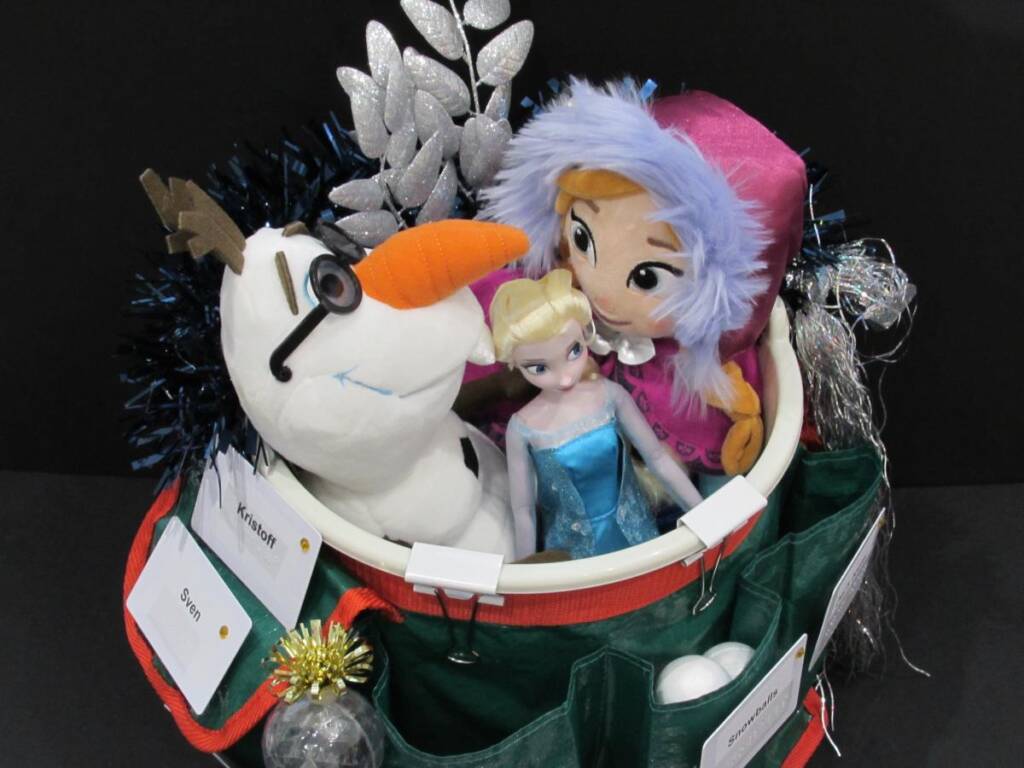
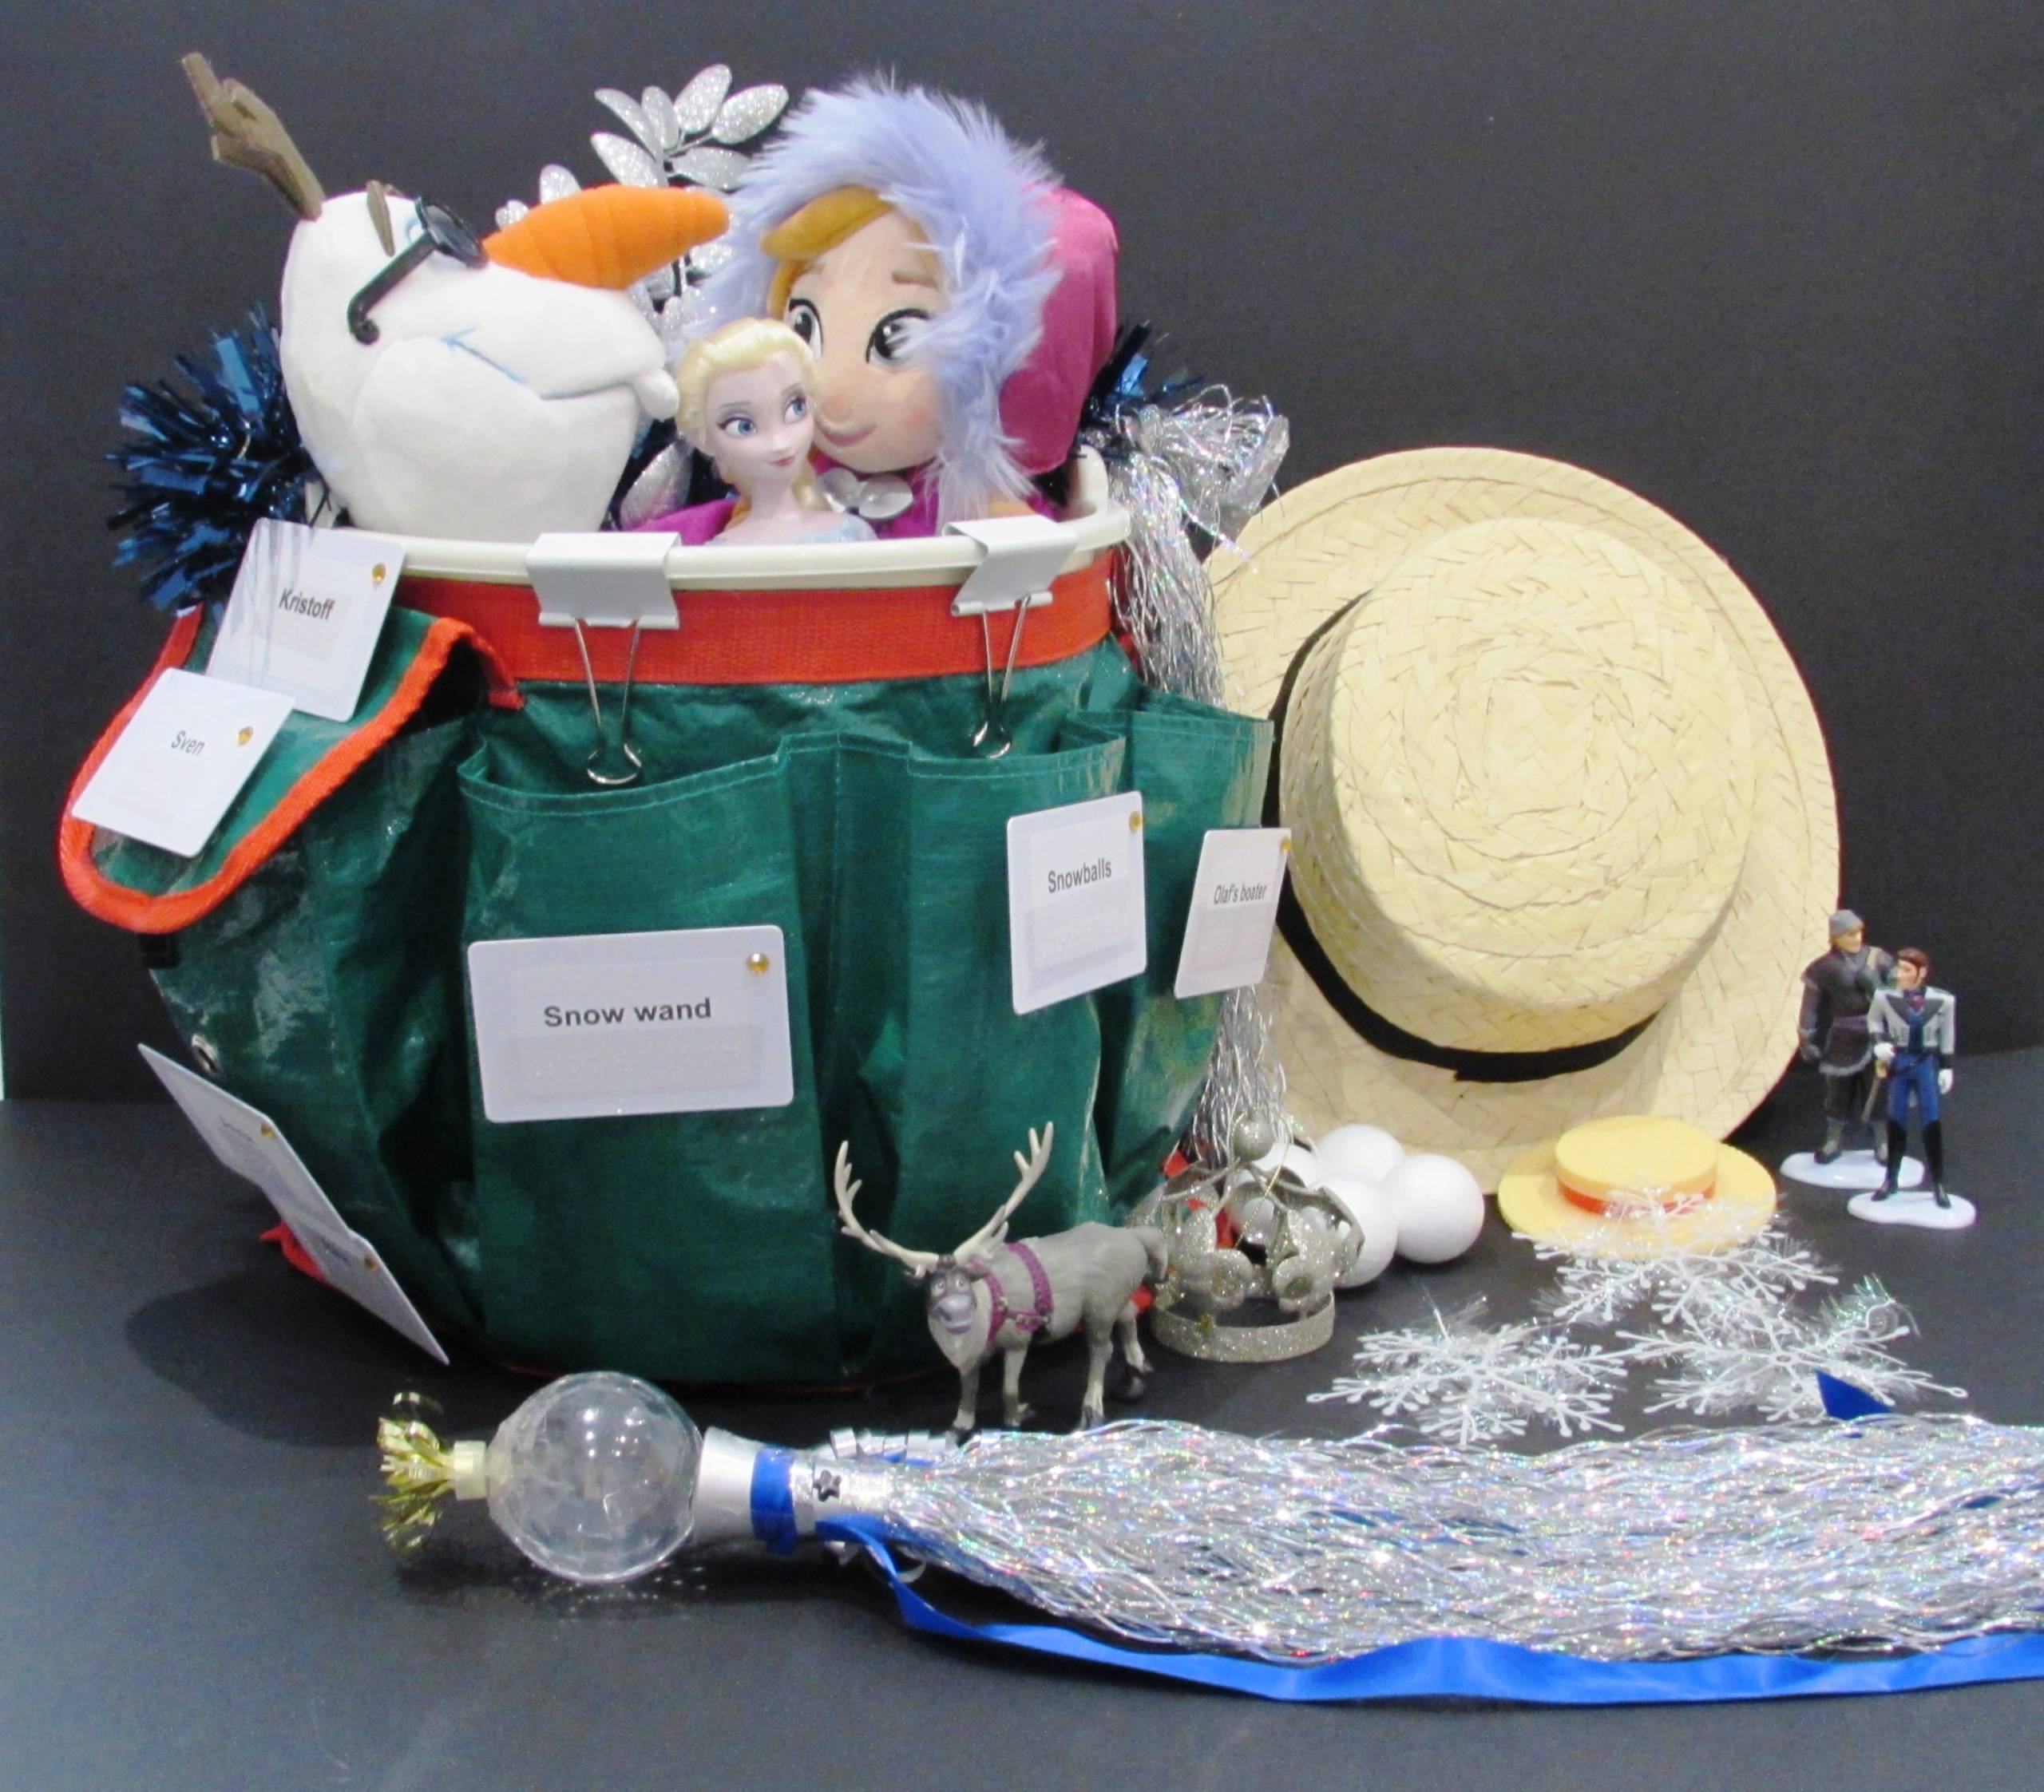
What to do
- Tie the bucket apron around the bucket, secure in place with bull dog clips over edge of bucket
- Place the organza fabrics in the bucket and position the large dolls and on top
- Put the small objects in each pocket of the bucket apron
- Attach Velcro to the front of each pocket
- Make large print or braille labels for each object and add to ID cards. Add the corresponding label to the front of each pocket
- Wind the tinsel around the handle
Maximising the learning
- Read the story of “Frozen” to the child
- Have the child find, hold, and explore the items from each pocket of the bucket
- Talk about each item, use descriptive words whilst the child explores
- Locate the name label on the pocket, read the initial letter/whole word – place the correct item in the pocket
- Or… feel the object in each pocket of the bucket apron and add the correct name label to the outside of the pocket
- Play the songs from Frozen, dress up and role play some of the scenes
- Make up counting games with the snowballs and pompoms
- Feel the organza and “floaty” blue, turquoise fabrics
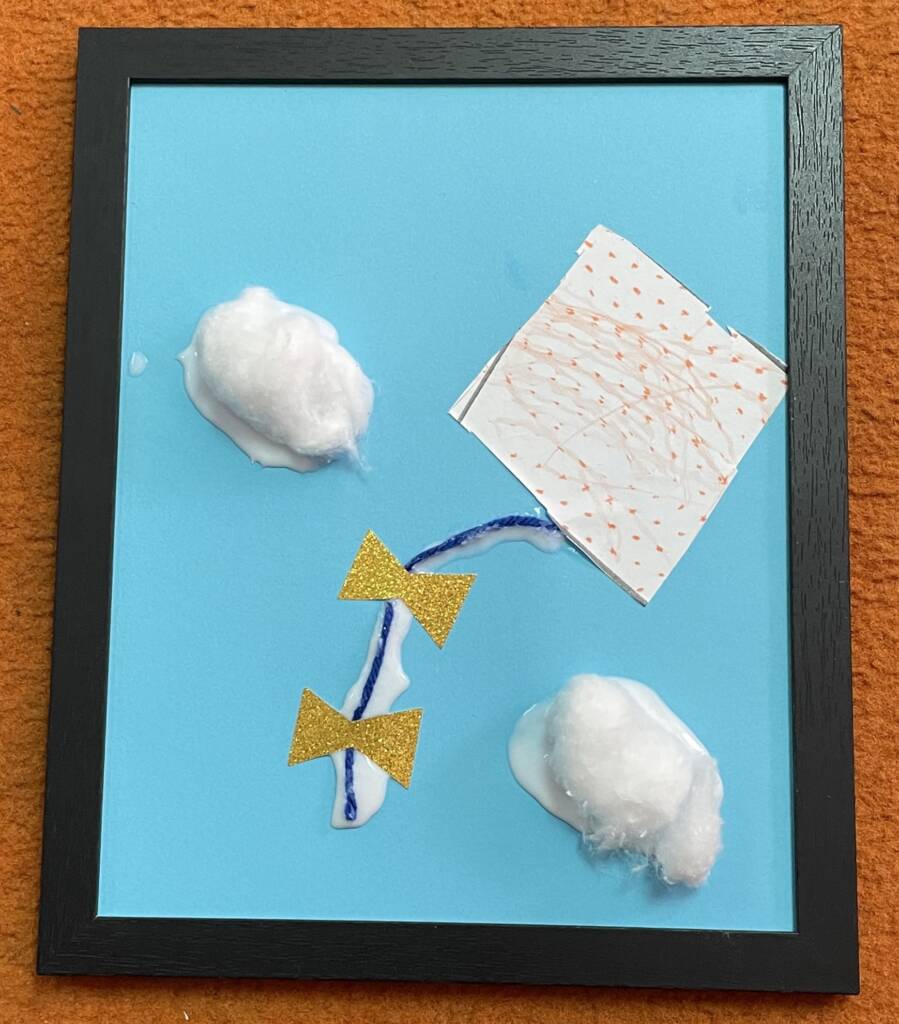
Model making:

Model making and role play is an important and enjoyable part of emerging literacy. Whenever there is an opportunity, it is good to make a model with the child, ensuring they fully participate in the process by choosing the construction materials.
Frozen’s ice palace provides a fun opportunity to build a model. The palace can be any shape you wish. Here, cardboard boxes covered in blue shiny paper, organza embossed with silver snowflakes and decorated with tactile dots were used. A polystyrene cone (Hobbycraft) was used to make the main turret decorated with beads. A Christmas tree star finishes off the palace.
Marshmallow Snow Monster

Make a marshmallow snow monster with the child. In the model shown pieces of polystyrene have been glued around a box. A piece was cut out from a 2 part polystyrene ball (Hobbycraft) to enable it to be glued into the side of the box. The snow monster’s teeth were cut from the ball and black pom-poms were added for his eyes.
For a taste, smell and tactile experience, add marshmallows on skewer sticks to the polystyrene sides – have fun dipping the marshmallows in chocolate and eating them!
Frozen Naming Game

You will need:
- Lazy Sue – IKEA
- Silver paper
- Blank ID cards
- “Frozen” miniature figures
- Plastic transparent cylinder shaped container
- Silver card to make crowns
- Some beads, tactile shapes
- Tinsel
- Small set of lights (worked on battery)
- Gripping stuff – to hold container in place
What to do:
- Cover the Lazy Sue in silver paper
- Place the tinsel in the container and wrap the lights around the outside
- Add some more tinsel around the top of the container and secure in place
- Cut and fit a circle of “Gripping Stuff” to the bottom of the container to stop it slipping around
- Place the container in the middle of the “Lazy Sue”. Add the “Frozen” characters around the container (hold in place with blu tack if necessary)
- Make braille / large print name labels for each of the “Frozen” characters (Elsa, Anna, Sven, Olaf, Hans) and fix to the blank ID cards
- Position / space the ID name cards equally around the edge of the “Lazy Sue” with small pieces of “Gripping stuff”
- Cut out crowns in silver card to fit the child’s head and add some tactile decorations to the front. Involve the child in making the crowns with you.
- Add a name label (in braille or large print) to each crown (Elsa, Anna, Sven, Olaf )
Play a simple game:
- Play some “Frozen” music or songs. When the music stops, pick a name card and find the matching character.
- Or in addition, find the matching crown and wear it.
- Or match the name on the crown to the correct character and name label.
Ice Crowns
The ice crowns can be worn whilst playing the “Frozen Naming Game”, or to dress up and role play scenes from “Frozen”.

You need:
- Plastic icicles x 6
- Blue glittery foam stars
- Blue or turquoise beads
- Silver glittery leaves
- White foam paper, or card
- Duct tape
What to do:
- Make the front of the crown: Cut a band of foam paper to fit around the front of the child’s head, to form the main part of the crown
- Securely tape the silver leaves and icicles in position along the inside of the crown front so that they show above it – see picture.
- Add a blue star to the centre front of the crown
- Add two or three beads to the middle of the star
- Staple a thin band of cardboard to each short end of the crown front to make a circle which will fit over the child’s head
Olaf Counting Game

You will need:
- Lazy Sue
- Silver paper with tactile surface (sticky back silver paper bought on a roll from Hobbycraft)
- Plastic container
- Blue glittery foam sheet
- Cotton wool
- Polystyrene balls
- Plastic Christmas tree icicles
- Wooden discs or circles of card
- Wikki stix
- Cardboard to cut out Olaf shapes
- Felt circles to make Olaf’s buttons
What to do:
- Cover Lazy Sue with silver shiny/tactile paper (self adhesive)
- Download a clear black and white outline of Olaf from the Internet
- Cut out 6 Olaf shapes in white paper/thin card or prepare in raised line format on zyfuse paper and cut out shapes
- Also cut out the Olaf shapes in thick card and glue the white card Olaf shapes on to the thick card shapes, sandwiching the wikki stix arms in-between the card
- Add black felt buttons, tactile self adhesive beads or gems to each Olaf
- Cut out and glue silver circles to each of 6 wooden discs (sticky back tactile silver paper used here)
- Add a braille / large print number to each disc (1 – 6)
- Use small pieces of ‘Gripping Stuff’ to secure the Olaf’s and number discs in place around the edge of the Lazy Sue. (See picture.)
- Cover the plastic container with a blue glittery foam sheet; glue some cotton wool around the top
- Fill the container with polystyrene snow balls
Play a counting game….
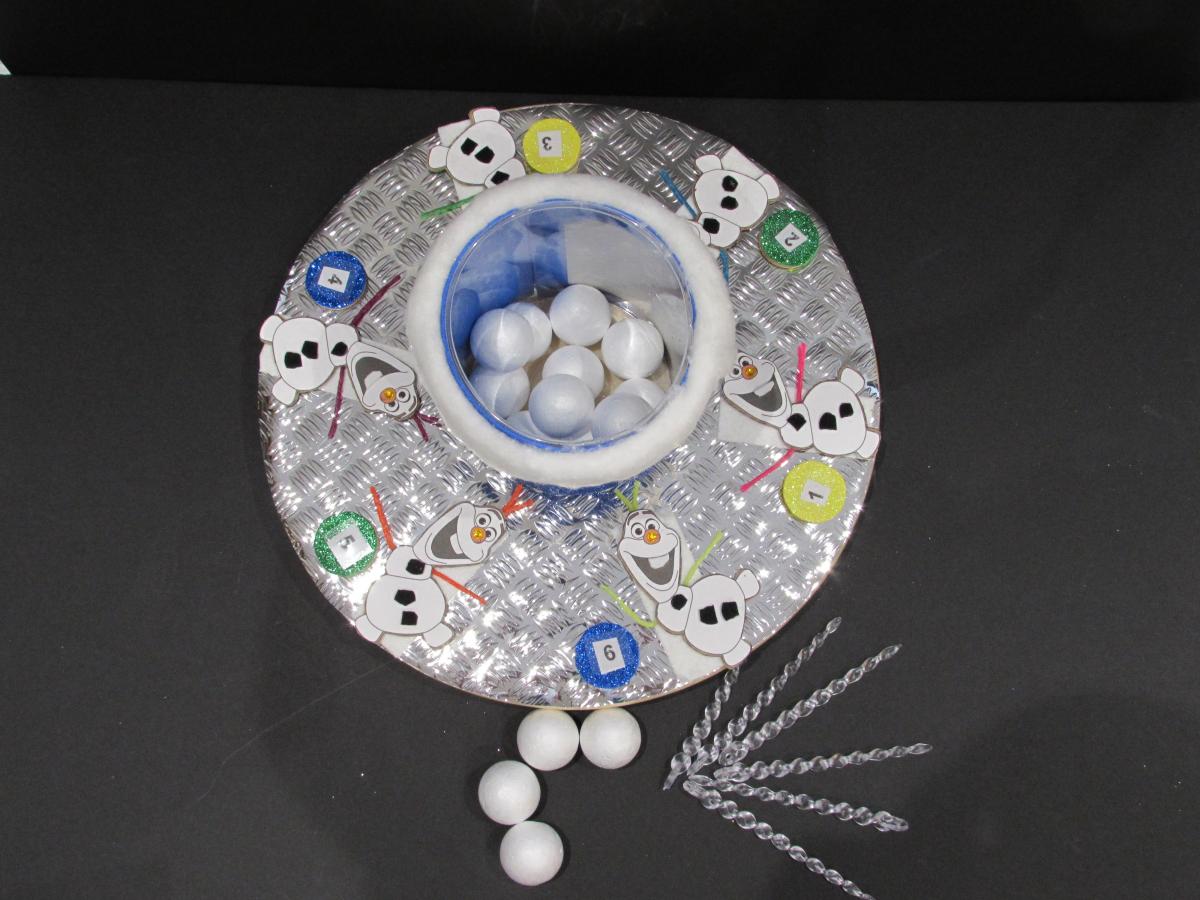
- Spin the ‘Lazy Sue,’ each time it stops, read the number on the disc next to the Olaf and count the snowballs into the container.
- Child keeps the disc and spins the Lazy Sue again until all the discs are used up.
- This game can be played with a partner or in a group.
- Alternative: Use icicles instead of snowballs
- Add talking pegs alongside each Olaf and either read the corresponding number onto the peg or encourage the child to do this
- Counting on – child hold’s number in head, when the Lazy Sue stops, child adds/places the number of balls indicated on the disc into the container
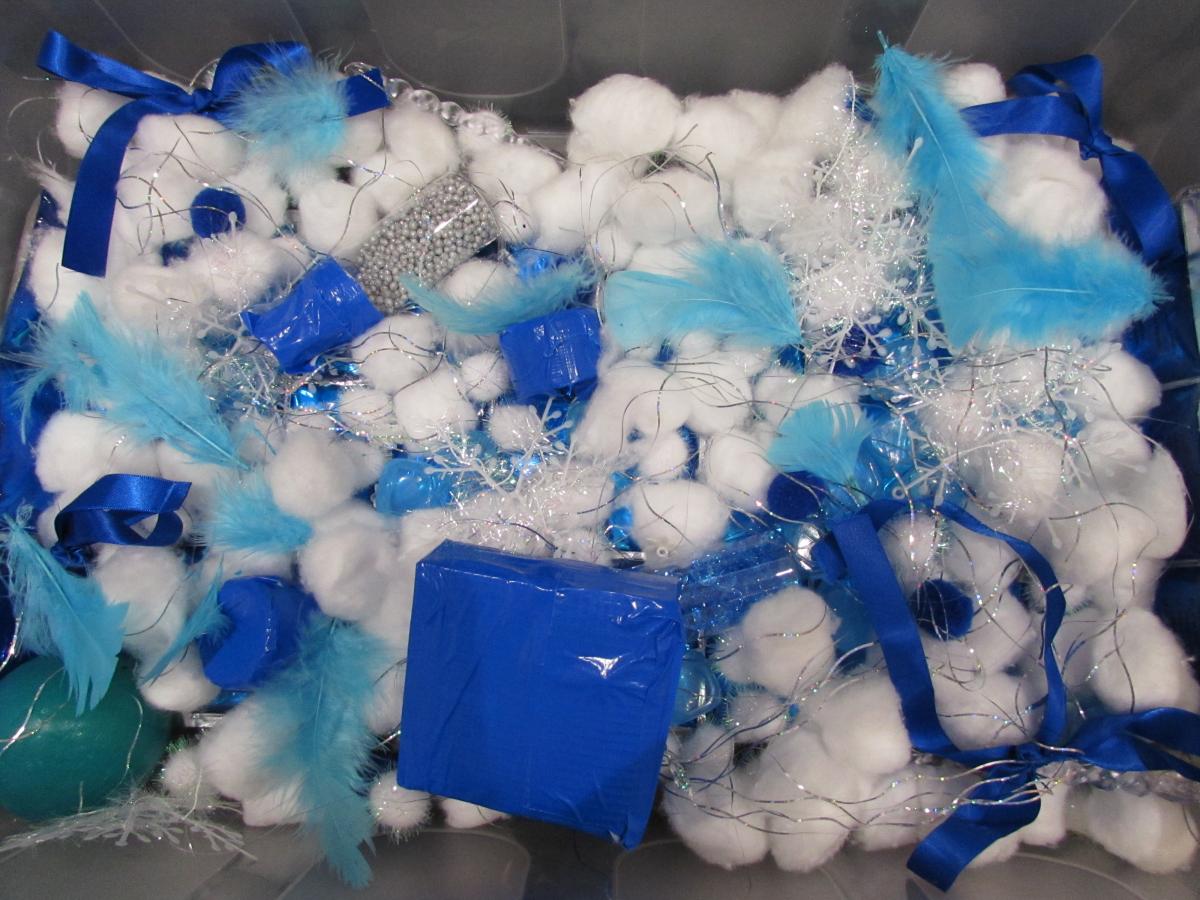
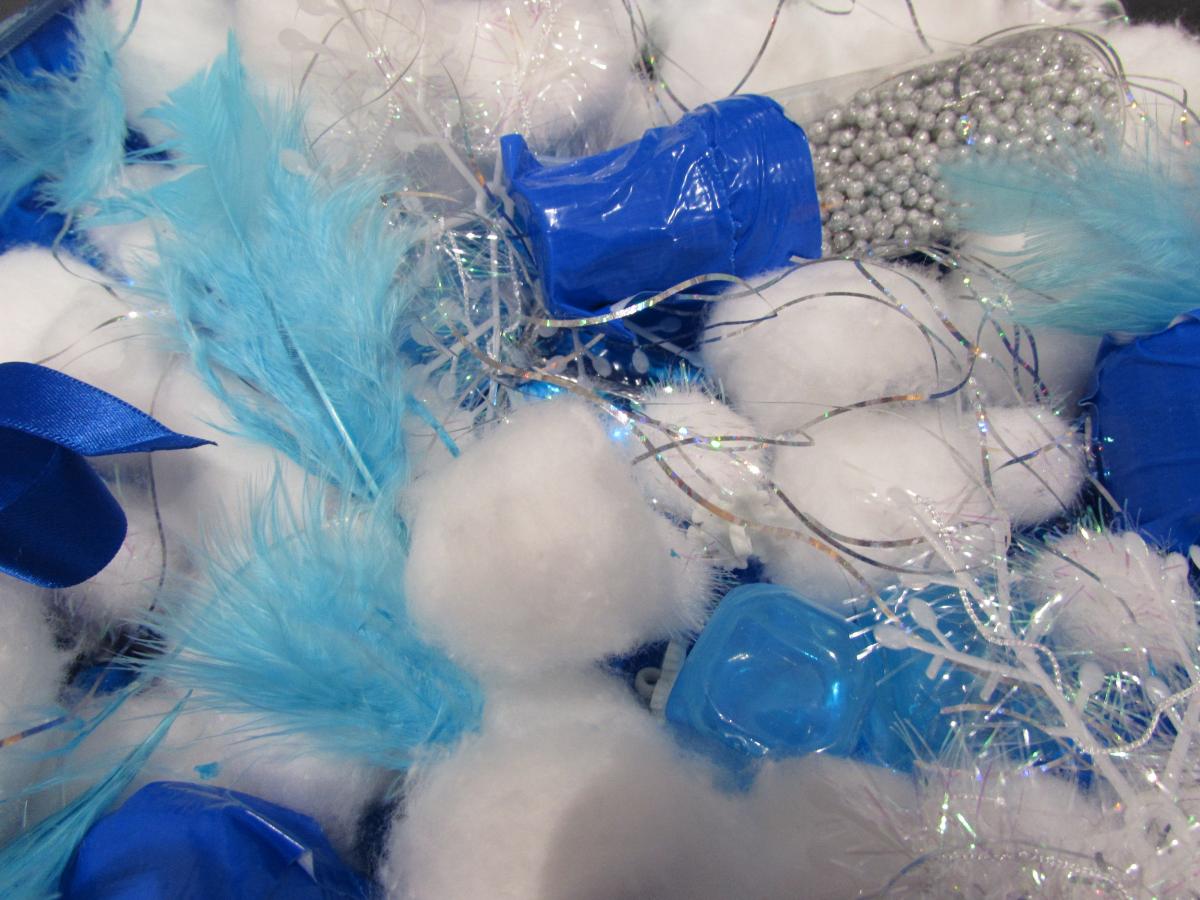
Frozen Sensory Tray
Add anything to the tray that the child may like, here are some suggestions:
- A deep box or tray
- Cotton wool balls
- Ice cubes
- Ice blocks
- Small clear bottles and containers filled with blue or silver buttons or beads – fastened securely with tape around the tops of the containers
- Plastic icicles
- Snowflakes – Christmas tree decorations made of tinsel, soft touch.
- Lametta or tinsel
- Sparkly beads, or light up balls
- Blue and silver pom poms
- Shiny silver beads
Play some “Frozen” music and enjoy exploring the sensory tray; feel the objects, textures, shapes, the coldness of the ice cubes, the softness of the feathers, the silkiness of the ribbons.
There are more shared ideas at https://www.positiveeye.co.uk/