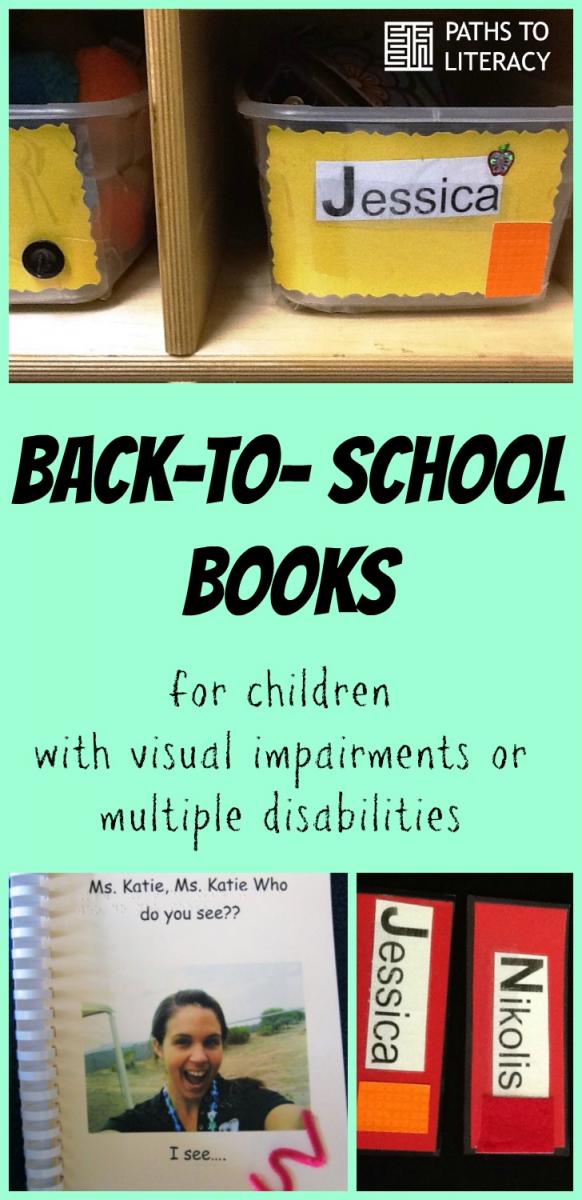
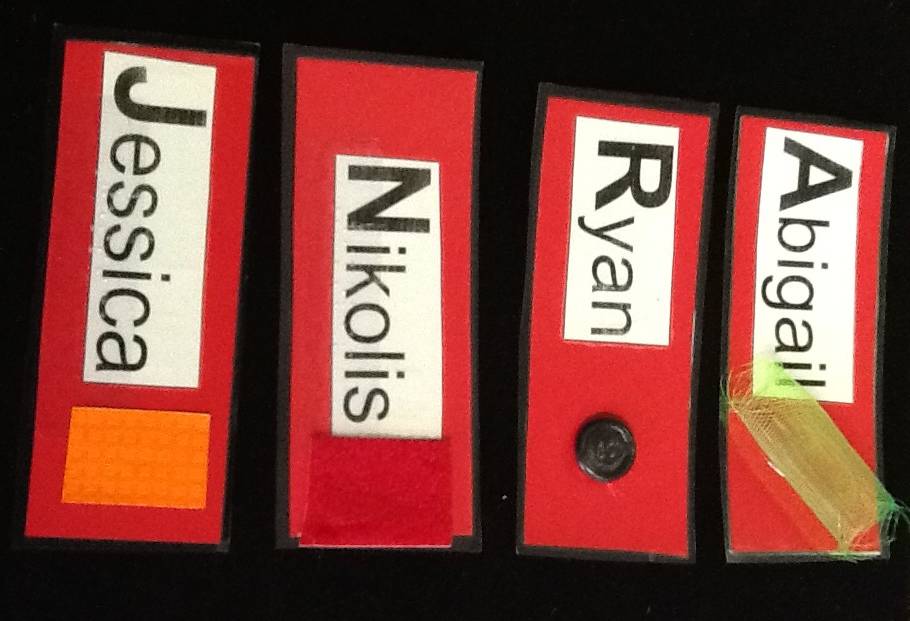
In a strategy posted by Charlotte called Labeling the Environment in an Accessible Format, she talked about texture symbols and object symbols. Name symbols are something that I have used in my preschool classroom for years! This practice is an easy way to promote beginning literacy skills for all the students in my classroom. At the start of the school year I set up a texture tray and let the children choose their name symbol.
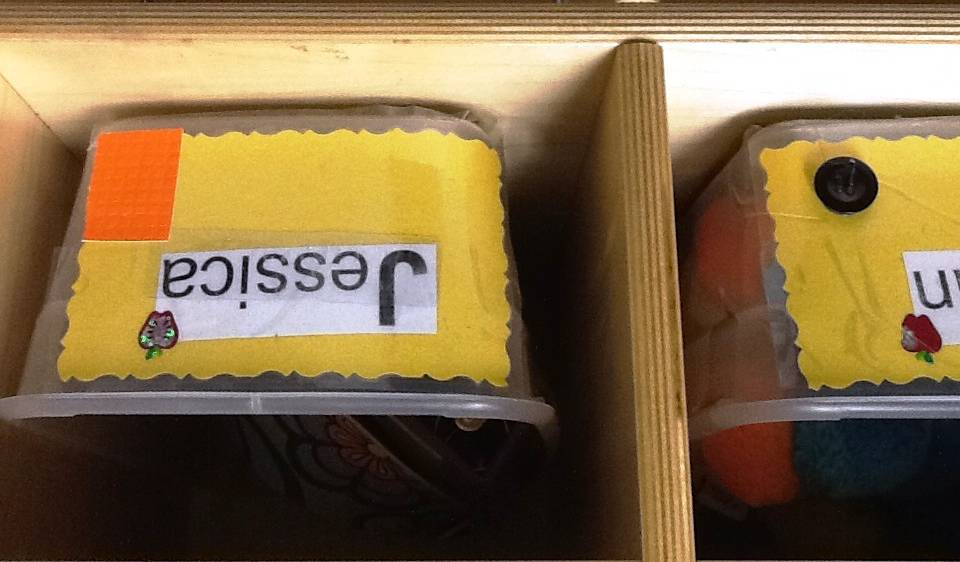
I make name labels for everything and attach the texture with large print, and braille. I use these symbols anywhere the students names are posted and the students have access to them, for example, the cubbies, chairs at the table, the school to home folders, for name choices during circle time, as well as anywhere I might use a picture of them.
Using Texture Symbols and Name Labels
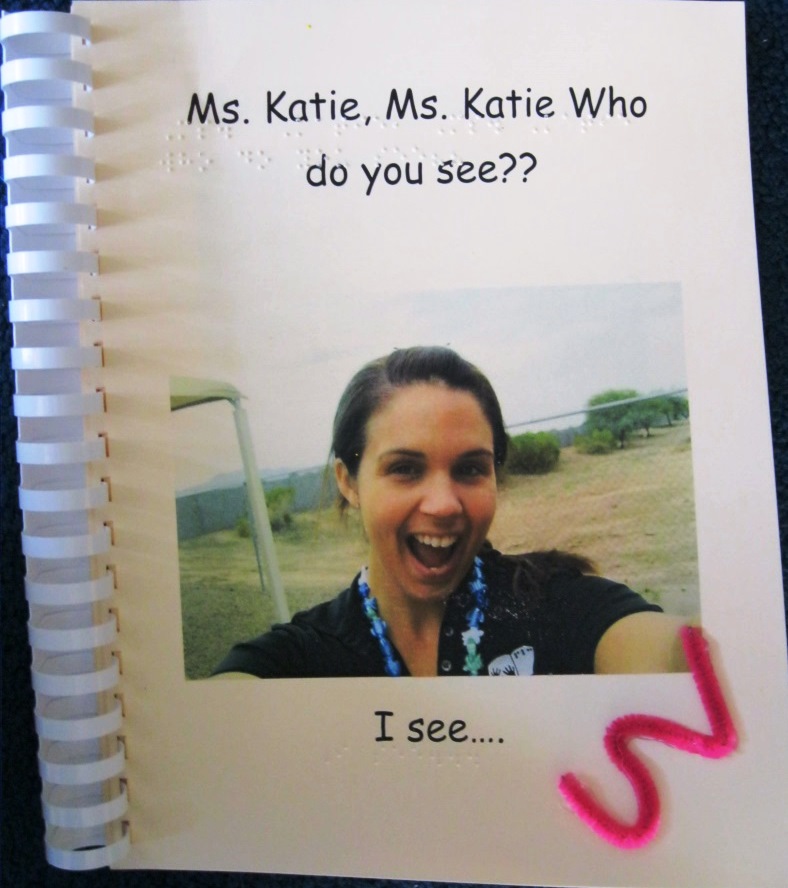
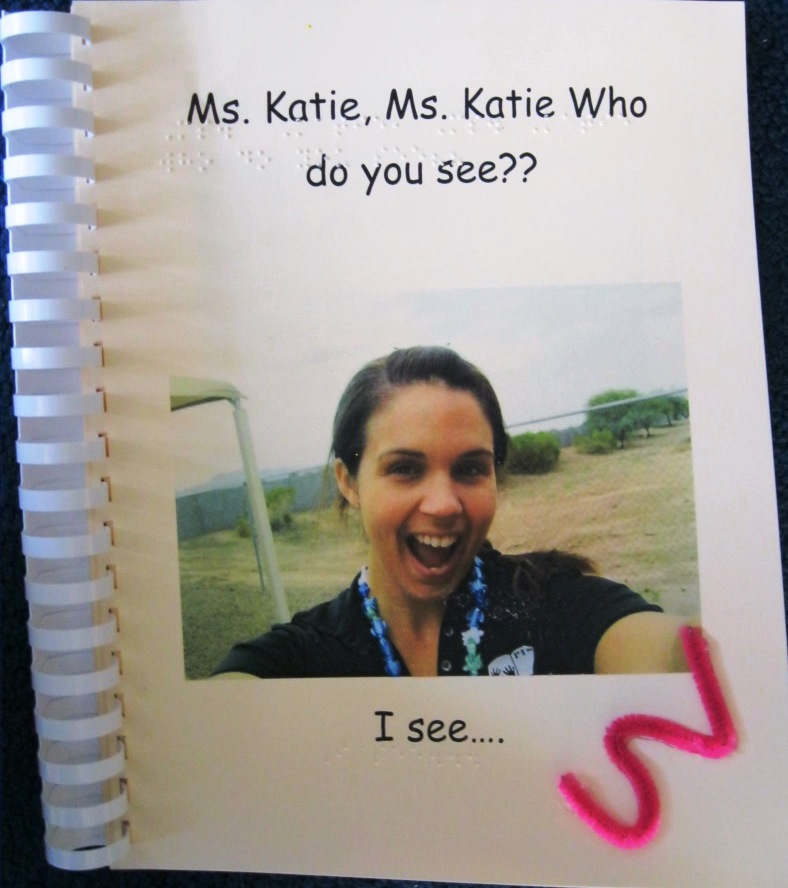
This year I decided to use these texture symbols to make a class book to help my students get to know each other and get familiar with the adults in the environment. This book is a spin-off of Brown Bear, Brown Bear What Do You See? by Bill Martin, Jr. and Eric Carle. I have found that kids love to look at pictures and read books about themselves and their friends. This book allows everyone to participate and enjoy the activity.
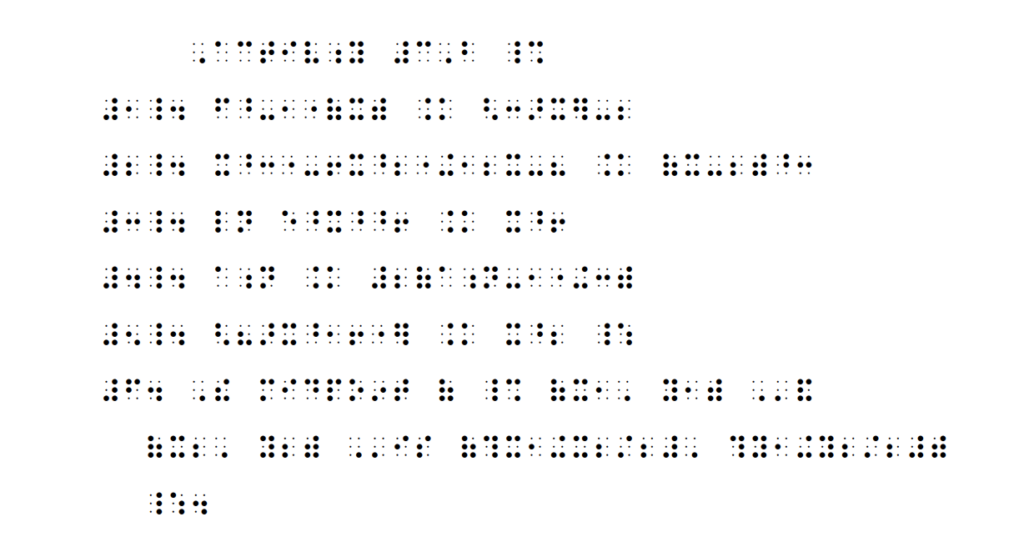
The story goes: Ms. Katie, Ms. Katie, Who do you see? I see _____ looking at me!! The book goes on like that, and ends with “I see all my friends looking at me!” and it has a group picture. The book includes all the students as well as all the regular classroom staff, therapist, the nurse and special area teachers (all the adults have texture symbols too).
I liked starting the year with this book because it is meaningful and it helps new students to feel more comfortable. I also like that all the kids can read it. It is simple, and touches on multiple literacy modes. My visual learners can see the pictures and the print letters and my braille learners can feel the braille and read the texture symbol.
Materials
- Textures
- Braille paper
- A way to bind your book. I used binding combs for this one, but I have used a 3 ring binder also
- Braille writer
- Pictures
- A printer
Directions
- Create a word document for the book.
- Created the first 2 pages and then copy and paste, since the only words that change are the names.
- Put in the pictures.
- Print onto braille paper.
- Braille the book.
- Add textures (name symbols).
- Read and read and read and read and read and read…. And enjoy!!!
- Put it out an accessible book shelf.
Additional ways to use this activity:
- Individual books for the students to take home. I helped my students create a shorter version to take home. It was simply called “My friends” and had the students, myself and our para-educators in it. This way they could take it home and talk with their families about their friends at school.
- A book to share with a student who is going to join the class. I recently visited a family of a little girl who is going to start in my class. She had been in to visit and was familiar with some of the kids, so I brought her a copy of the book so that she would feel more comfortable when she starts.
- As a family book. You can use pictures of a student’s family members; let them choose the textures for each person.
- Extend into pretend play, you could create block people (use a rectangle wooden block, paste on a full length photo of the kids or family member) you can then paste the name and texture symbol on the bottom near their feet. I have not done this yet, so I don’t have a photo (it’s all in my head) but I plan to soon.
