My idea for this graphic organizer was inspired by a post from “Liamsmom” back in October 2015. I used the ideas and suggestions for modifications to think up a version that met my student’s needs. My student and I made this tangible graphic organizer together, which was a great lesson about choice-making all by itself. She currently uses tangible symbols as a reading/writing media.
Materials
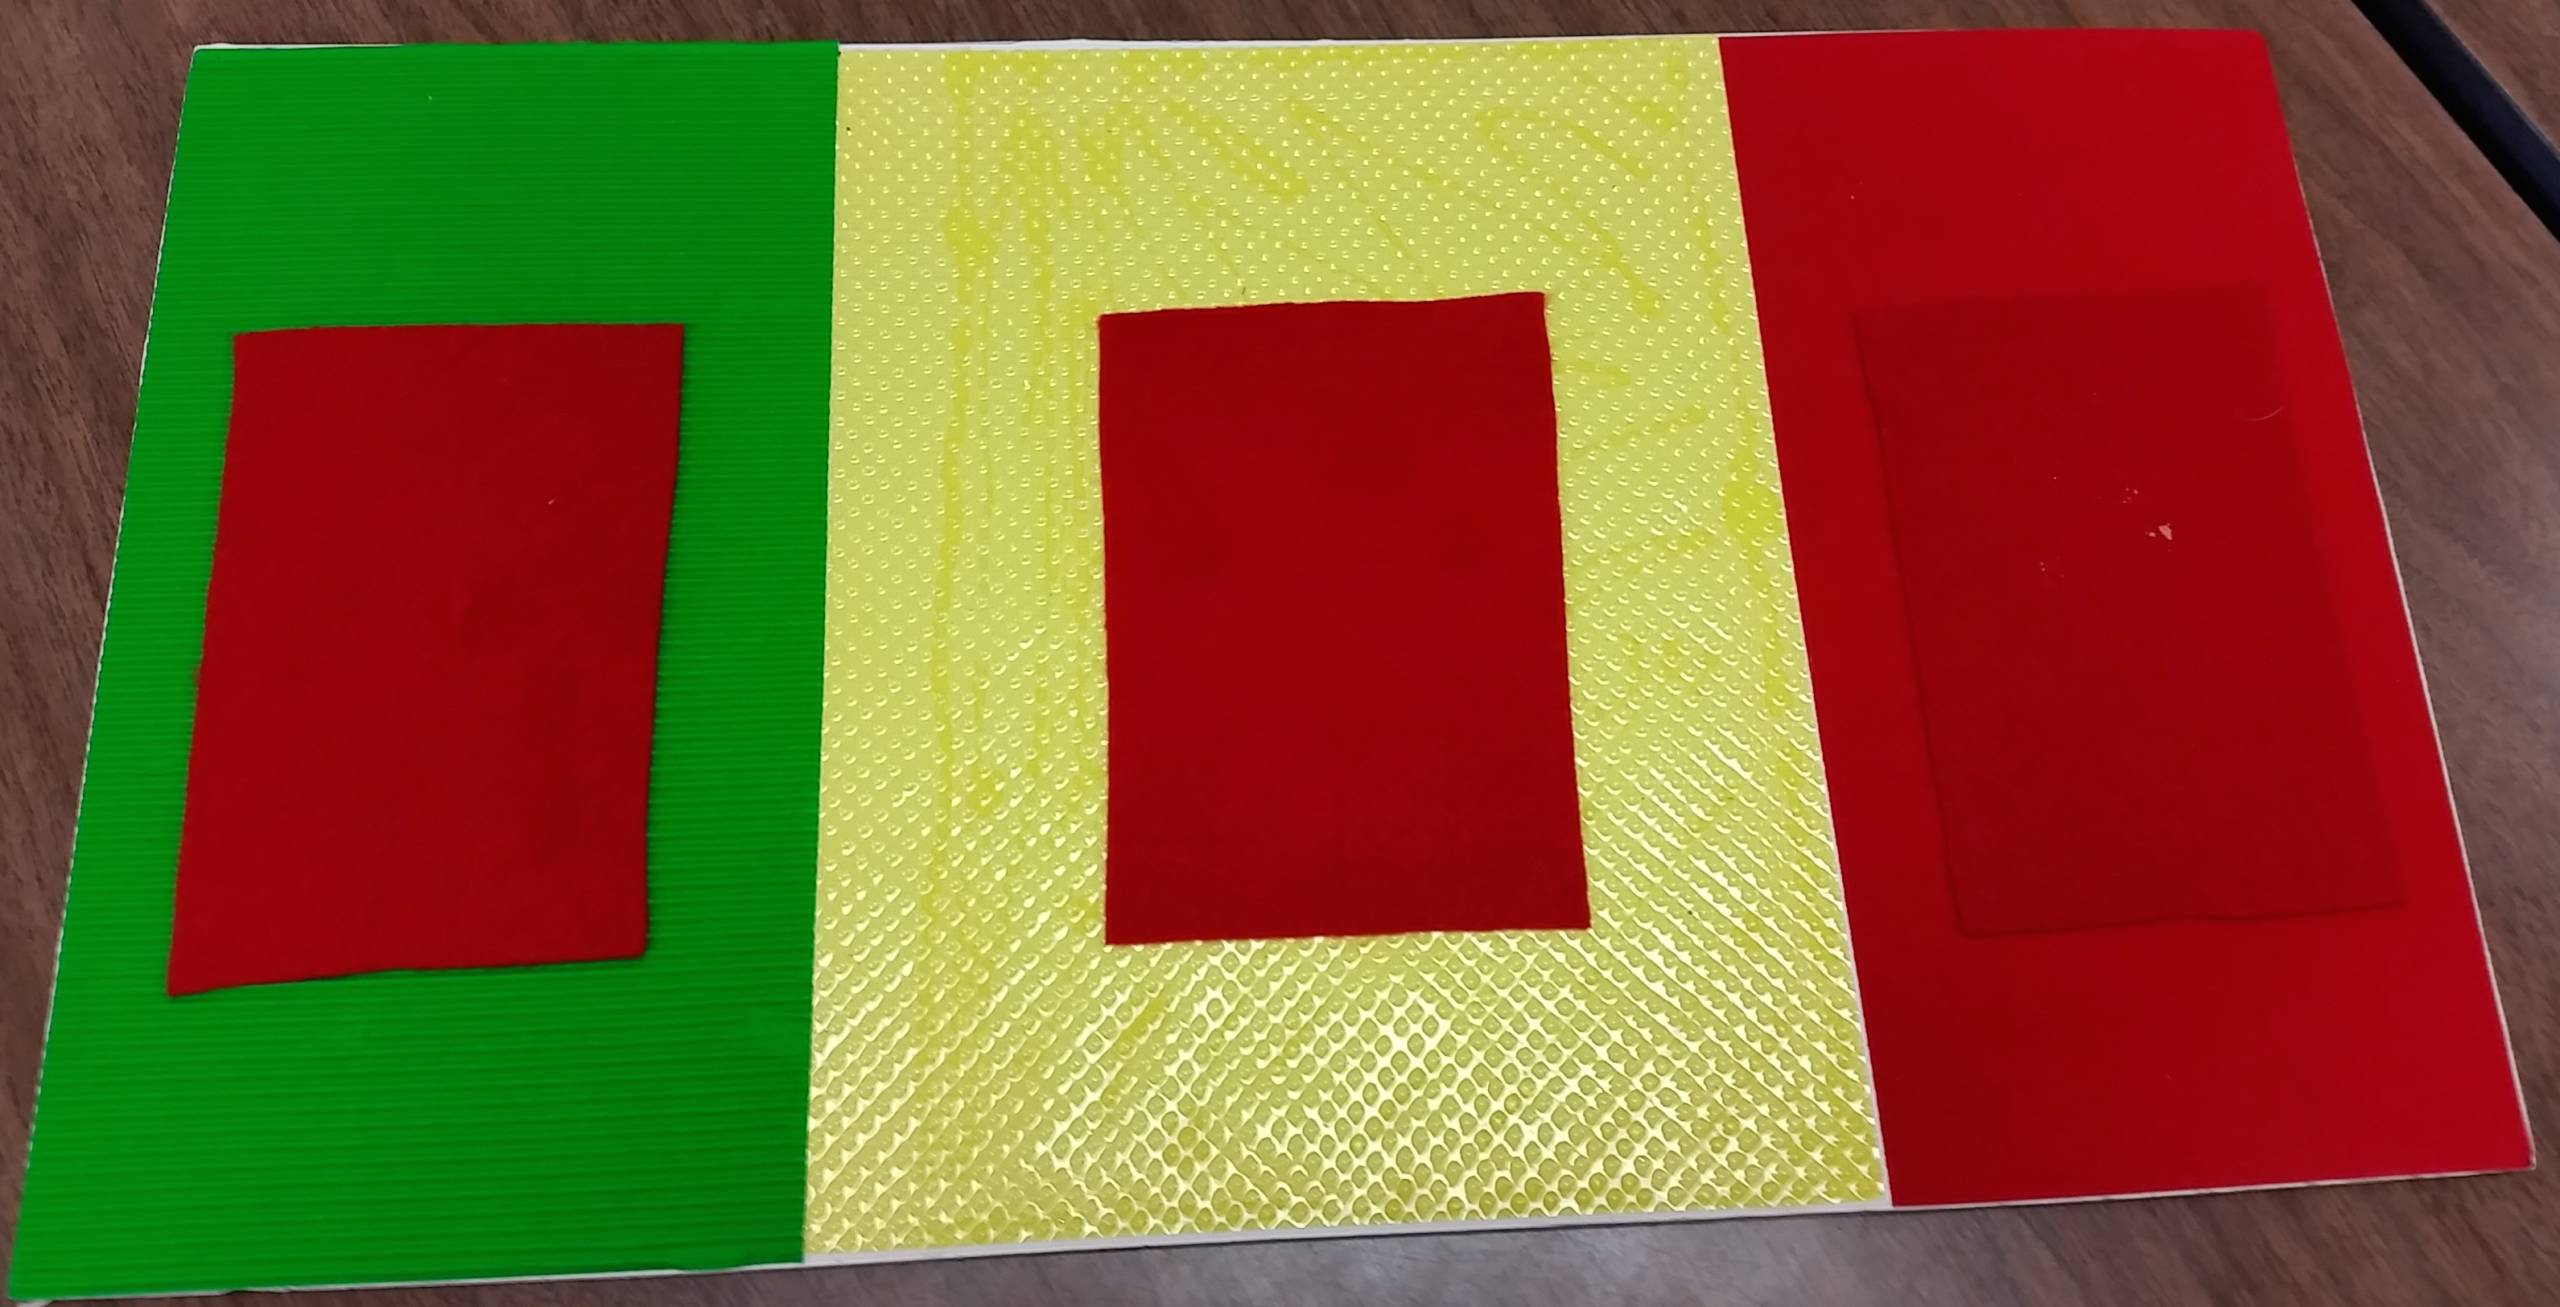
- We used the APH Carousel of Textures to pick 3 distinct textures.
- We used double-sided adhesive to attach the textured paper to a piece of foam board.
- We used the green-yellow-red stoplight representation because that is strategy used in the general education classroom we are included in.
- We added small squares of felt so the Velcro on the back of the tangible symbols would stick and they wouldn’t move around.
Procedure
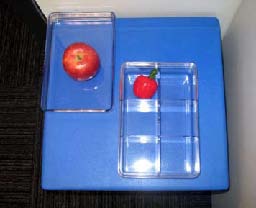
Our completed tangible graphic organizer is 11” x 16”. We may not always have a tangible symbol, so we made it big enough we could use real objects, if needed. There are so many ways we use this tool! We re-tell stories, sequence stories, practice ordinal word use, practice left to right, and even use it to plan our own stories we write together.

www.pathstoliteracy.org is such an amazing resource! Even if you can’t find exactly what you are looking for, you can always get ideas about how to individualize for our students.