This is the fourth post in a series of five on Cerebral Visual Impairment (CVI) in Practice: Strategies to Develop Spatial Relationships Related to the Process of Writing Letters by Dr. Roxana Elena Cziker.
The other posts in the series are:
Part 3: Spatial Configuration with Magnetic Elements
Part 4: Strategies to Develop the Visual-Spatial Skills for Writing Letters
Part 5: Spatial Configuration with Symbols – Letters
This is a practical strategy for students with CVI to learn visual-spatial relations and written letters.
Spatial Configuratuon with Magnetic Elements on the Board
1. Stage 1 – Activities with Concrete Elements
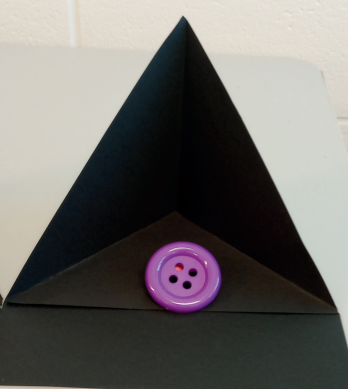
a. Practice the spatial configuration on the magnetic board with sticks and dots.
b. Make, in front of the child, a spatial configuration on the board. Use the magnetic board in the organized manner and start arranging the sticks from the left and top side of the board. Put first six dots on three columns, three on the left side and three on the right side and then give the child different possibilities of unifying the points by magnetic sticks.


c. Present the child all the dots by naming verbally the position of each dot: “Now we will arrange the dots on the board in this position, we will start putting three on the left side, one below the other, first, then second and then the third one. Now we are going to move on the right side: we put the first, the second and the third black dot. Now look how I connect the first dot on the left side and the second dot on the right side. Now it is your turn to do the same on the right side of the magnetic board.”

d. If the child does not understand the way to place the sticks between the dots, show again the way to count the dots and place the stick.

e. Then go to the next step into the more complex spatial configuration by using more sticks in order to connect the dots as much as possible.


f. Go to the next step by placing 9 dots in three columns and at the beginning use only two or three sticks in order to connect the dots. Use the same strategy as presented above.


2. Stage 2 – Activities with Images
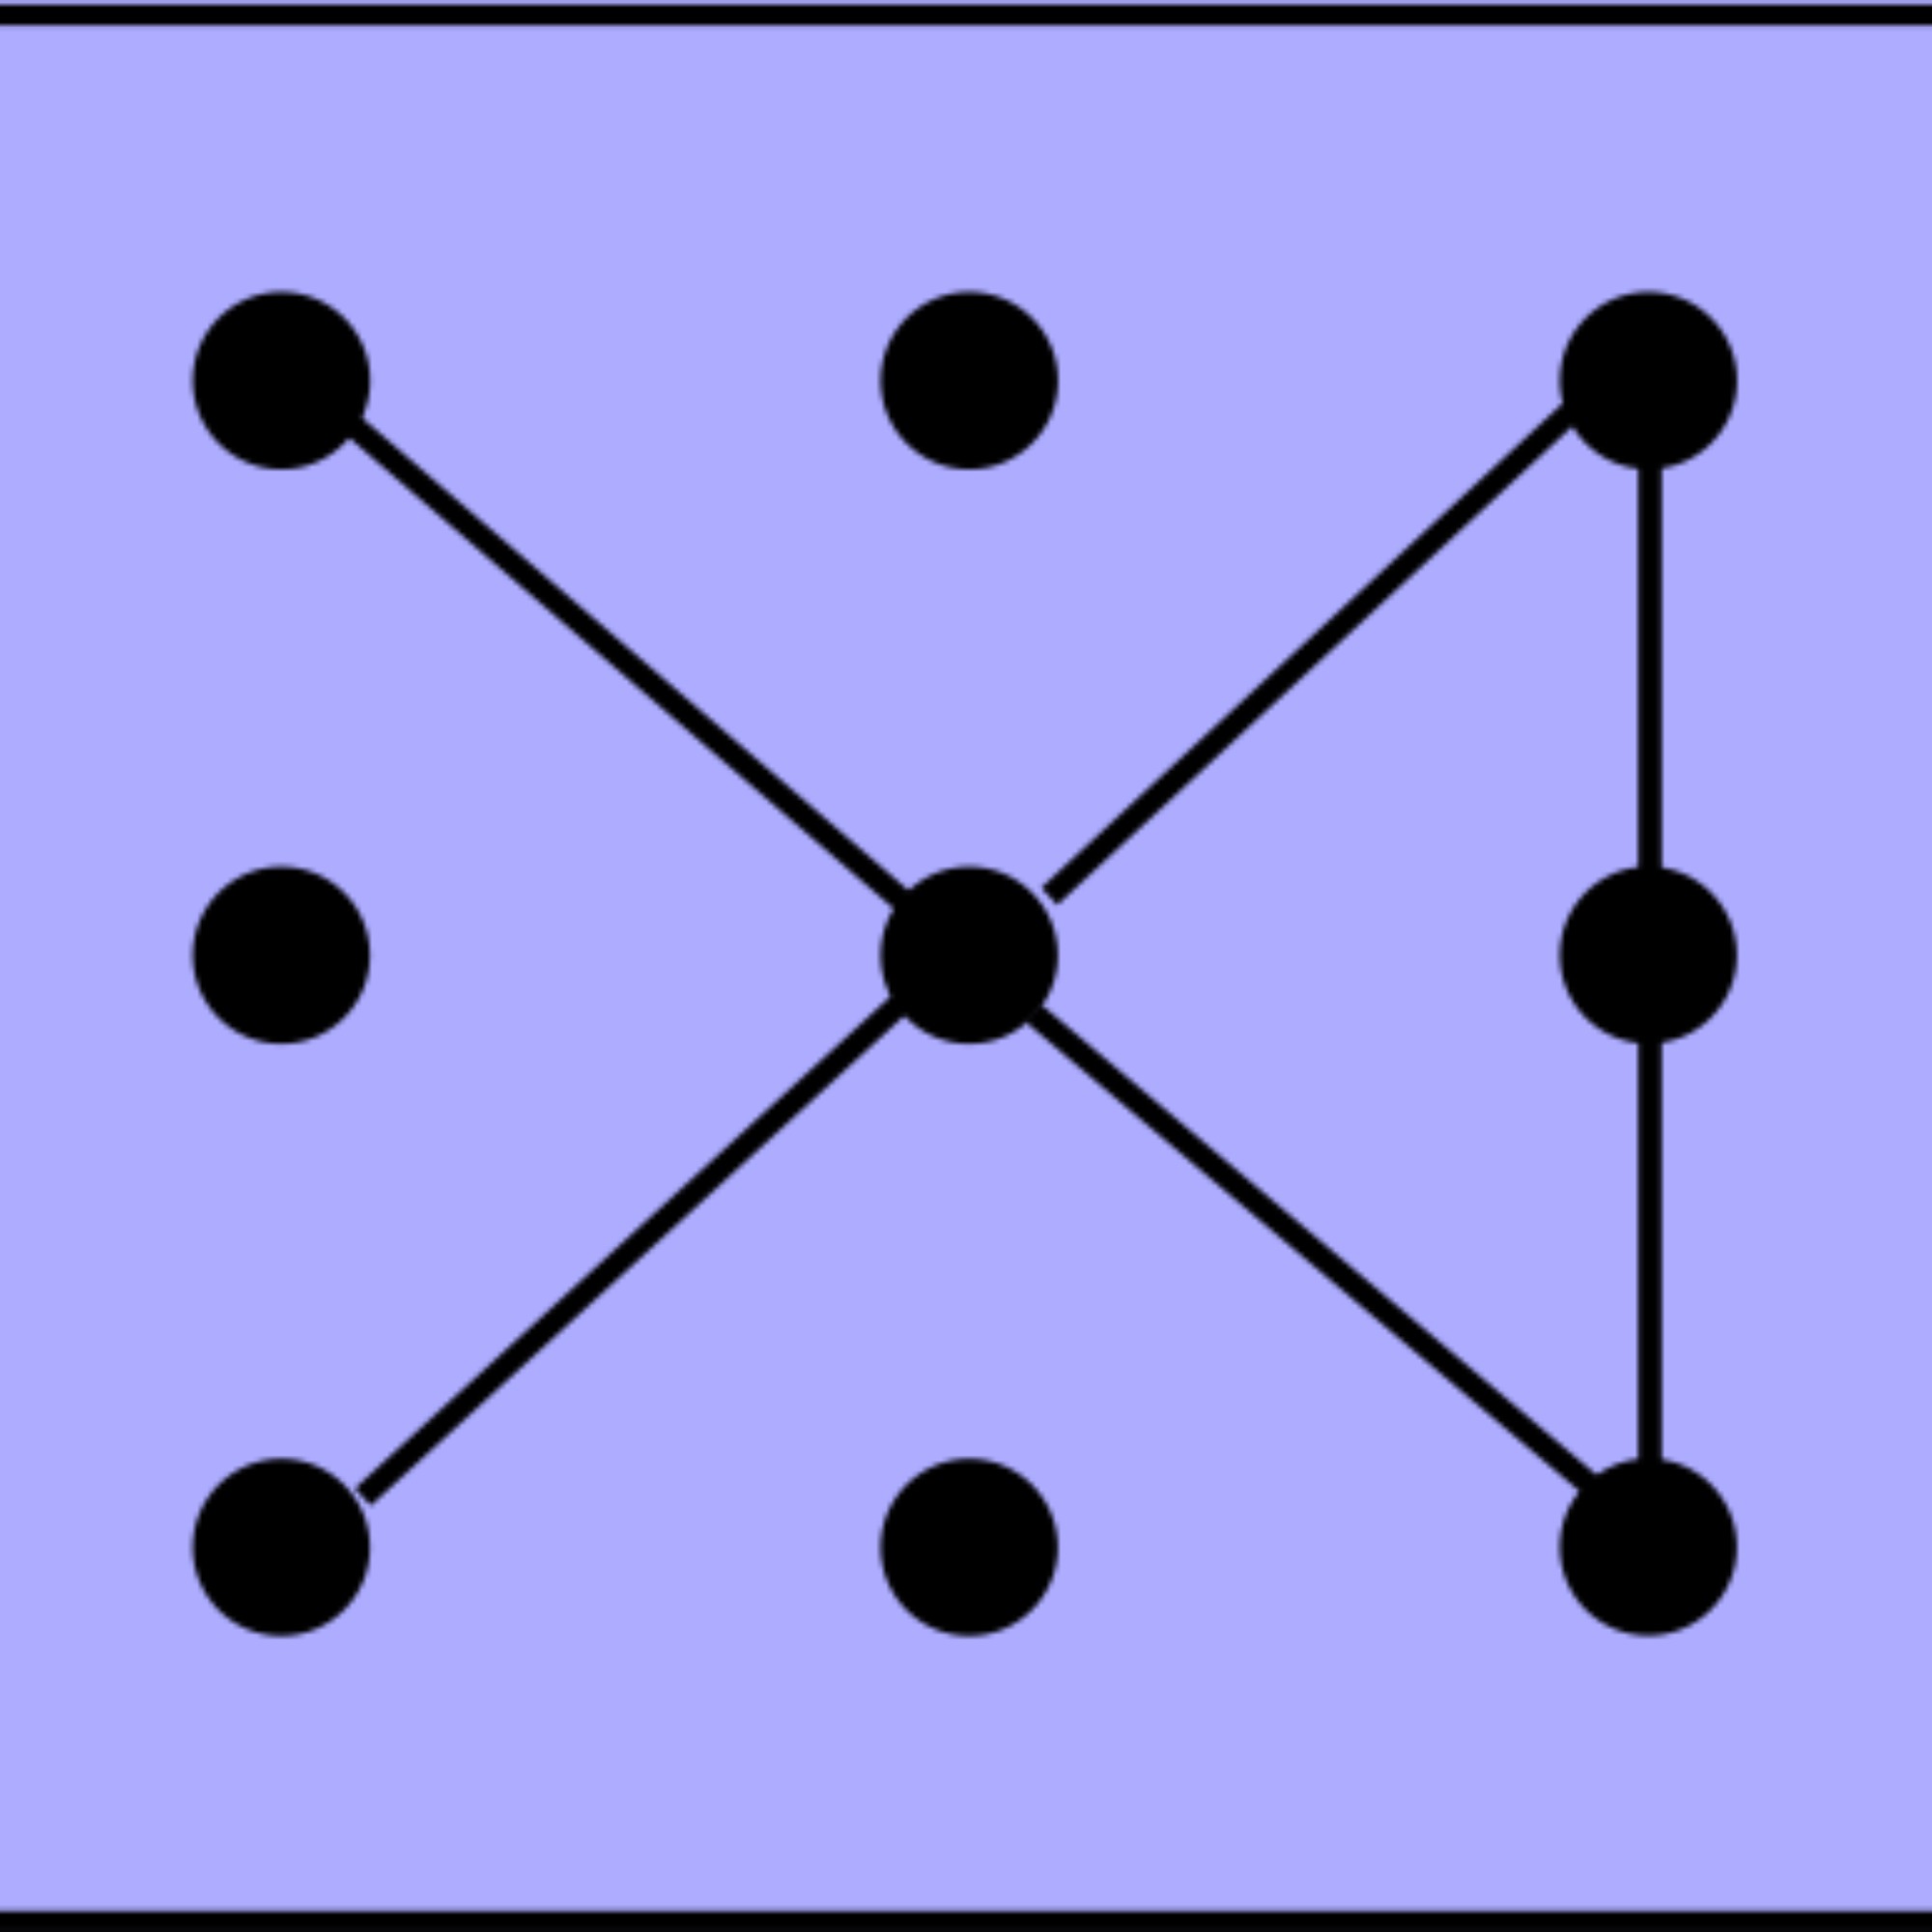
- Practice the spatial configuration with child by presenting the spatial configuration with dots and points on the paper, as in the models presented on this page.
- Begin with the configuration with six dots placed on two columns, three on the left and three on the right side. Then use the concrete dots and sticks and the magnetic board. Ask the child to make the same model on the magnetic board.
- First analyze, with the child, the spatial configuration in the picture in order to enable the child to count the dots and figure out the way to connect the different configuration’s dots.
- Next use the configuration with nine dots and to connect the dots, as in the model.
- The activity can be used with paper and coloured pencils.
- Present the child a paper with spatial configuration between dots and lines. The presentation should be very simple, with the model on the left side and the configuration only with dots prepared for child to work with.
- Use very simple configurations at the beginning with six dots and connecting only two or three lines.
- The first model would be done by the teacher or therapist in front of the child in order to see the strategy of counting the points and then connecting the dots with lines.
- Start with different colored pencils for each line, in order to enable the child to see the different between different dots’ connection and the relation among lines.
- Then ask the child to do the same model on his or her own.
- Use then configuration of nine dots and more lines.
- lf the child has difficulty with connecting a more complicated spatial configuration, then use more paper and make only two connections between dots on each page until you complete all of the spatial configurations. At the end present the complete model and ask the child to do the same. (See the examples presented above.)
- Finally use only one color to connect all the dots together.