Using plastic bottles. craft store supplies. or nature treasures, let’s create some fun items to shake up learning time and build the sensory efficiency skills necessary for literacy development! The creativity of my colleagues always amazes me. In the last two years, we’ve participated in many events where we’ve had the opportunity to engage with families and their very young children. The simplest ideas always bring the biggest “a-ha moments” for families! These sensory bottles are fun to make, fun to play with, and the instructional possibilities are endless. To create a sensory bottle, find any empty plastic bottle, fill it with items, glue the top down, and watch the fun! Below are just a few ideas, but there’s no limit to the materials or construction of these bottles.
Liquid Sensory Bottles
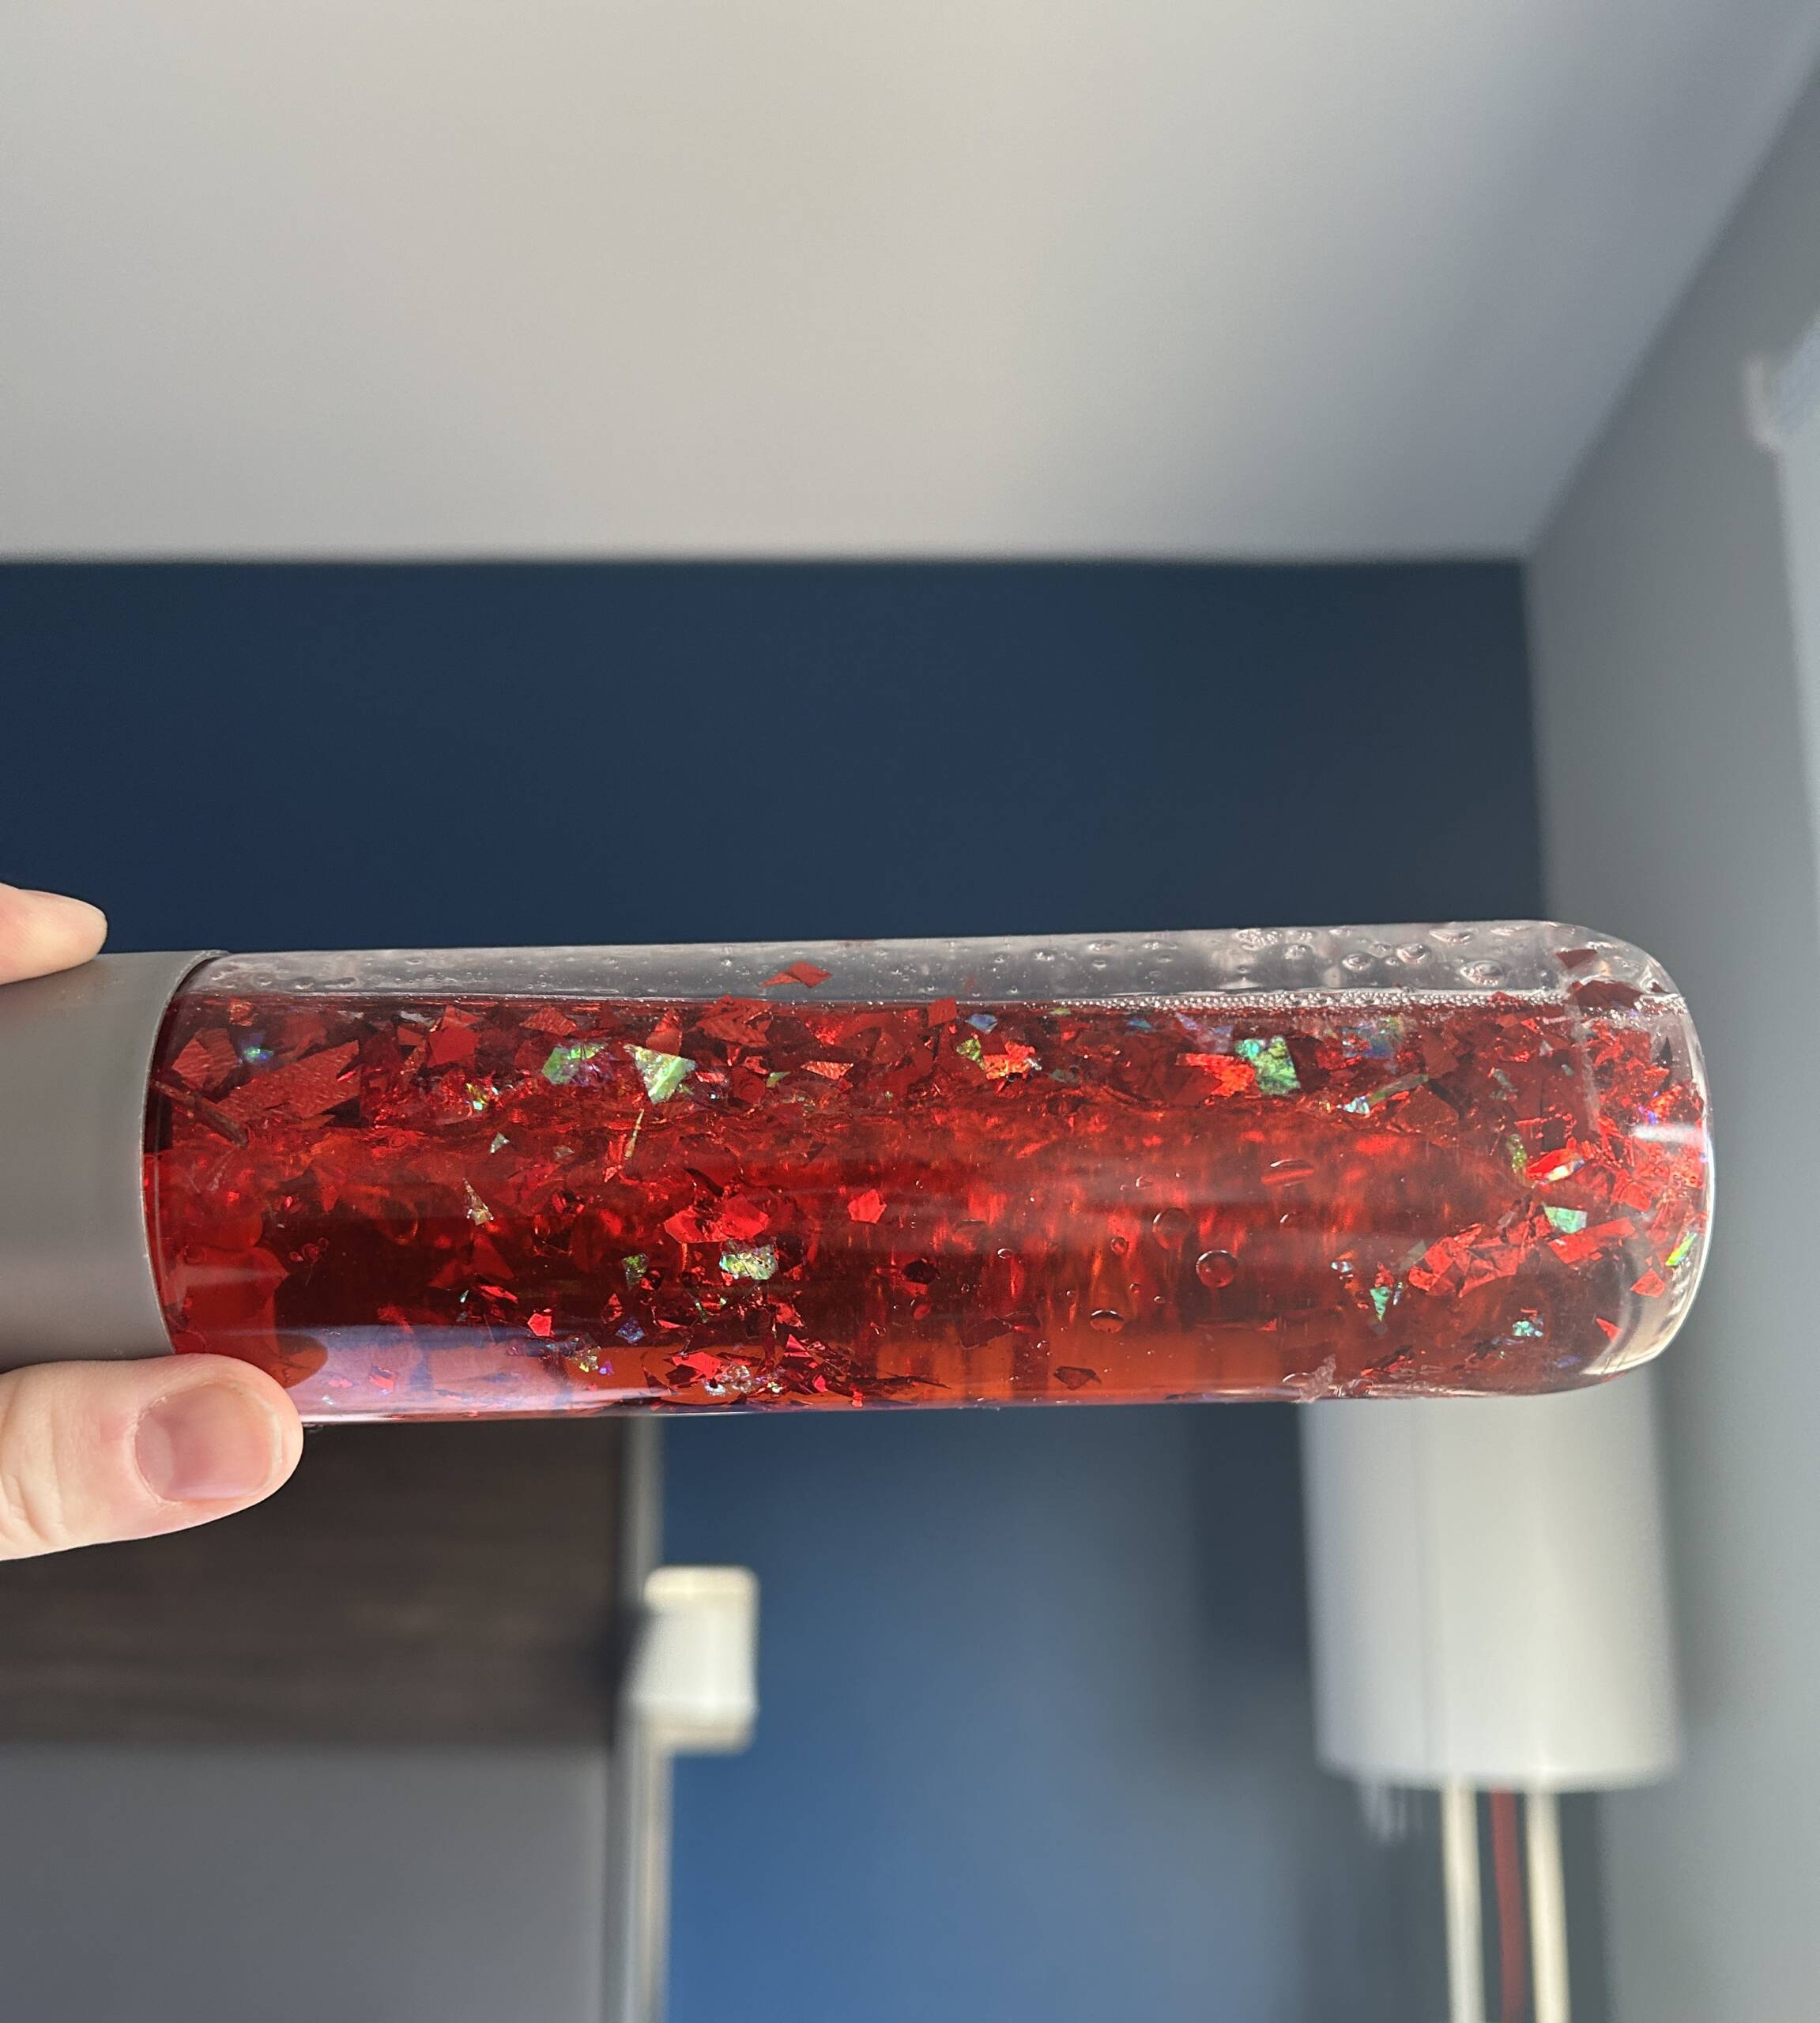
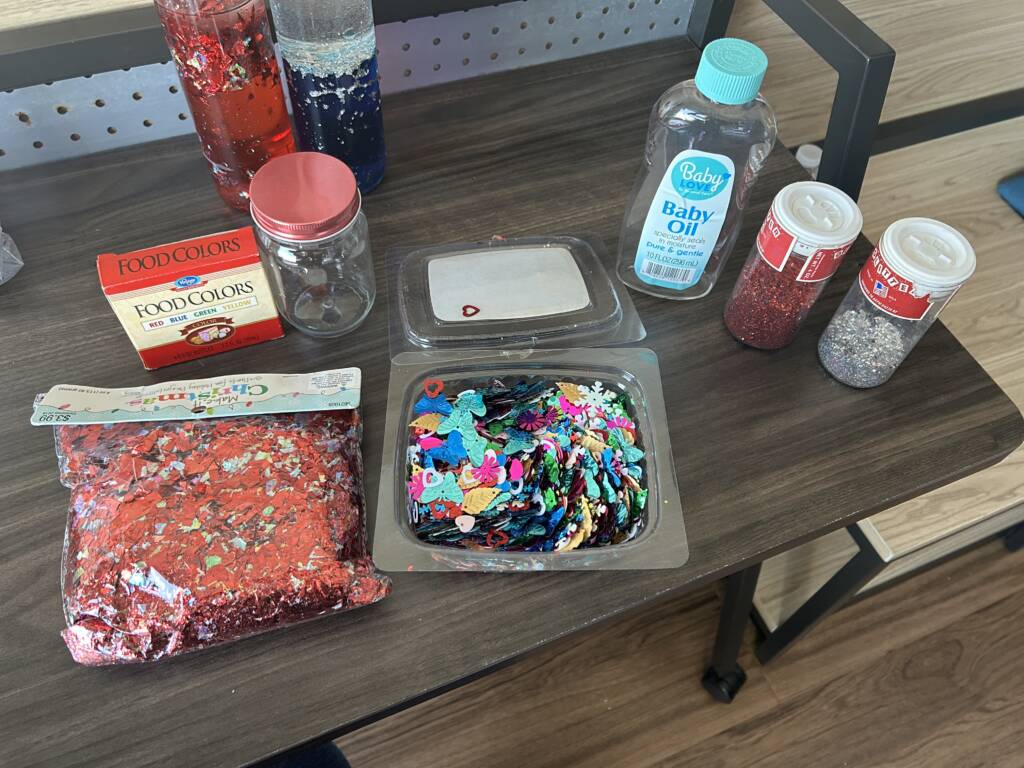
These bottles are great to stimulate looking, tracking, grasping, movement, and crossing mid-line. You can create these in different colors or keep the liquid clear and use colored materials inside. Adding baby oil creates an extra layer of density to the bottle and creates a floating effect.
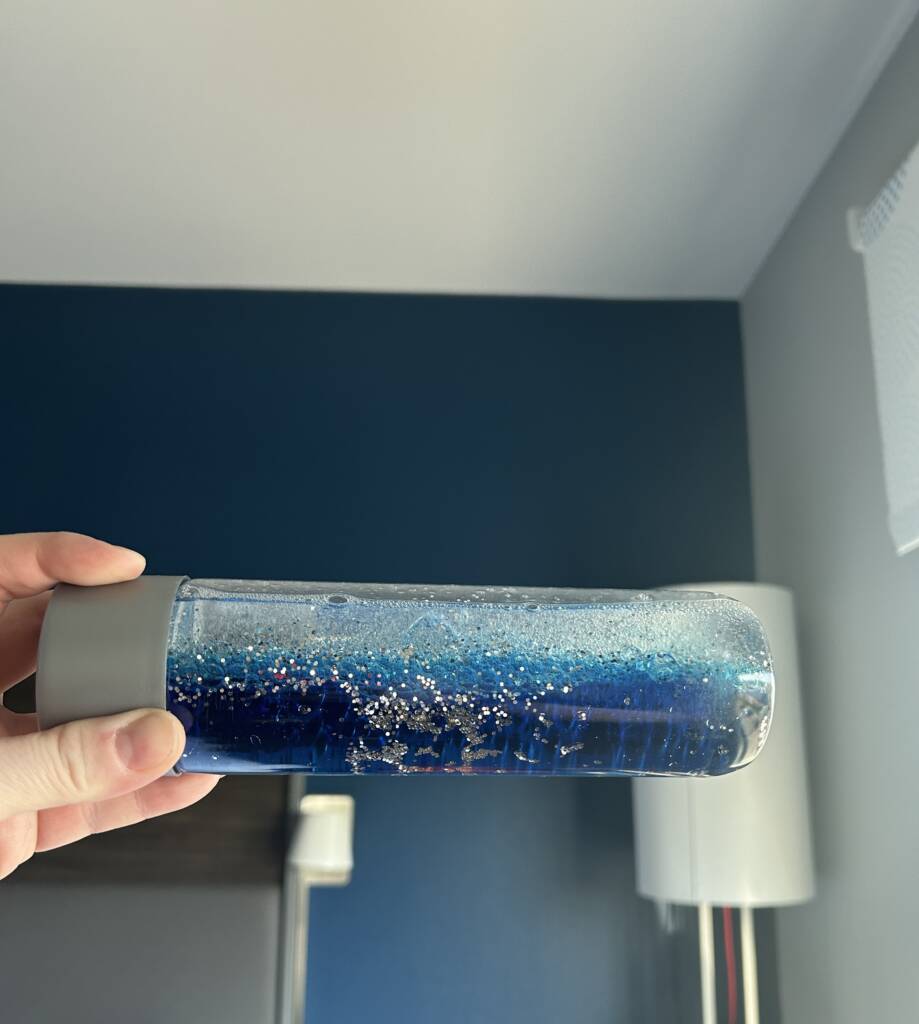
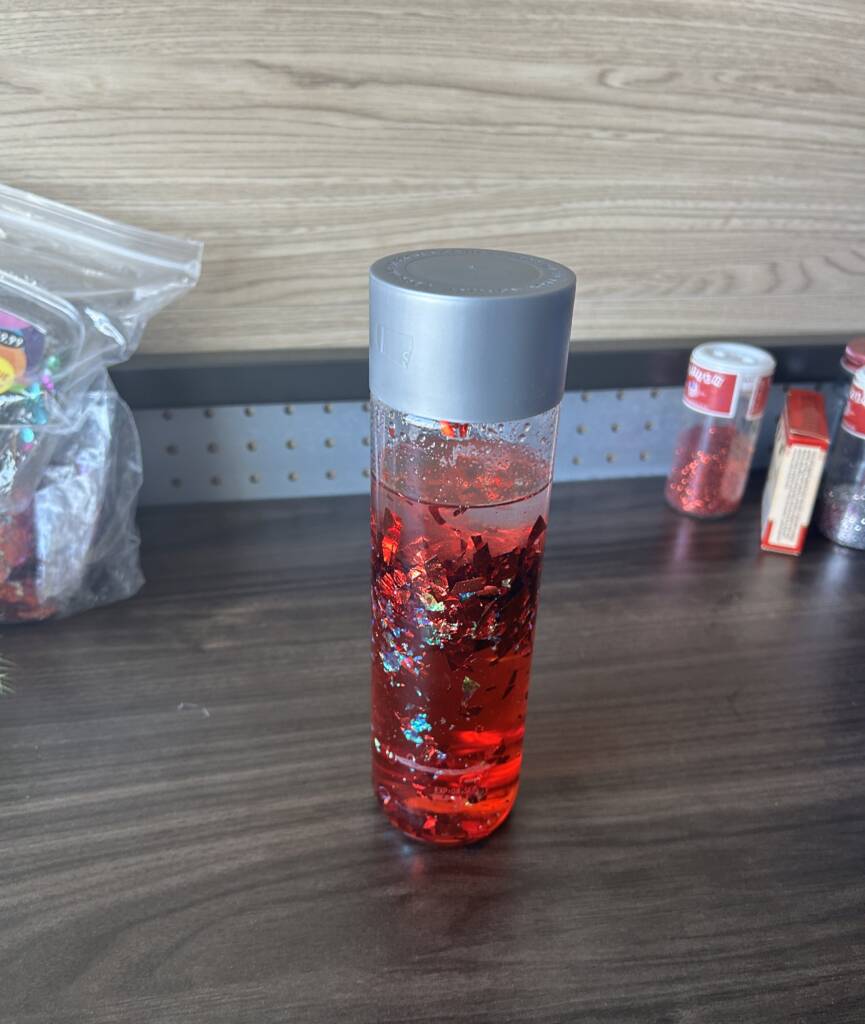
Some materials to consider include:
- Baby Oil
- Water
- Food coloring
- Glitter
- Tube Confetti or regular confetti
- Small objects
Object Sensory Bottles
These bottles can be made from any objects small enough to fit inside of the bottle you’re working with. Using items or colors that are of interest to the child can enhance visual and auditory efficiency development.
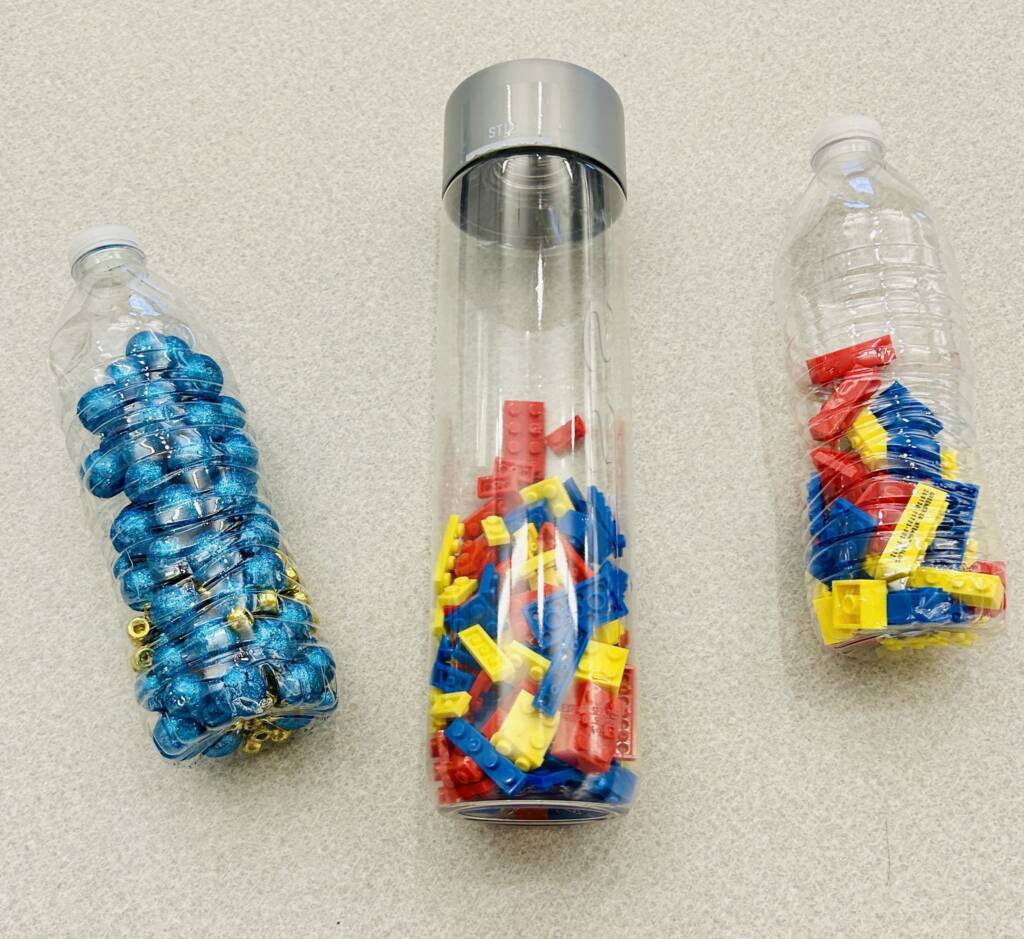
Some materials to consider include:
- Beads (foam, plastic, glittery)
- Marbles
- Legos
- Dice
- Pompoms
- Eraser tops
- Beans, rice, pasta
- Small cubes
- Buttons
Nature Sensory Bottles
Creating a sensory bottle after a nature walk or a trip to a new place aligns with the skills mentioned above but is also a great way to remember the experience with little ones.
Some materials to consider include:
- Leaves
- Rocks
- Acorns
- Sand
- Shells
- Sticks
- Seeds
As with anything we do, keep child safety in mind. Some of these ideas could create a potential risk for choking, so children should be closely monitored when using these materials, and take care to ensure that tops are secured appropriately.
Extension Ideas
- Sequence an assortment of bottles by color, size, sound, or characteristics of the items inside.
- Allow children to make their own sensory bottle following verbal single or multi-step instructions.
- Allow children to choose the items they like best for the bottles to practice self-determination.
- Ask older students to create bottles for your younger learners using a “recipe” or list of steps printed in their preferred medium.