It’s officially spring, and with many area cities hosting kite festivals, it’s time to learn about high flying kites while practicing fine motor and creativity skills.
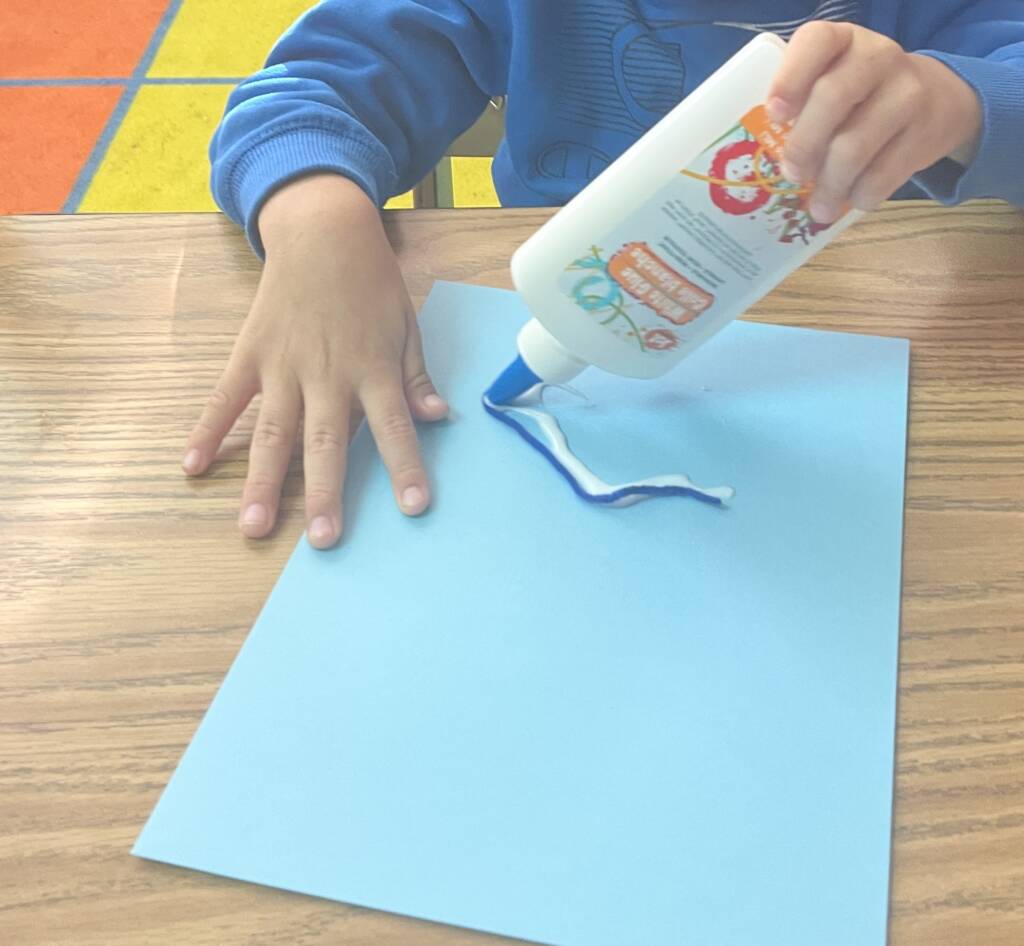
Working with liquid glue is something several of my students do not like to do! They don’t like to touch the wet texture and have it stick to their little fingers. Of course, this is why we practice with it! Beyond working on our tactile selectiveness, my students learned several other important skills while creating a super cool kite craft.
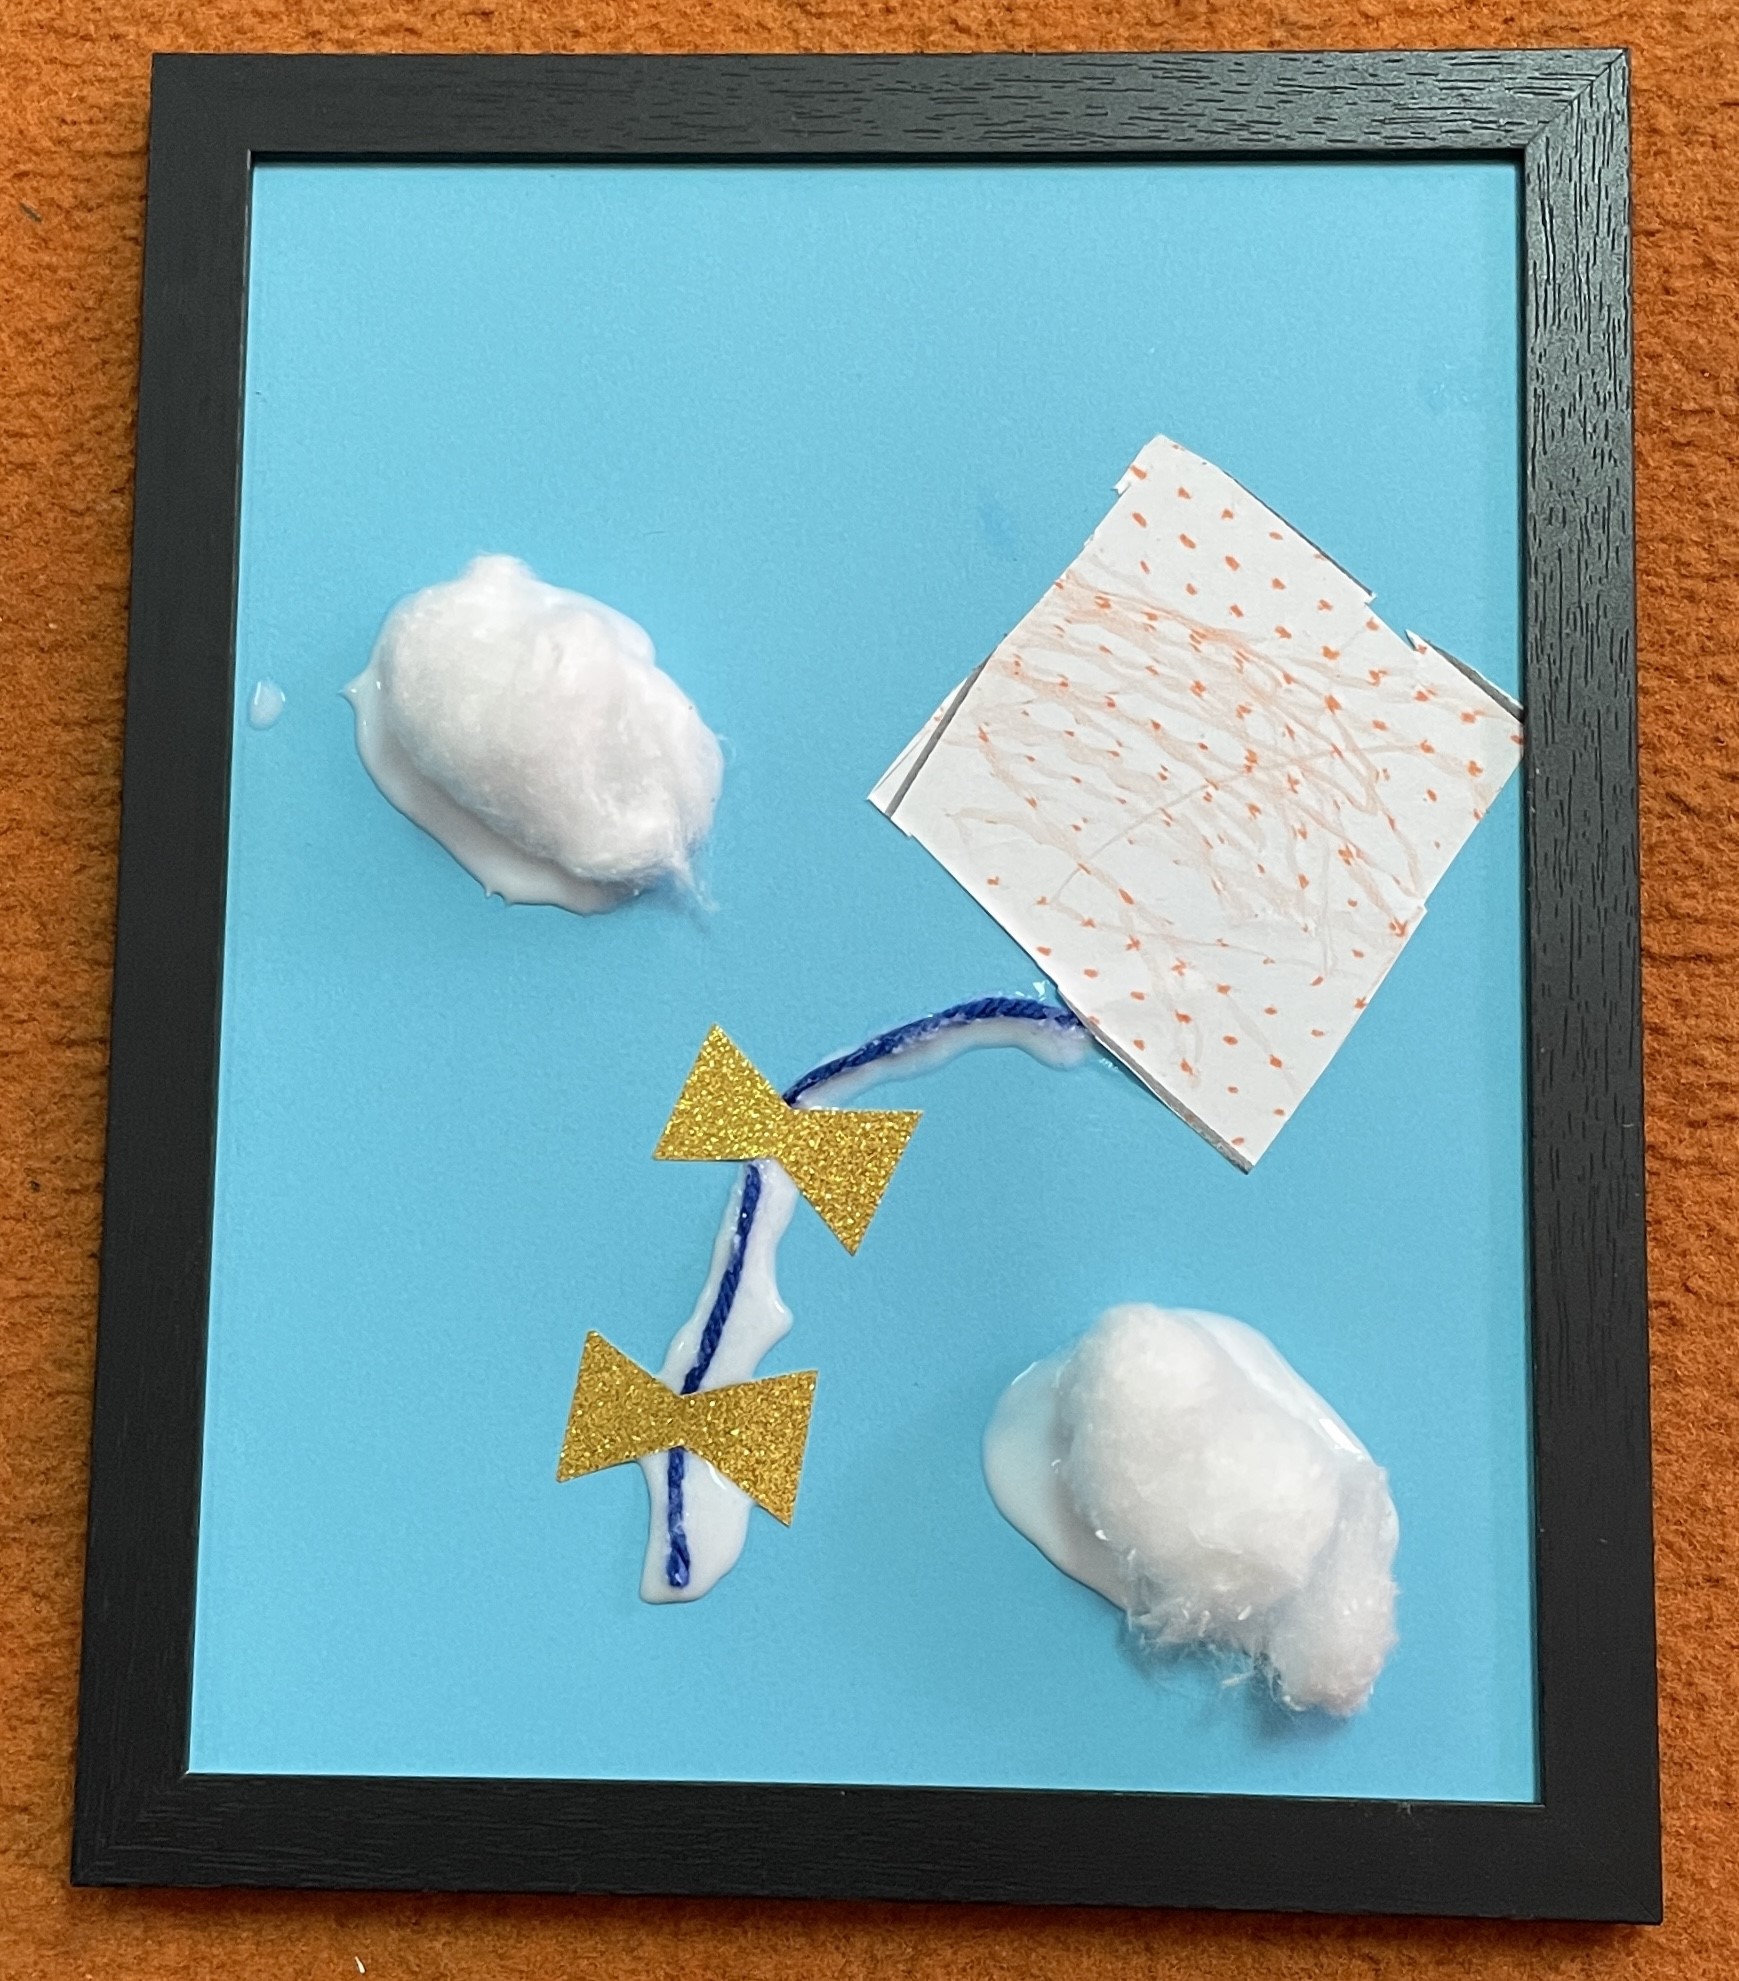
This idea came from Crafting Jeannie’s website. The kite craft looked super cool, so I modified it a bit for my students, and off we went creating. After the activity, we put it in a picture frame to create a piece of tactile art that can be hung up or displayed on a shelf.
Materials
- Light blue card stock
- Crayons (egg/finger crayons work best)
- Cotton balls
- Yarn
- Glue
- Picture frame
- Paper towels (for messes/fingers)
- Color-by-Texture Marking Mats
- Feel ‘n Peel Sheets Carousel of Textures (for the bow on the tail)
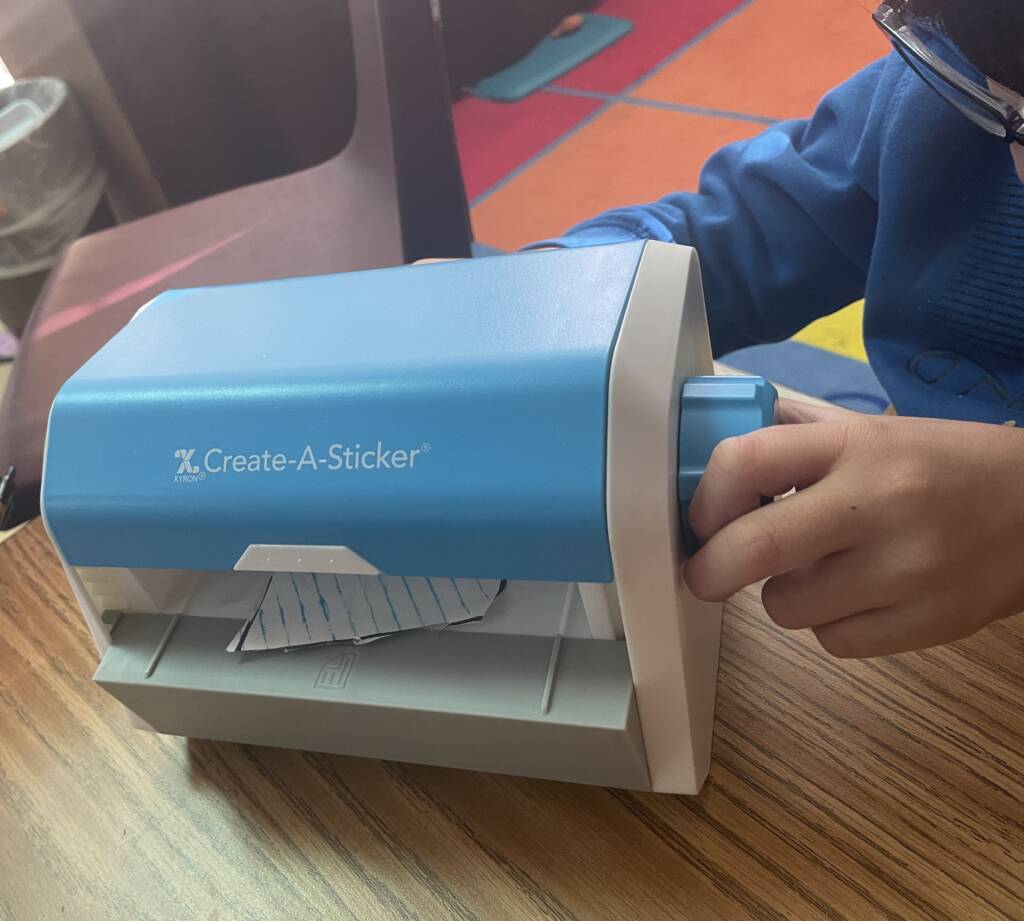
- Xyron Create A Sticker
- Kite template from the Crafting Jeannie’s website
- Picture Frames
Skill Focus
- Eye-hand coordination
- Attention to task
- Patience and perseverance
- Pincer grasp
- Bilateral coordination
- Squeezing
- Twisting/Turning knobs
- Cutting with scissors
- Opening containers/bags
- Soliciting assistance
Warmup Activity
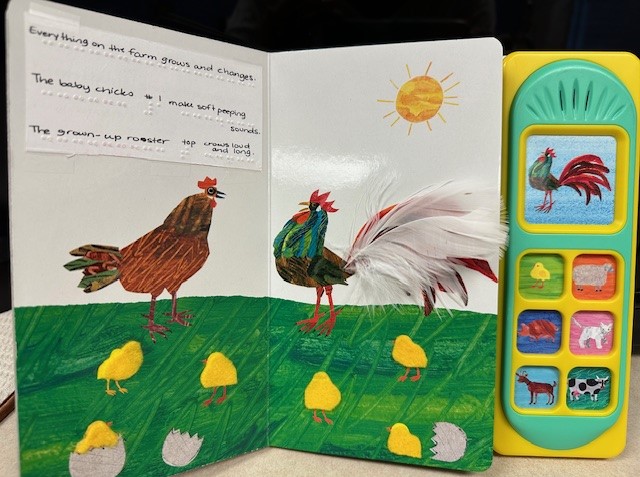
Little Kite’s Magic Flight
This story fits perfectly into what I try to teach my students. A blurb from Amazon’s website says it perfectly, “This story aims to inspire readers of all ages to keep flying and to persevere even when times seem scary and uncertain.” We read the story and discussed each page to put a label to the feelings that Little Kite must be feeling and how we might feel in that same situation.
Kite Making
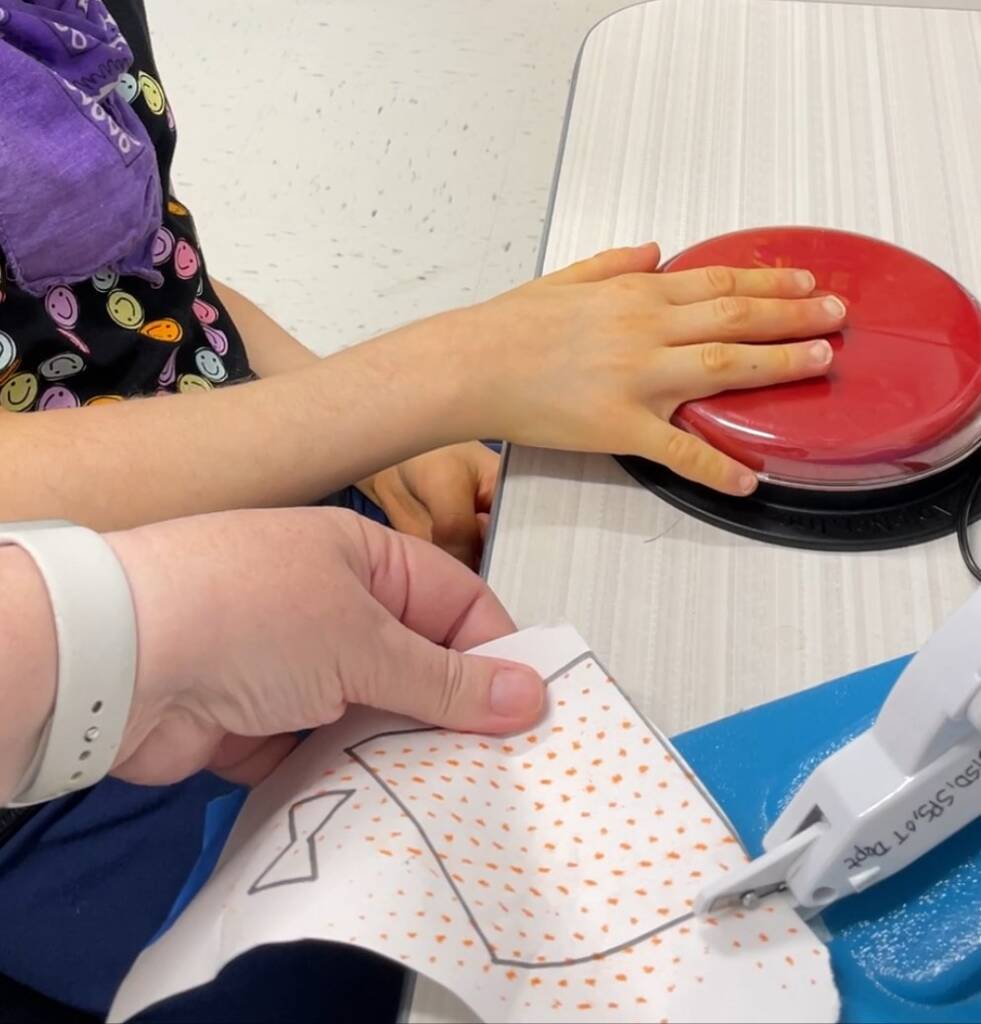
After organizing their materials, the Color-by-Texture Marking Mat needed to be chosen. Students colored the kite after it was secured to the mat. The students each chose the marking mat to use and the color for their kite.

Next, it was time to cut! If the student was able, we used scissors that were specific to their needs. Two students used the table top scissors. These scissors contain a concealed spring mechanism that automatically opens/closes by pressing the lever. The student facilitates the cutting of the image while I maneuver the paper for them. Two other students used switch activated scissors. Students pressed a switch to activate the battery-operated scissors. In this case, I also manipulated the paper while the student used the switch.
Using adapted scissors allows students with physical and/or complex access needs to participate in activities of daily living.
After cutting out our kites, the students learned how to make them into stickers. Turning the knob of the Xyron machine was not easy. Each student worked on how to appropriately solicit or decline assistance. Students chose what color yarn to use for the tail of the kite between dark blue and yellow. Most of my students do not like to touch glue. So, after the yarn was placed on the paper where they wanted it, I asked them to trace the yarn with the liquid glue. Then, I followed behind them and used old tweezers to push the yarn into the glue. This was a great adaptation, and the students were more willing to participate fully knowing they didn’t have to touch glue.
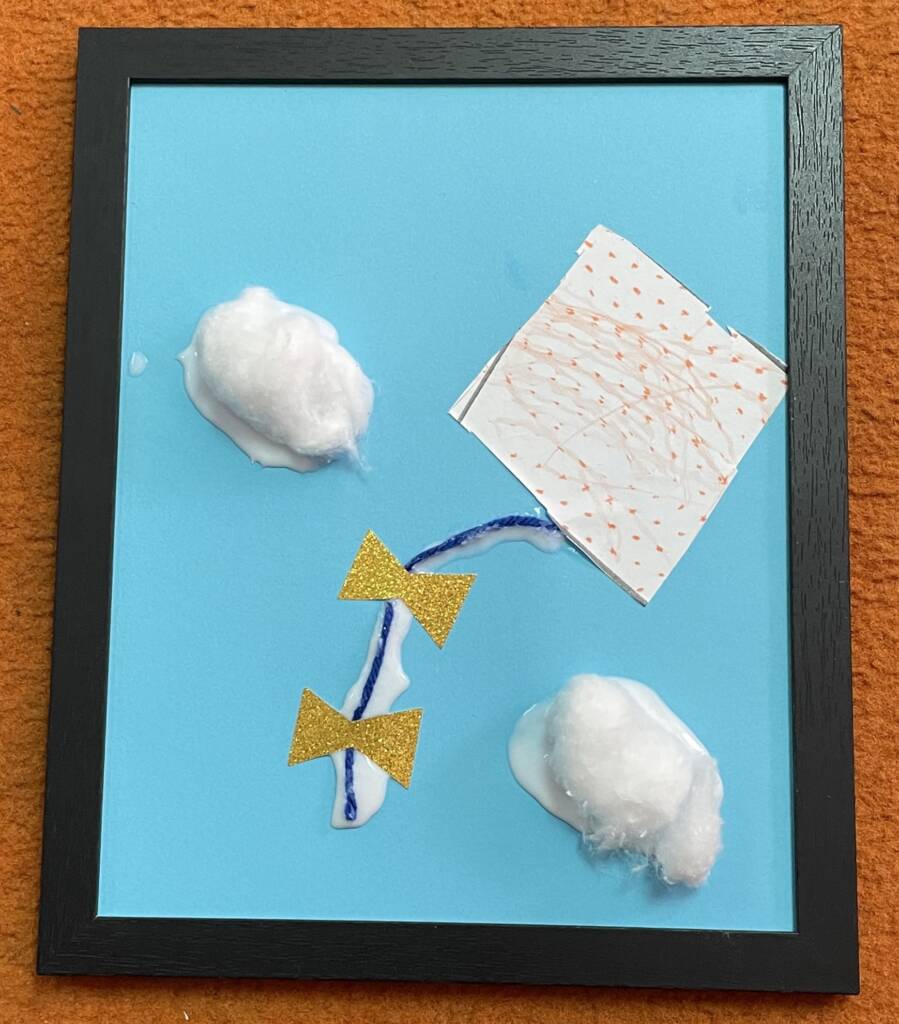
The kite material came next. The students removed the sticker kite from the background, and put it on the card stock above the tail. This provided additional opportunities to solicit assistance appropriately and work on spatial awareness. The last thing students added to their kites was a bow. They were able to choose between gold and silver. As needed, students solicited assistance to remove the sticker backing from the bows. The students chose where to put the bows on the kite tail.
After the kite was complete, the students needed to add clouds to their craft. Cotton balls seemed like the perfect options. We pulled them apart and then glued them down to the paper. Using both hands cooperatively wasn’t easy, but my students persisted! The faces once the students finished their craft and saw their artwork in picture frames was priceless.
Extension Activities
- Make a kite with family members
- Fly kites with peers or family members
- Explore a real kite, and compare the size with that of the kite in the craft.
- Complete a sorting activity of things that fly with wings and things that float in the air.
- Make a list of other CVCe words.
- Create a word sort with CVCe words using different long vowels.
- Write a story personifying the kite in your craft, and describe an adventurous day for the kite.
Imagination is the highest kite one can fly.
– Lauren Bacall